
|
Page << Prev | 1 | 2 | 3 | 4 | 5 | 6 | 7 | 8 | 9 | 10 | 11 | 12 | 13 | 14 | 15 | 16 | 17 | 18 | 19 | 20 | 21 | Next >> Yurt / Ger Diarywritten by Rene K. Mueller, Copyright (c) 2005, 2006, 2007, 2008, 2009, last updated Sat, January 3, 2015 27. 10. 2007: Roof Extension over Door, Door Frame Extension
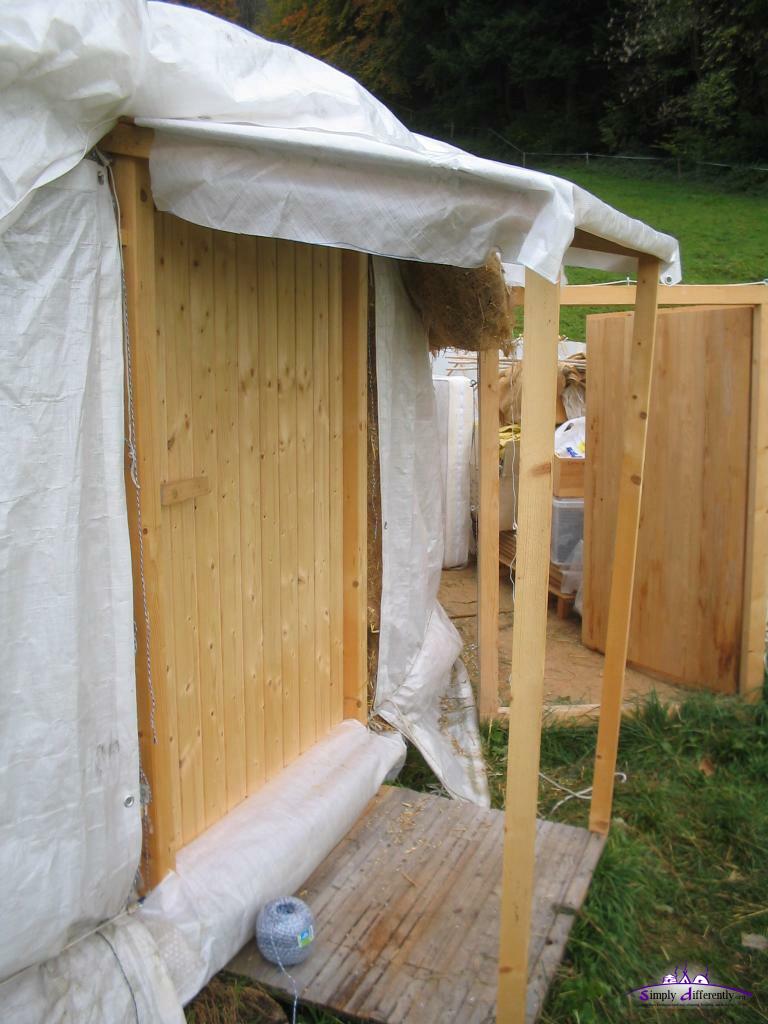
I also extended the roof for the door, in order to protect the door from rain and extend its usage this way - it's covered with PE. The supporting timber will be fixated on the first step in front of the door. I'm also thinking to use some PE to cover one side (west) where most rain & wind comes from. Detail: The top outer rain cover rope is reaching over the extension, holding down the roof rain over - once it's raining I will see how the water flows and may make further detail adjustments. Door Frame Extension
Finally also I made a "classic" wider door frame, to cover up the junction where thermal insulation and rain cover approaches the door frame.
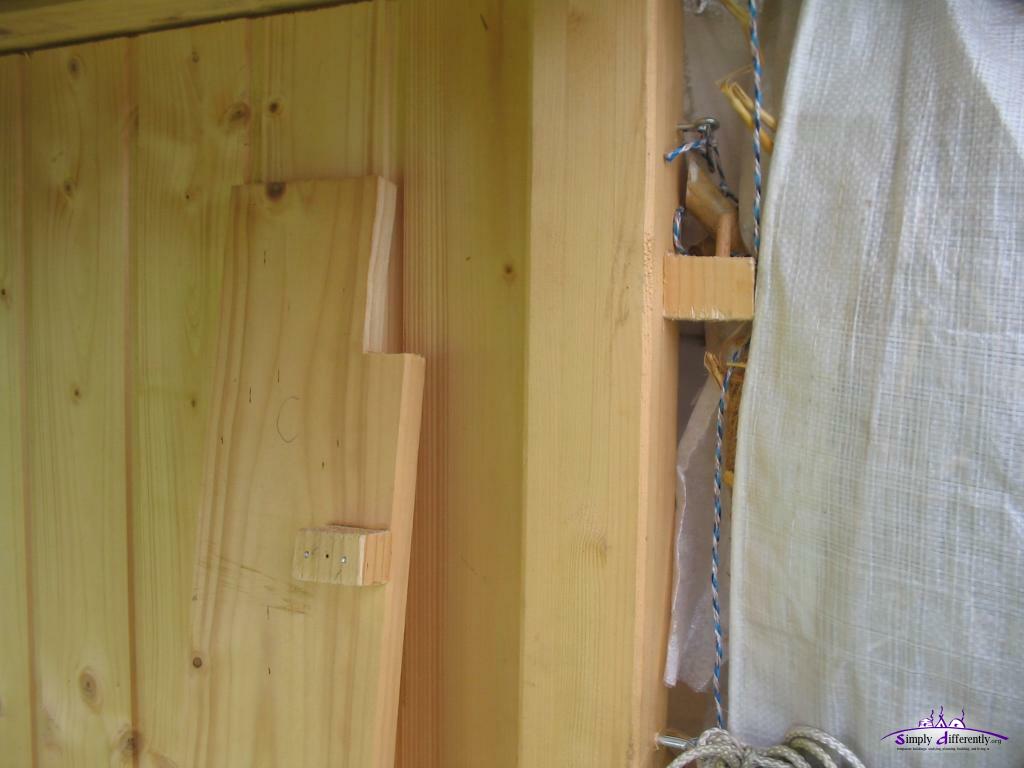 Wooden hinge on door frame / extension 2007/10/27 14:25  Attaching extension 2007/10/27 14:38 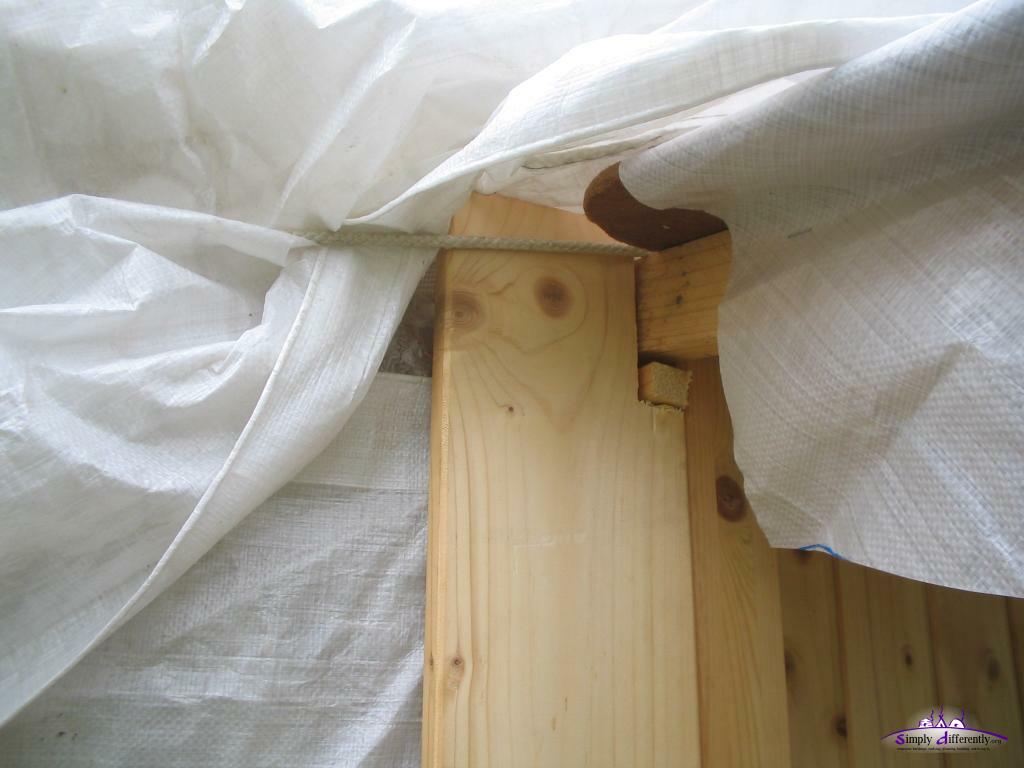 Extension detail (1 of 3) 2007/10/27 14:38  Extension detail (2 of 3) 2007/10/27 14:39 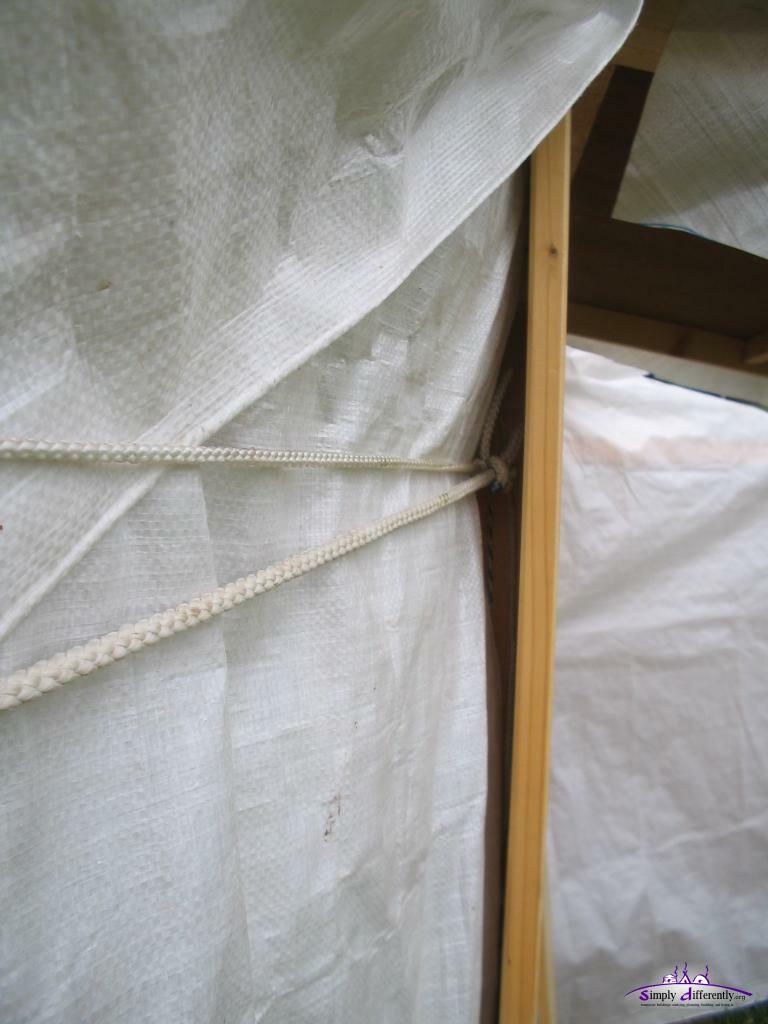 Extension detail (3 of 3) 2007/10/27 14:39 26. 10. 2007: First Experience with new Thermal Insulation
It's 6°C outside, inside 14°C without stove around 21:00, I fired the stove for 30 mins with little wood, and I reached 19.1°C and now that the stove warmed for 1 hour, the temperature stays at 19.0°C after an hour - very good. Next morning 9:00 still 12°C - apprx. 0.7°C drop per hour. The door frame isn't yet insulated and has 1-2cm gaps, once those gaps are sealed the insulation will be even better. I also tied the yurt again, tried to clean the ropes with little success, this time with hot water and a bit soap, some moss went off, but I assume to clean the ropes they would require to be soaked 12 to 24 hours really, not sure putting them into laundry would do it. After all ties were attached, finally the attached room I was able to put up again.
As first experience, the attached room is suitable as very temporary setup, but otherwise it's a bit a hassle when once is work on the yurt itself, for everything the attached room needs to be detached which implies partially disassembled. Anyway, once getting a new place with more space to use I will put up a regular 2nd yurt, the 4m diameter one I made.
25. 10. 2007: Thermal Insulation of the Roof
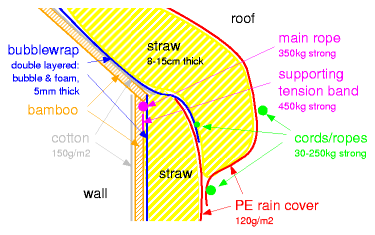
Finally the roof got thermal insulation, using the straw filled blankets with jute - this time I put them alternate on the roof in order to keep the crown-wheel in balance and not tilt as the last year. Since I left 1/4 with multiple layers of bubble-wrap again to have daylight also enter on the south side, there is weight missing, yet, this time the crown-wheel is still in position, a good sign. I made a bubble-wrap layer as moisture stopper for the straw insulation, it's tied with a separate rope close to the wall rain cover. As next I put up the roof segments, a friend helped with this part who briefly came by, but this part is also doable as single person.
Finally I put the roof rain cover and tied it temporary - tomorrow I will tie the yurt more exact, and try to clean off the moss of the ropes.
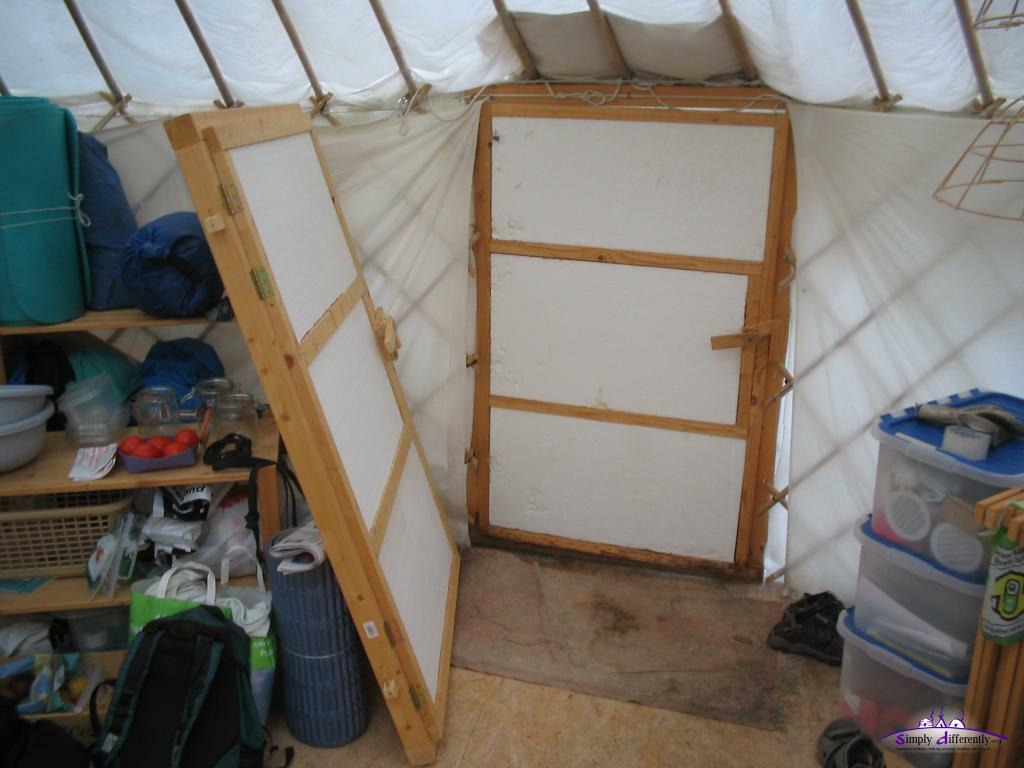
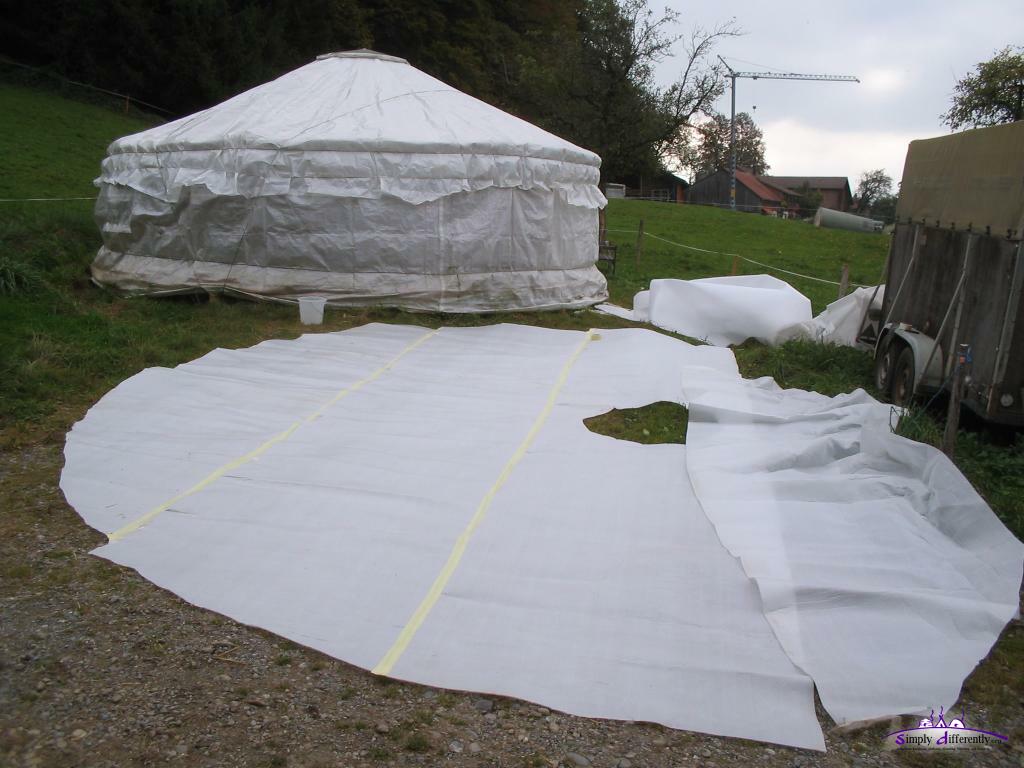 Creating moisture stop layer with bubble-wrap (1) 2007/10/25 10:03  Creating moisture stop layer with bubble-wrap (2) 2007/10/25 10:29 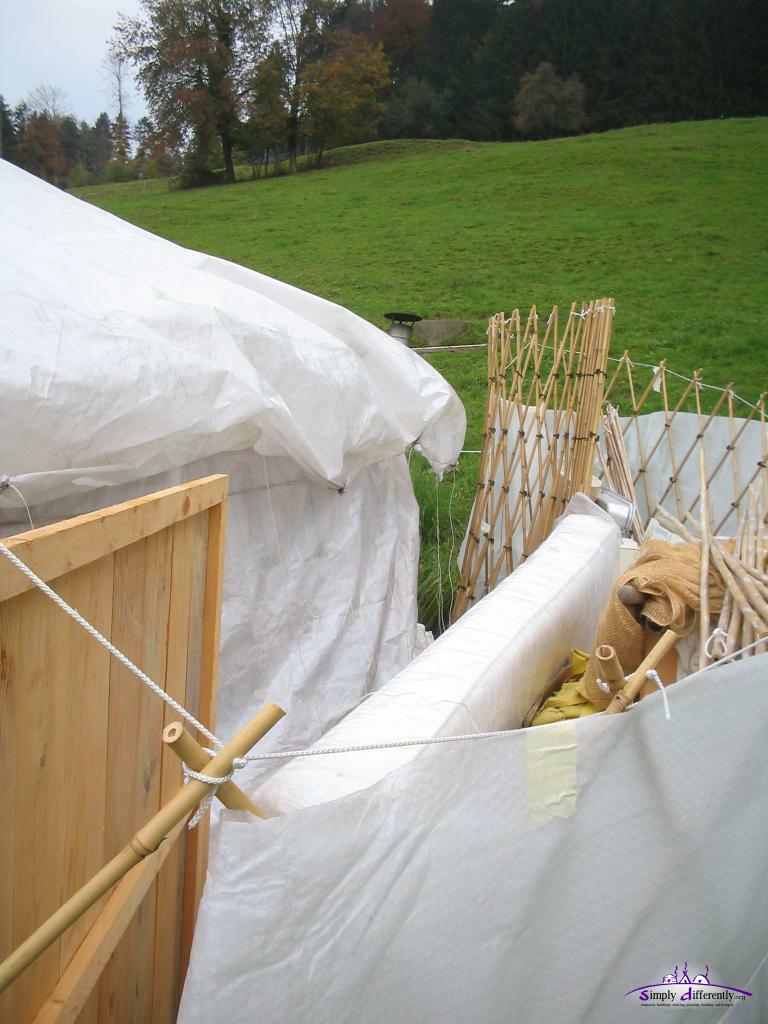 Attached room once again detached and partially disassembled 2007/10/25 11:19 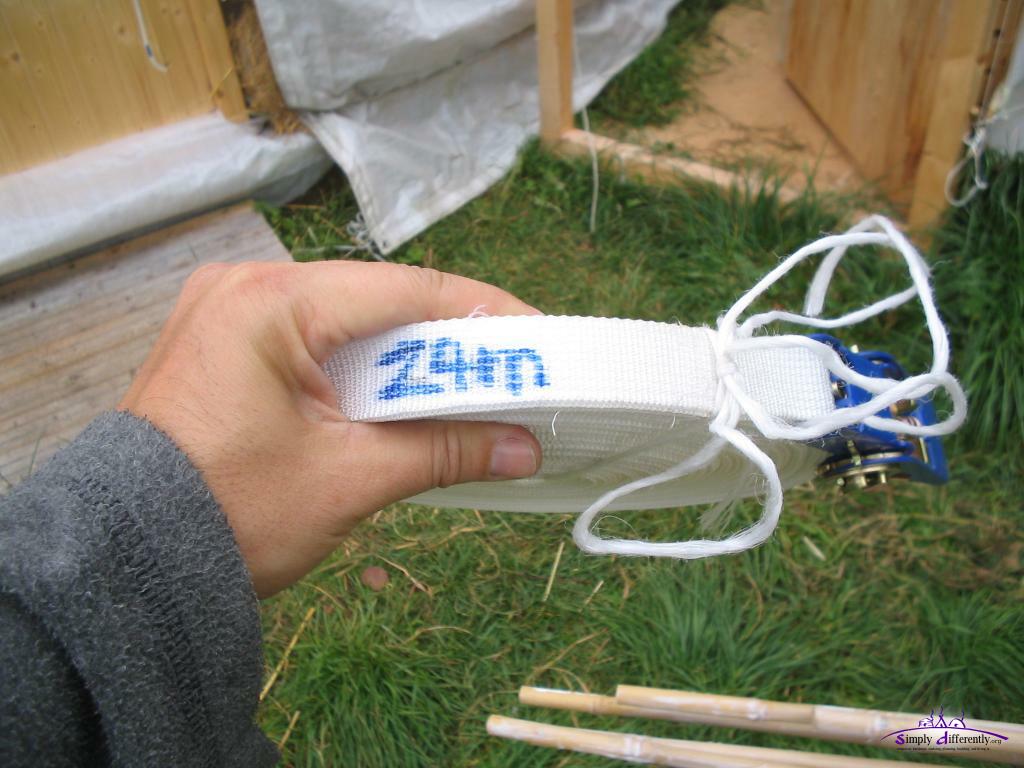 Using an extra rope to support the main rope which is mainly responsible for the static of the yurt 2007/10/25 11:31 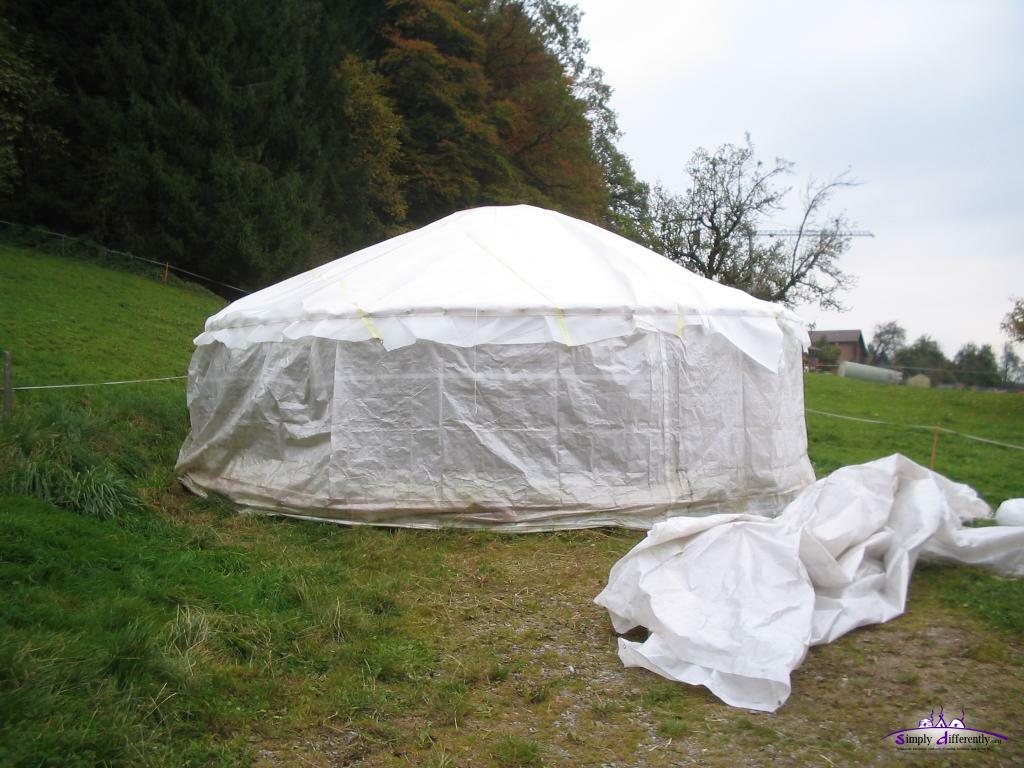 Moisture stopper and dust blocking layer put up 2007/10/25 12:42 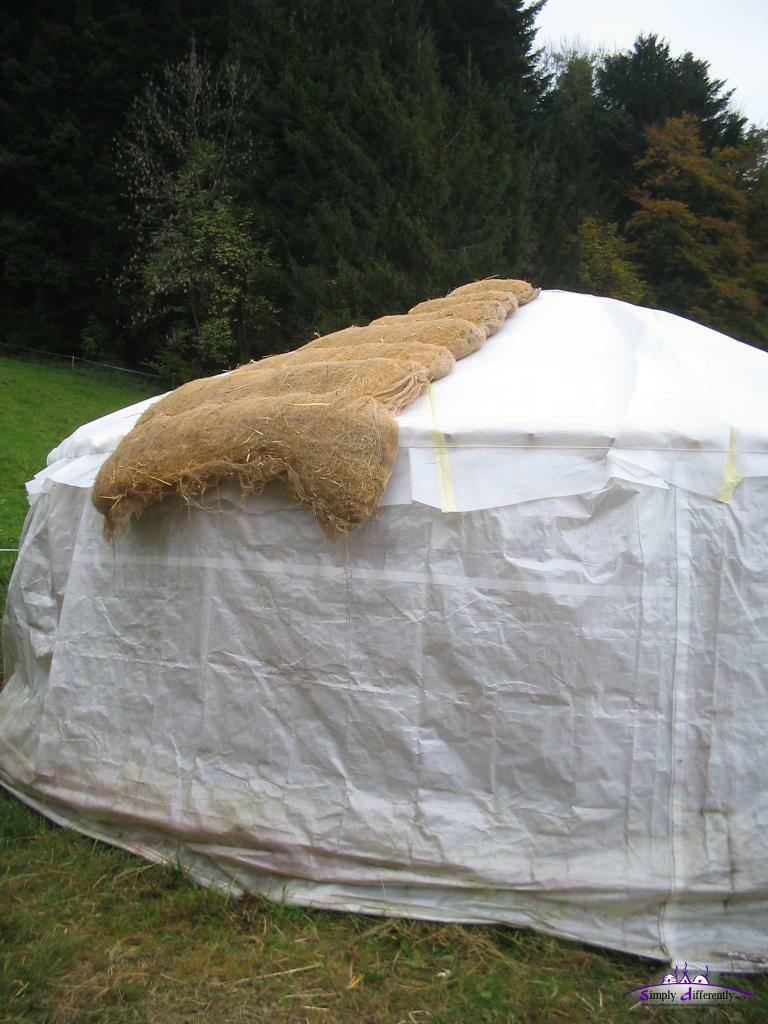 First roof segment put up 2007/10/25 13:10 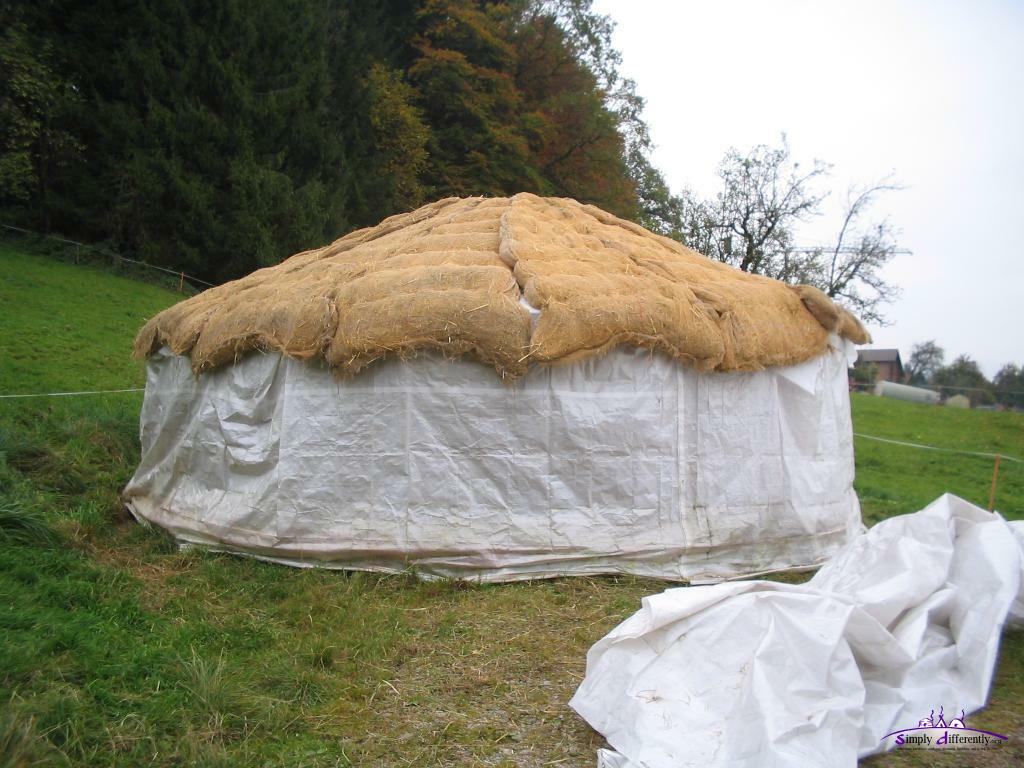 All segments put up (1) 2007/10/25 14:18 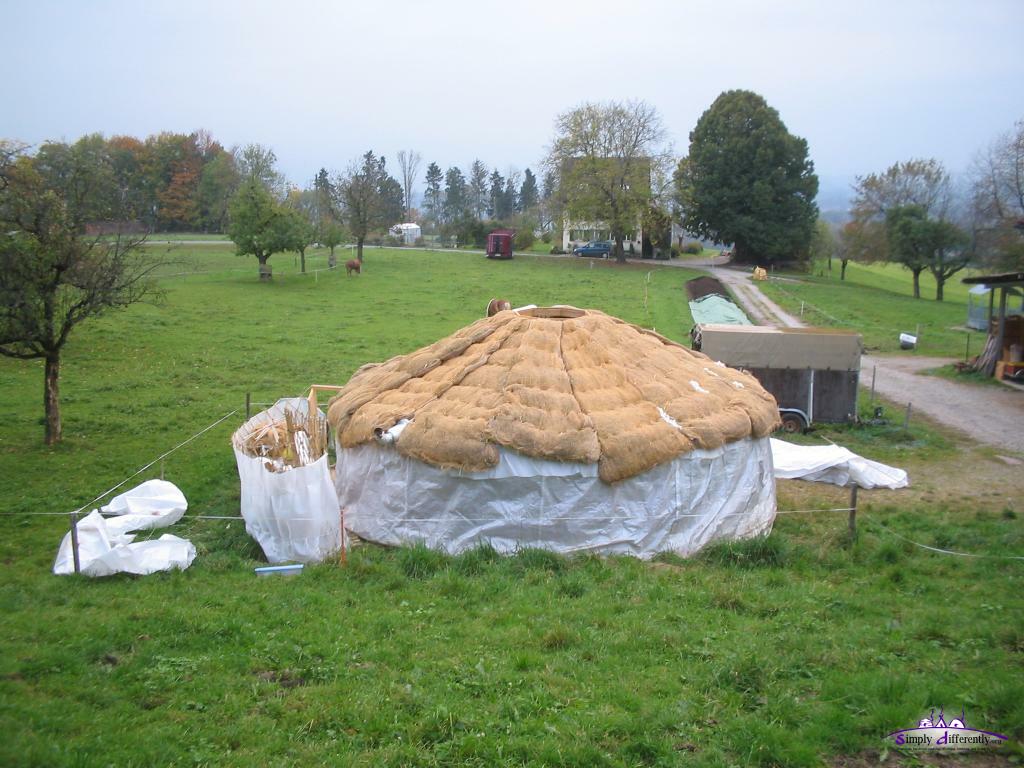 All segments put up (2) 2007/10/25 15:31 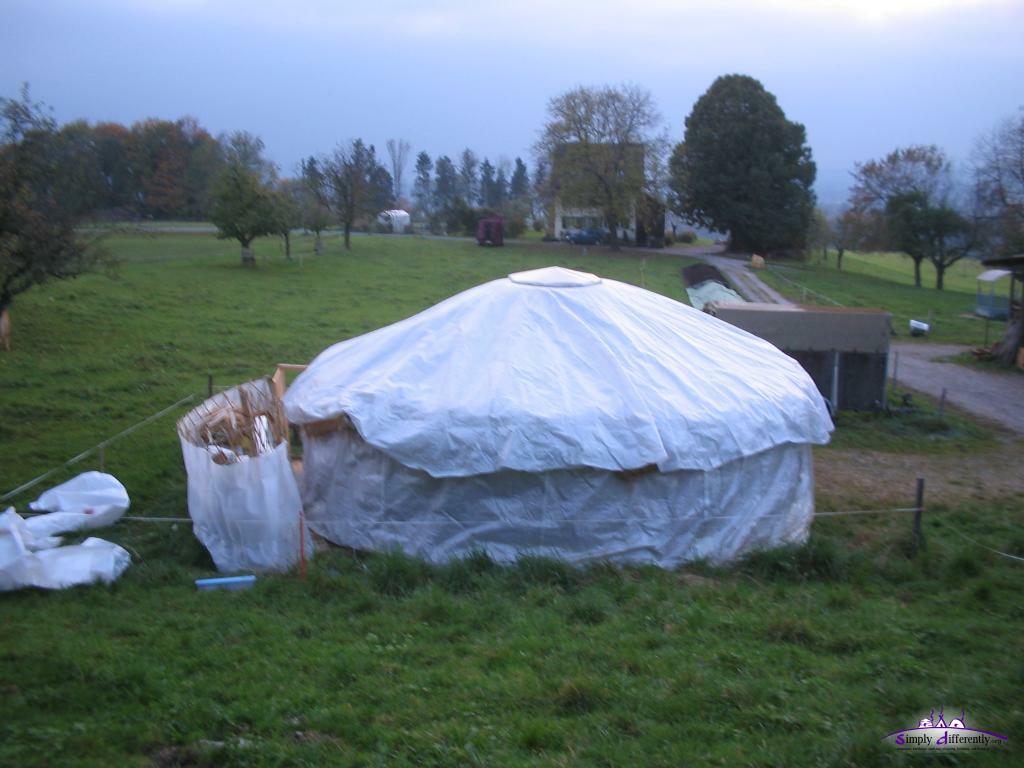 Finally rain cover put up 2007/10/25 16:13  Preliminary rain cover tied 2007/10/25 16:36 23. 10. 2007: Replacing Door & Thermal Insulation of the WallToday I made the decision to stay for the winter time at the current place after the farmer agreed to extend the time, even though I spent time reviewing other spots, but none was really suitable or available right away. I keep looking for a place for springtime, when I definitely have and want to move. Two things I did today, replacing the door and putting up the termal insulation of the wall I made last year. Replacing the Door Finally I replaced the old door, which I just realized, had a tilted frame due the uneven ground, which finally was sufficient so the door was off 1.5cm, too much. The new door is more beautiful as I used higher quality wood and no gaps between the lath as they are interlocked with each other.
This all can be done by one person, point 2 & 3 are most important.
 Replacing door: Two ropes, main rope and rain cover rope (2 of 9) 2007/10/23 08:33 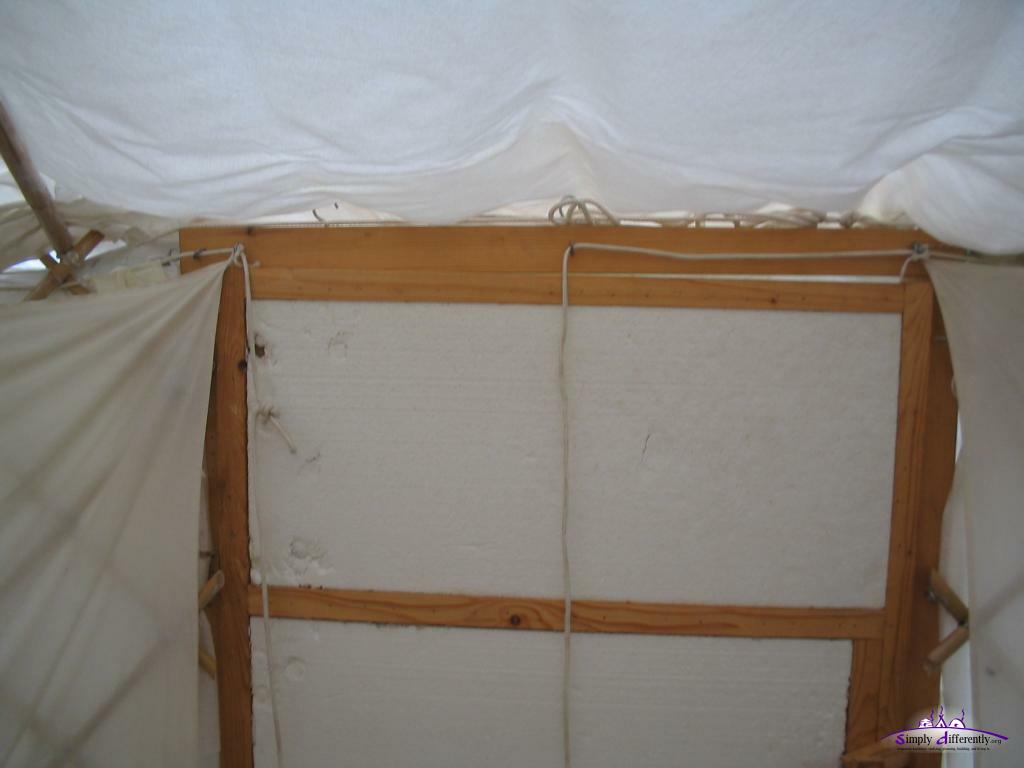 Replacing door: main rope untied, main static done via rain cover rope (3 of 9) 2007/10/23 08:34 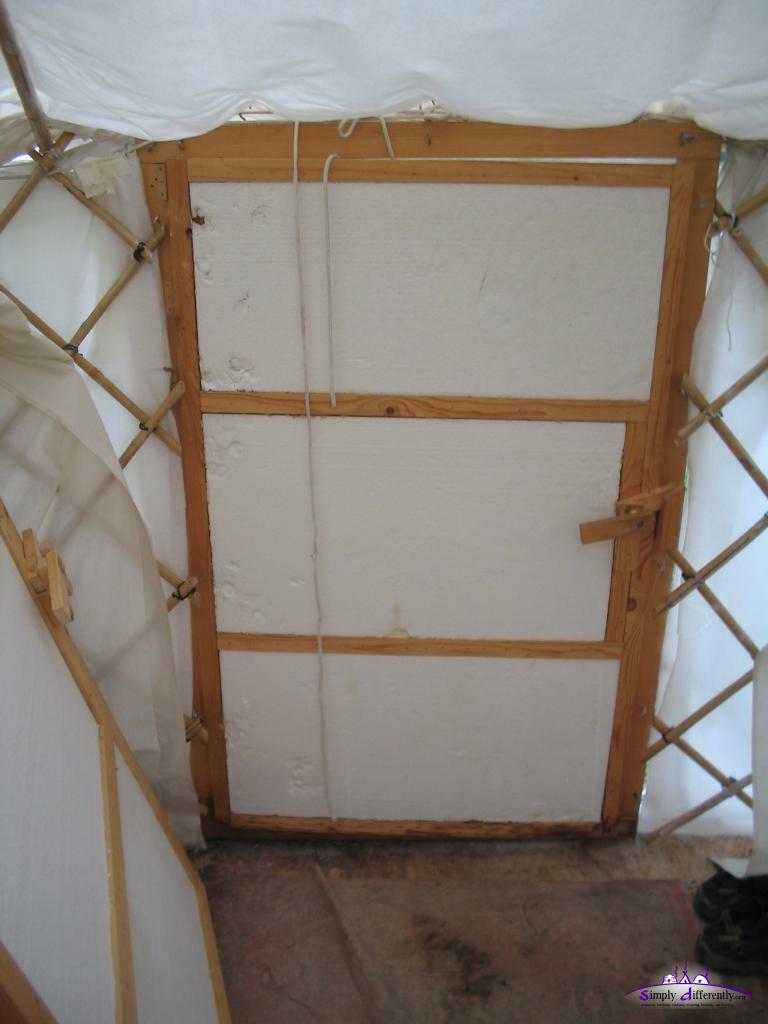 2007/10/23 08:38 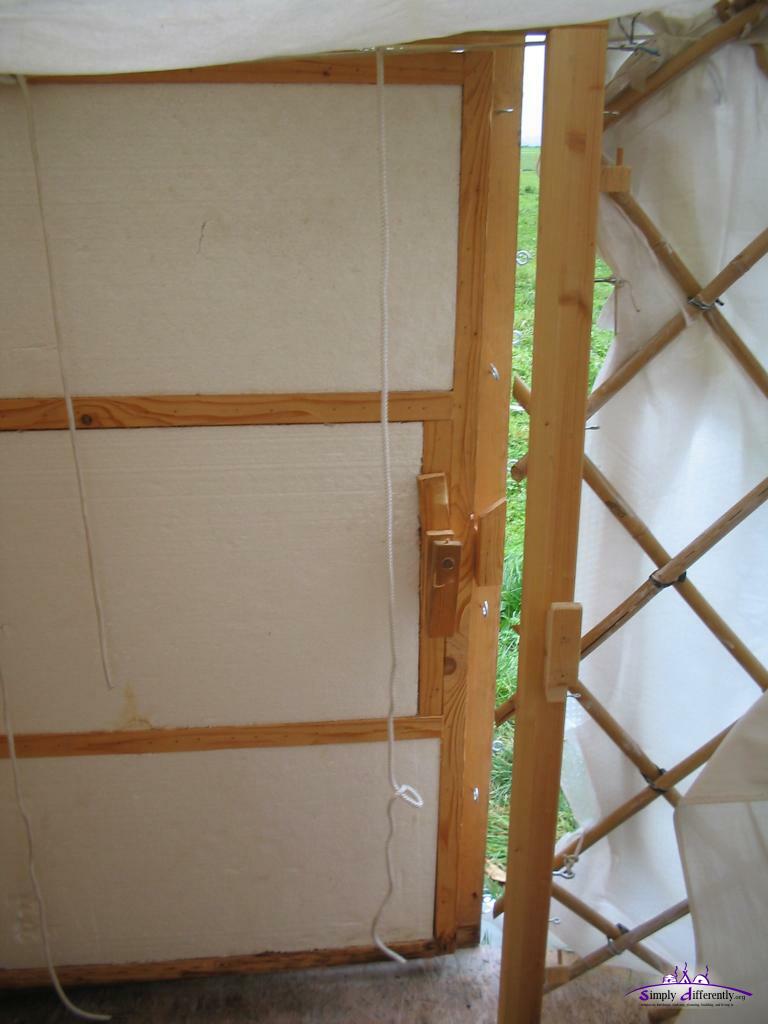 Replacing door: tieing ropes to new door, new door opened (5 of 9) 2007/10/23 09:32 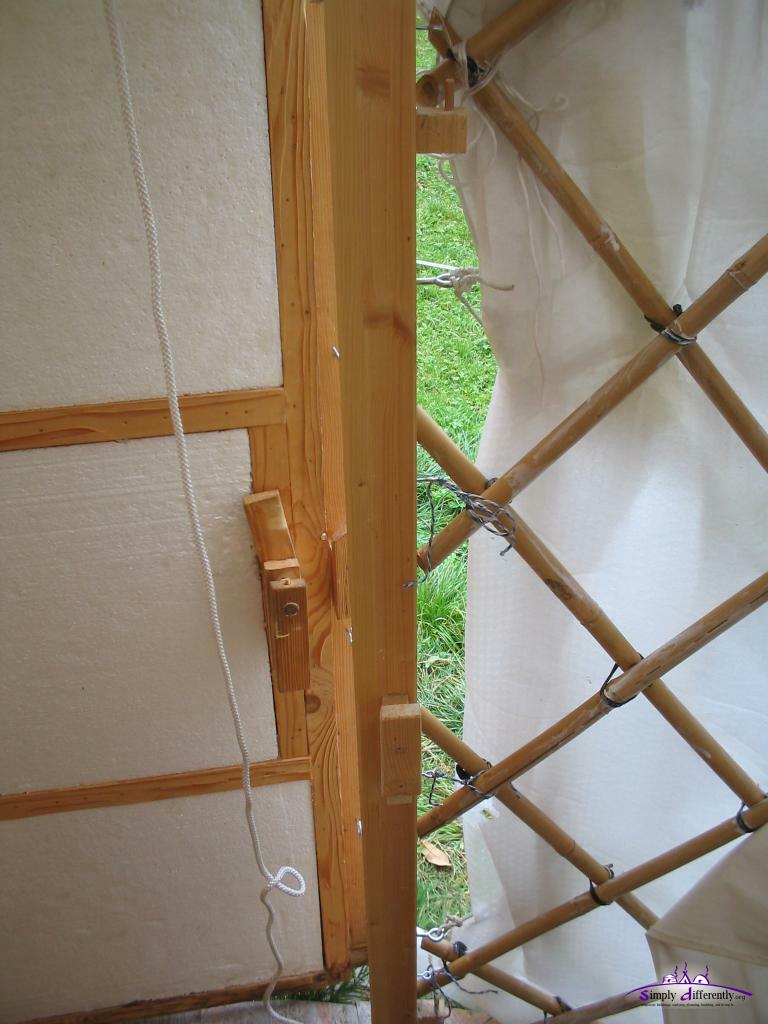 Replacing door: tieing side-junctions to new door frame (6 of 9) 2007/10/23 09:36  Replacing door: tieing side-junction to new door frame, detail (7 of 9) 2007/10/23 09:36 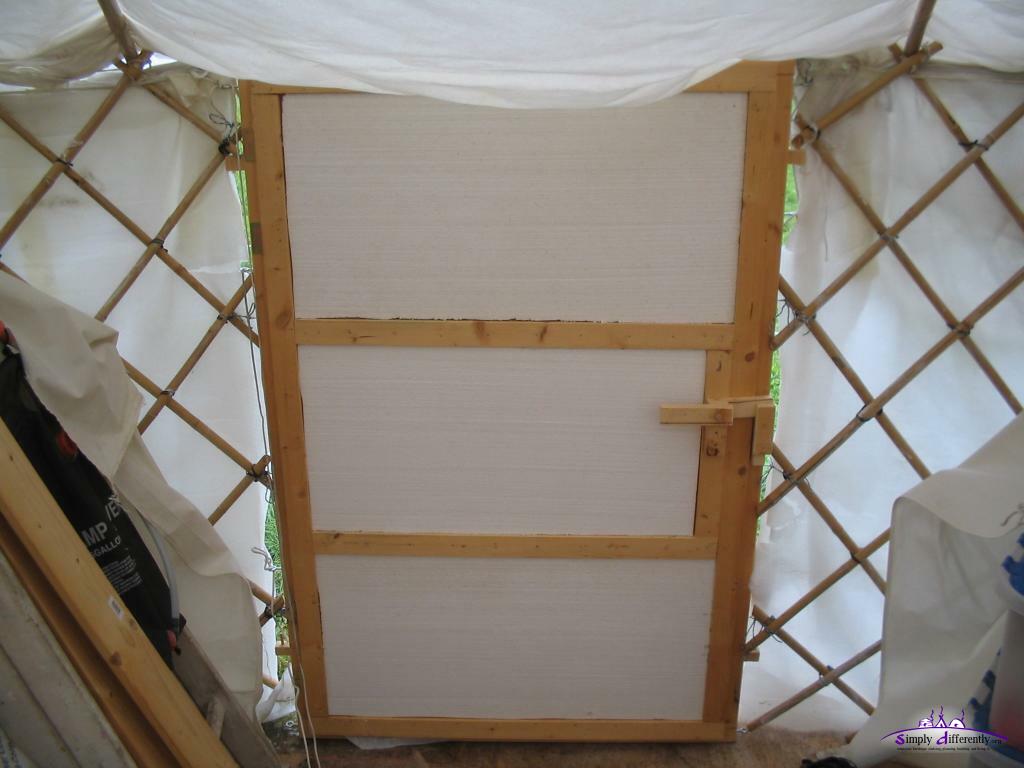 Replacing door: new door completely tied on lattice-wall/khana (8 of 9) 2007/10/23 09:44 Putting up Thermal Insulation of the Wall
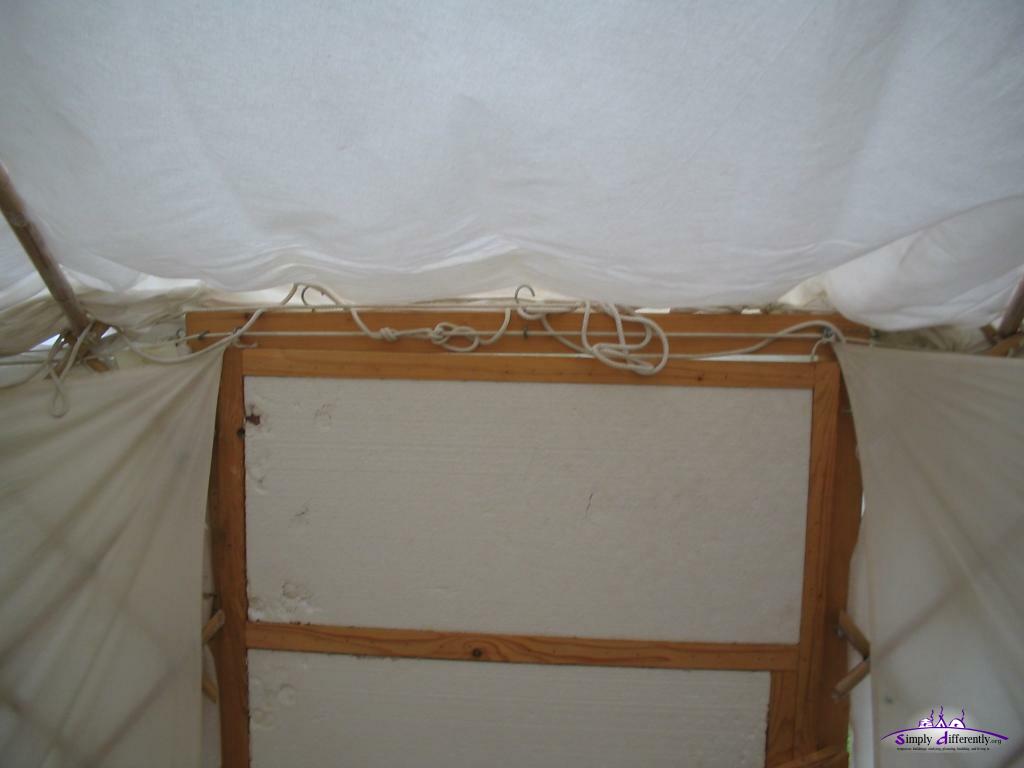
So I first assumed I had to remove the entire attached room first, and then add the insulation and then erect the attached room once again - but then I realized I only had to remove one side of the room in order to have access to the rain cover of the wall, and keep the shape of the attached room and didn't have to move anything I store there. The thermal insulation I made last year, jute with open straw and the whole thing quilted, 5 pieces - and I hang them all on flexible PVC binders which one uses to bind plants on sticks. After 2-3 hours the blankets were put up, and bound on the main rope, which on this new addtional weight got very tight. Again I let 1/5 of the entire circumference with 4 or 5 layers bubblewrap so some daylight can enter the wall, this on south side of the yurt, all the rest with the straw-based insulation. Finally I put the wall rain cover back again, as well the attached room, but not yet fully with all ropes as the after tomorrow a friend visits me to assist me to put the thermal insulation on the roof, when I require again to untie some ropes again.
I also took the chance to clean the rain cover with cold water and a lobe, mostly stain like a bit moss where the ropes went along.
The PE ropes I tried to wash in a small container with hot water, some moss went off, but the ropes remained with green moss on it - maybe I need to soak them longer and maybe with a bit of soap, let's try tomorrow this.
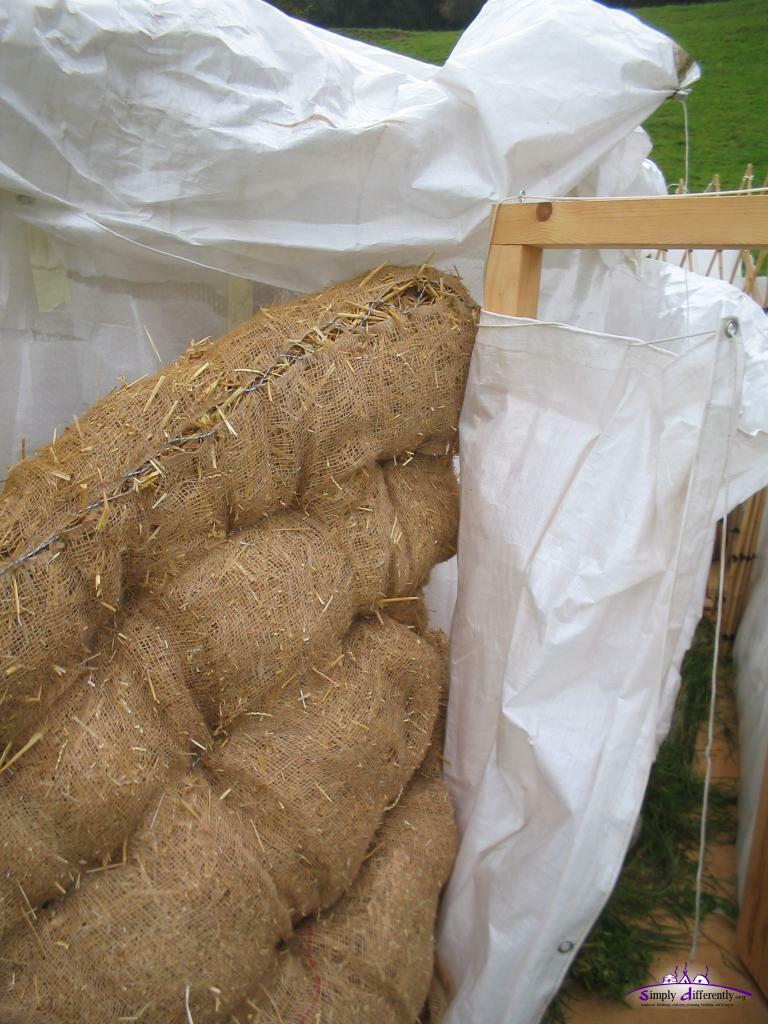 2007/10/23 11:57  Closeup of wall thermal insulation, attached to main rope with flexible PVC binder 2007/10/25 11:41  Wall thermal insulation put up 2007/10/23 13:47 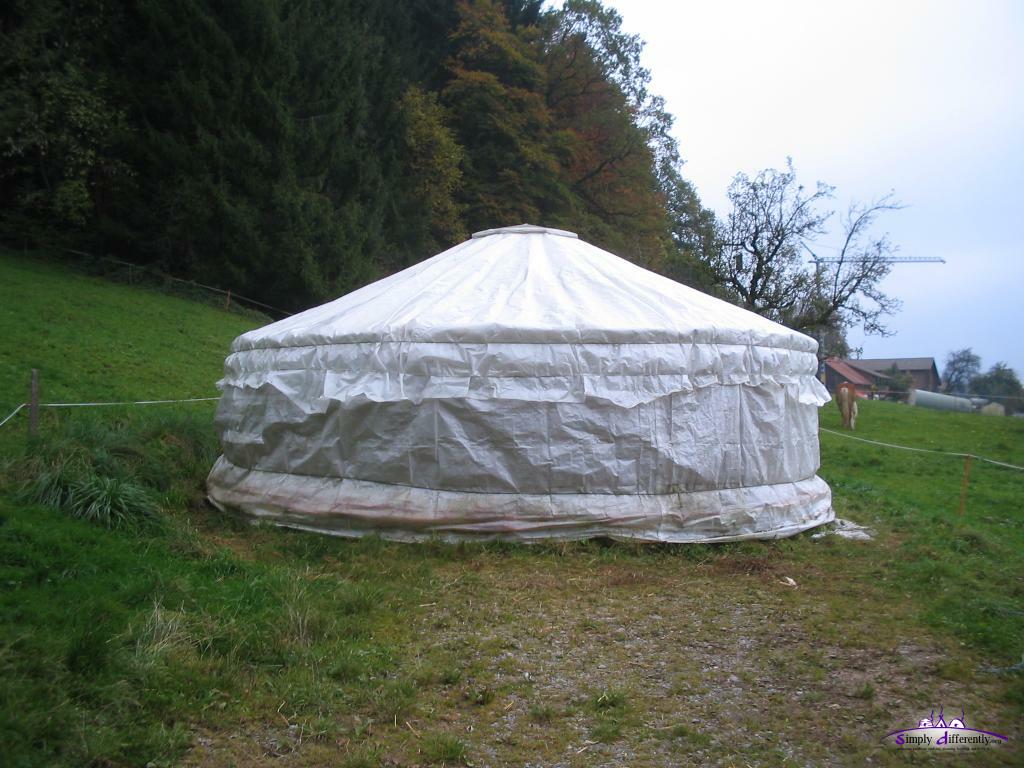 Wall rain cover put up 2007/10/23 15:32 It's still above 0°C during the day, 4-8°C and working outside gives warm quickly. We have high fog covering up the sky, so almost no sunheat is able to heat up the yurt and remains the same temperature like outside. That's also why I decided to put up the thermal insulation so heating with the stove is more effective. 22. 10. 2007: Golden October, Chilly DaysI just returned from a trip visiting friends of mine through Switzerland, which I made with my recumbent. Last Thursday, 17th October, the weather changed dramatically, from the "Golden October" (15-18°C) and sunny days, to chilly winds and temperatures from 2-8°C, and where I was even below 0°C with kind of first snow (called "graupel", kind of condensed snowflake).When I arrived in the yurt this afternoon, around 14:00, it was 3.7°C - and even thought it was slightly warmer inside than outside - even my LCD screen refused to start up at that temperature. So I heated the stove, to reach 13°C after 1.5 hours - and this still with summer setup (without thermal insulation). The attached room had some ice on the roof, so it reached well below 0°C the last days - and time to insulate the yurt now as I decided the first frost is the time to put up the winter setup with straw-based insulation again.
8. 10. 2007: Sunny Days, Preparing New Door
I have been working further on enhancing the door with a extended roof over the door, and extension of the left and right frame parts to cover the junction of rain cover to the door (some photos follow later).
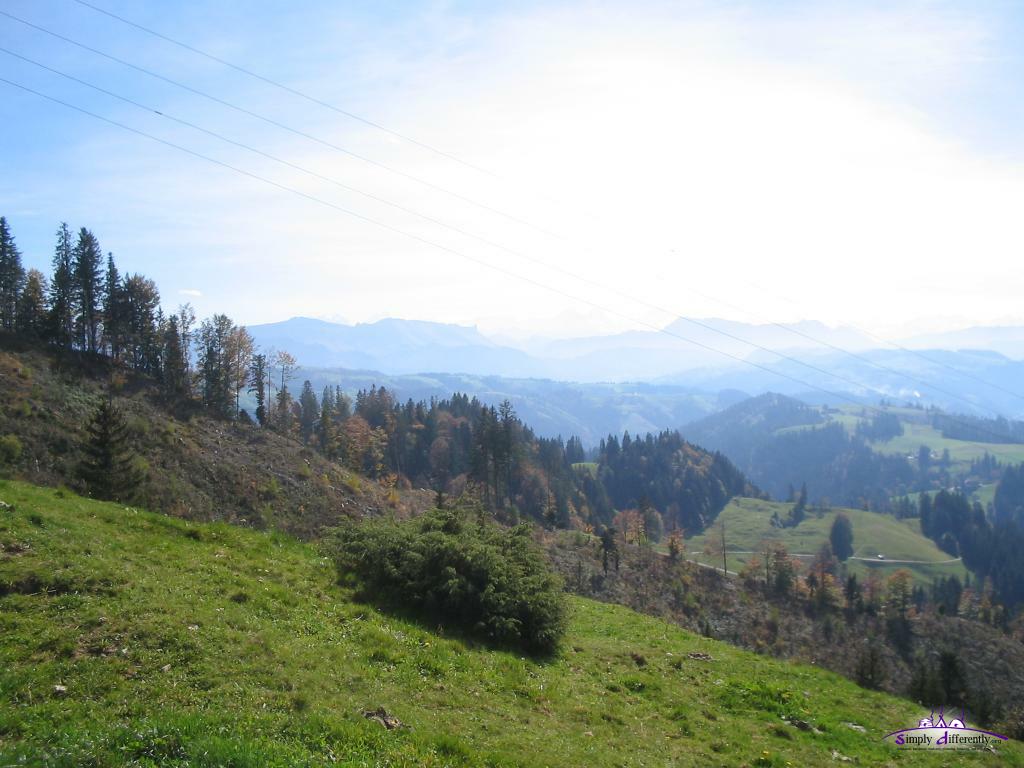
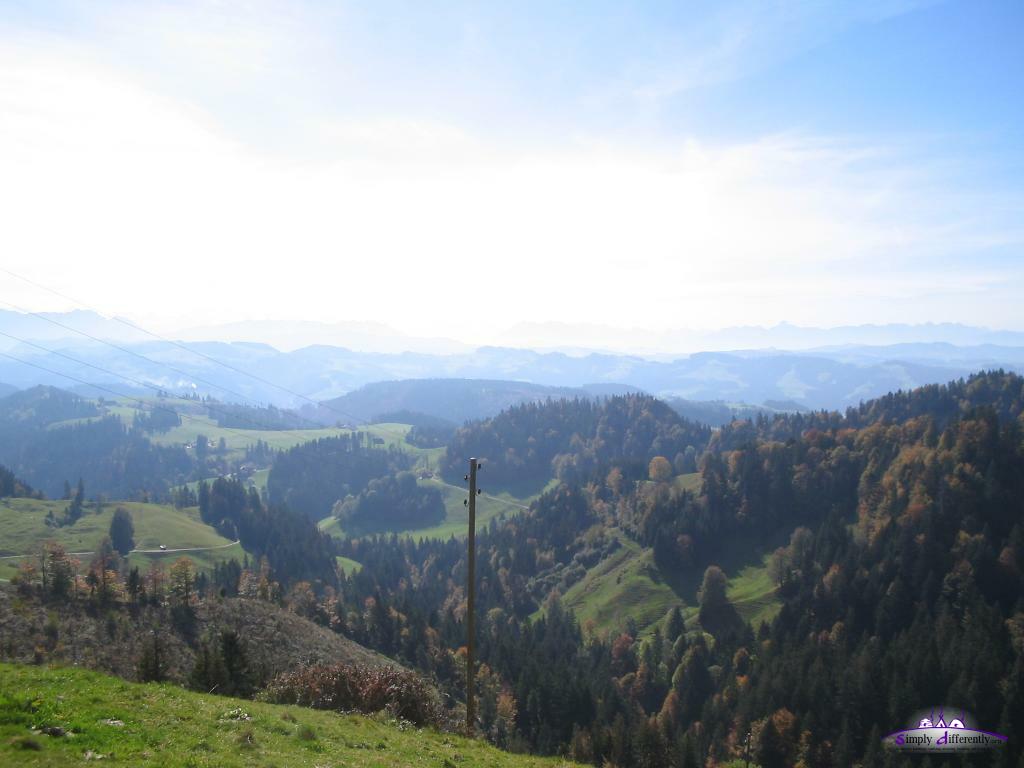
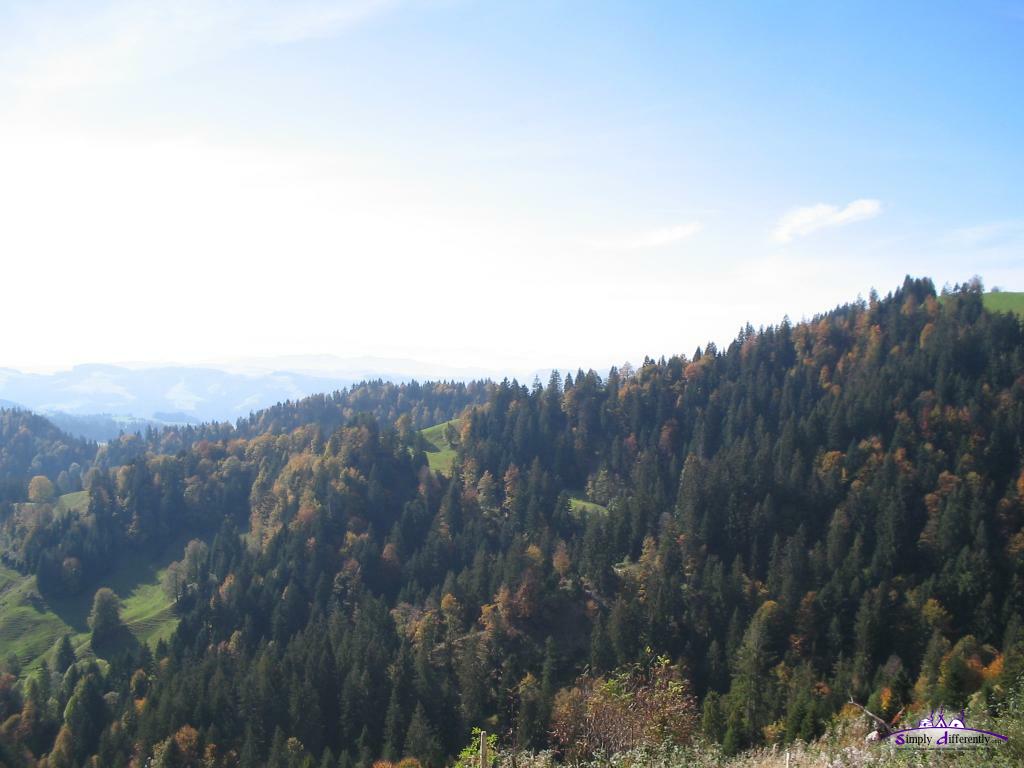
5. 10. 2007: Mild Days, Adding Locking Mechanism to DoorsThe last days I spent reviewing alternative places and connected with like-minded and like-spirited people. A few places I visited was in a remote and less populated area of Switzerland, the Napf region:
At one location on this trip was also a yurt, made by Thomas: 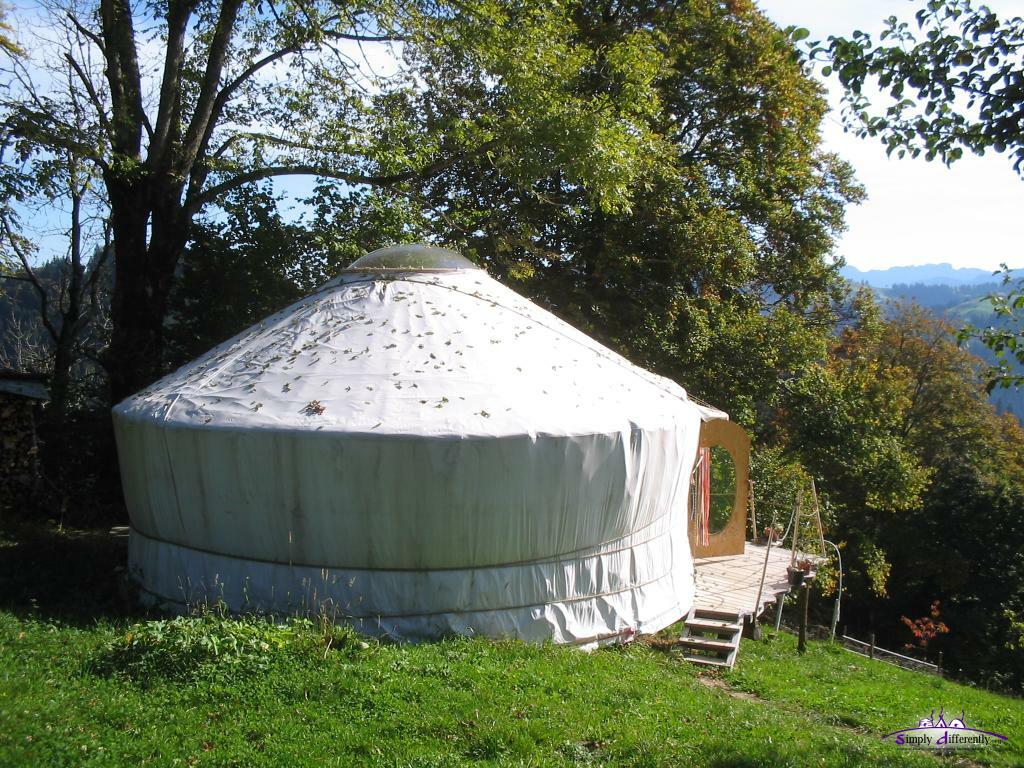 2007/10/03 09:27 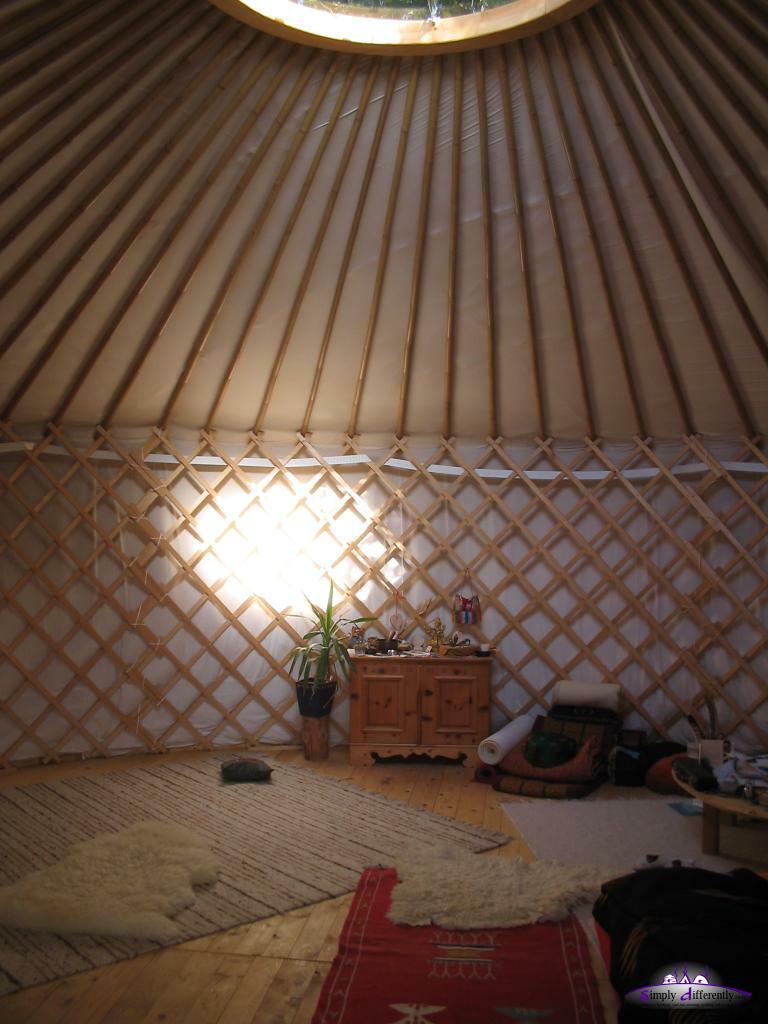 2007/10/03 09:33 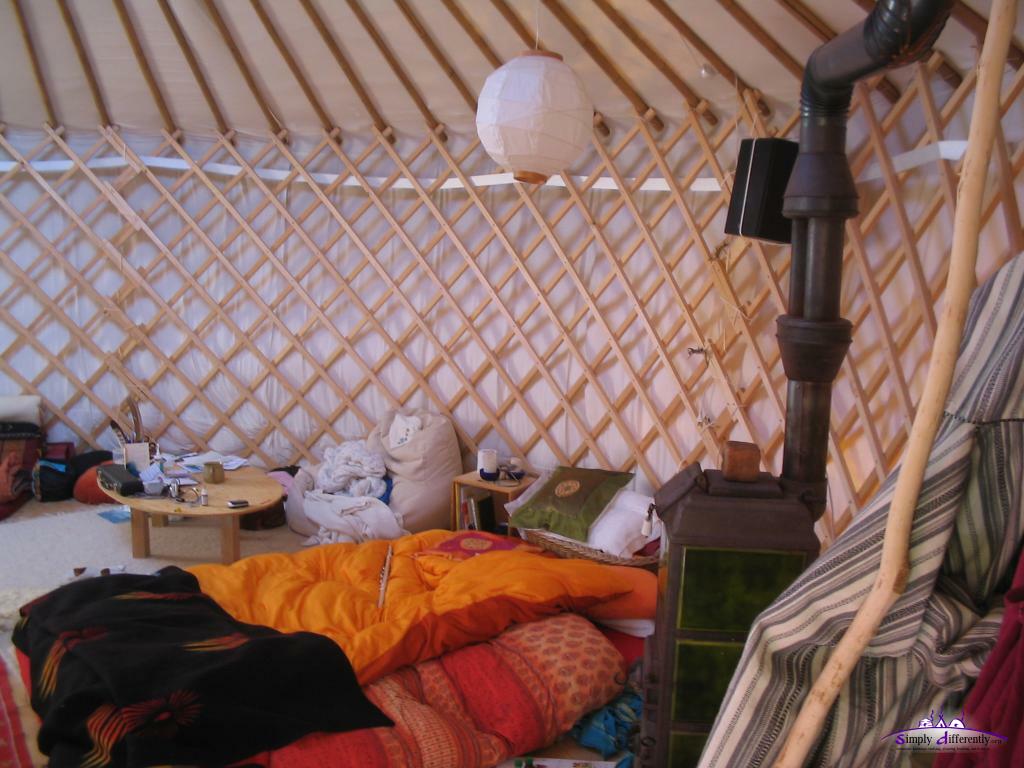 2007/10/03 09:33  2007/10/03 09:47 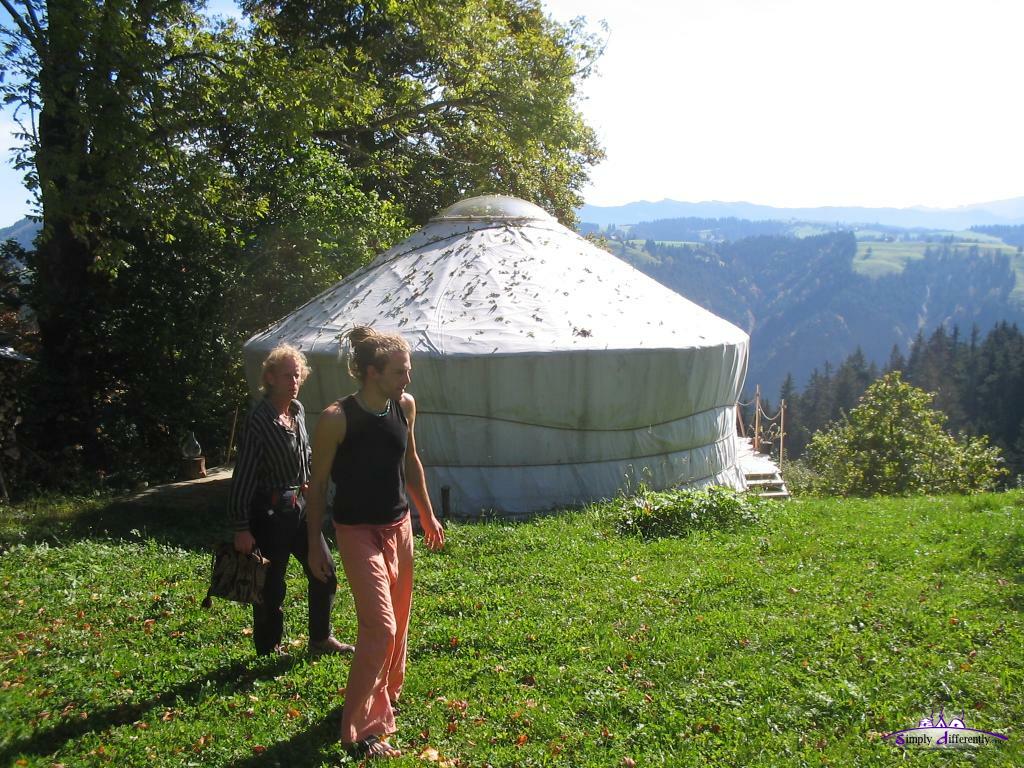 2007/10/03 09:50 6.5m diameter, heavy cotton rain cover with a 2nd light cotton cover over it, 1.70m diameter acryl skylight, and 2m high walls, lattice wall made of fir laths, the roof poles apprx. 3cm thick bamboo, and stove pipe through the roof.
27. 9. 2007: Equinox, Fall Approaching, Visiting Damanhur (Italy)
September Equinox I spent visiting Damanhur.it 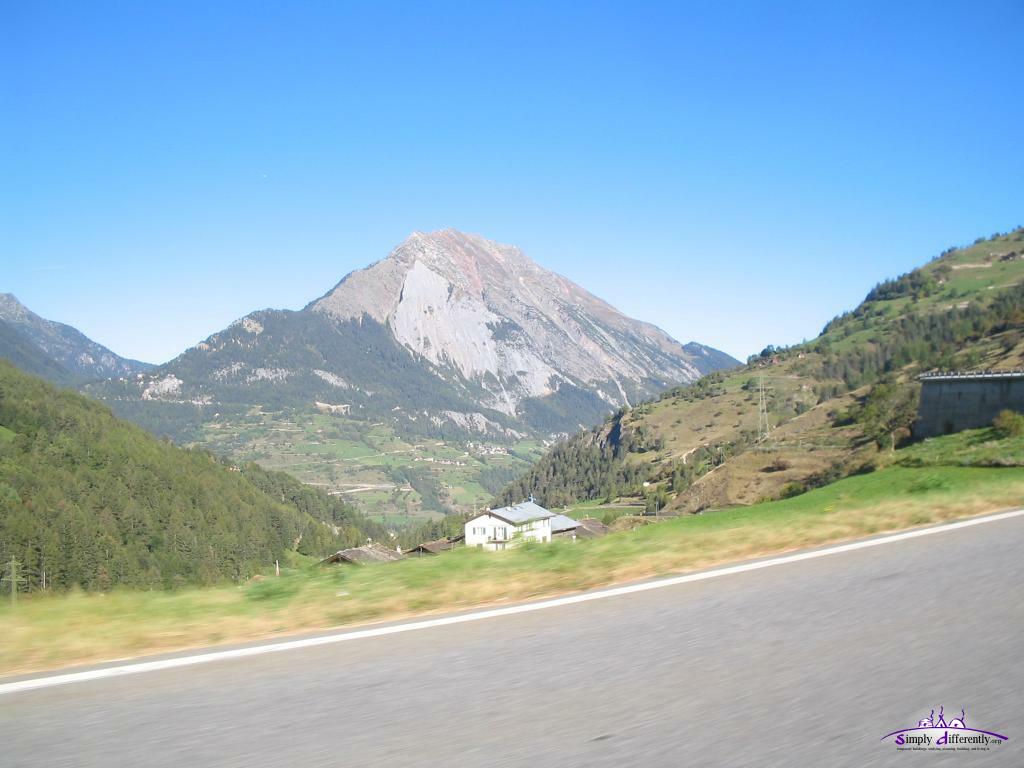 2007/09/22 07:49  2007/09/22 08:16 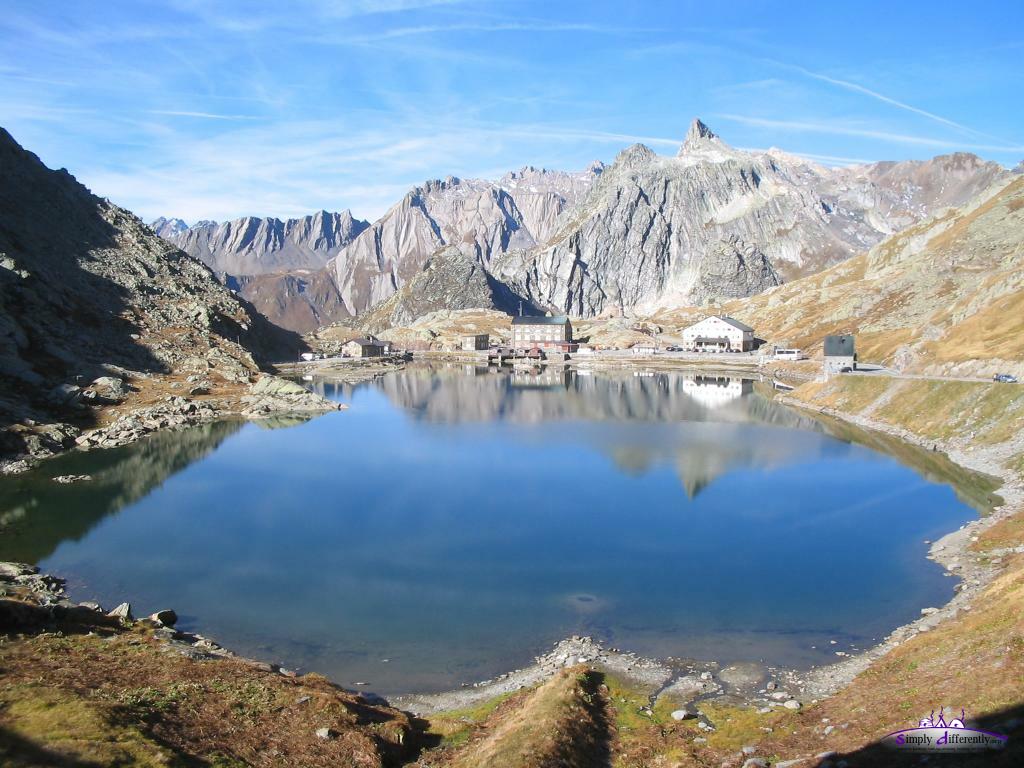 2007/09/22 08:18 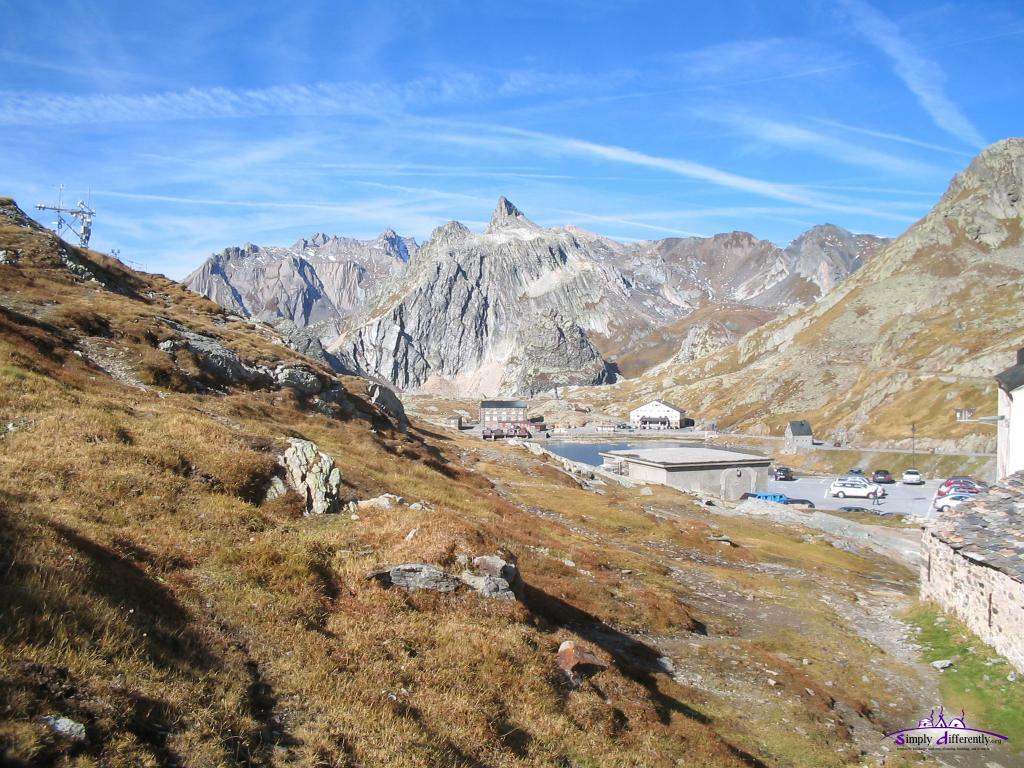 2007/09/22 08:37 A few photos from one of the "nucleo" at Damanhur:  2007/09/22 15:24 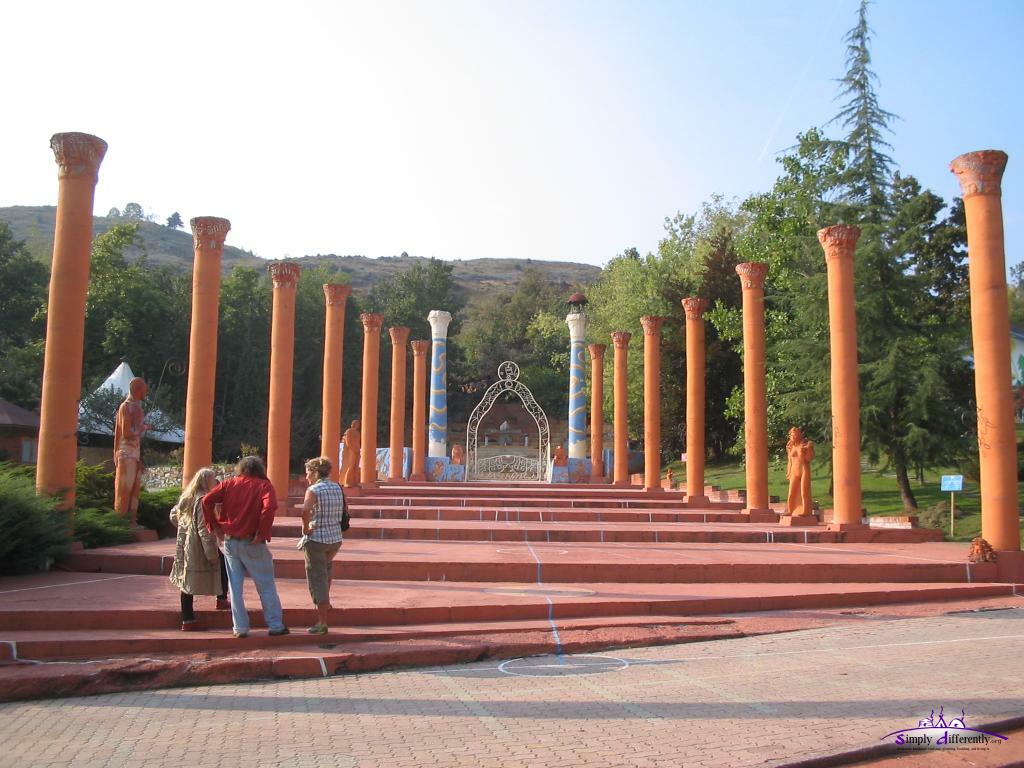 2007/09/22 14:39 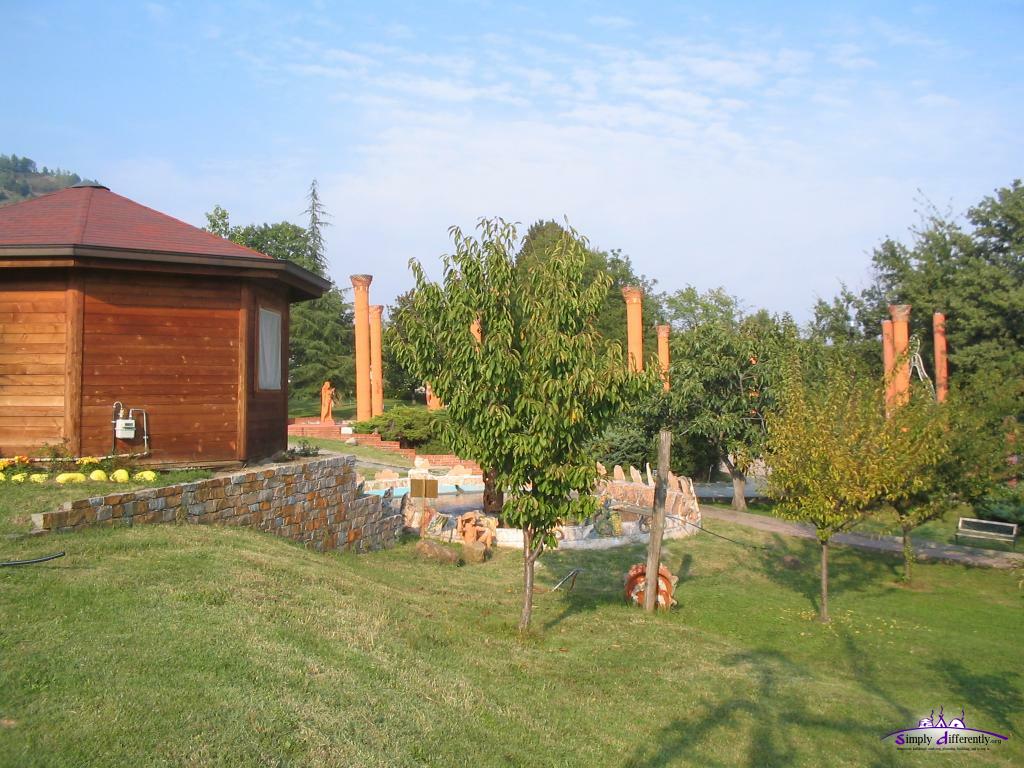 2007/09/22 14:50  2007/09/22 14:54  2007/09/22 14:56 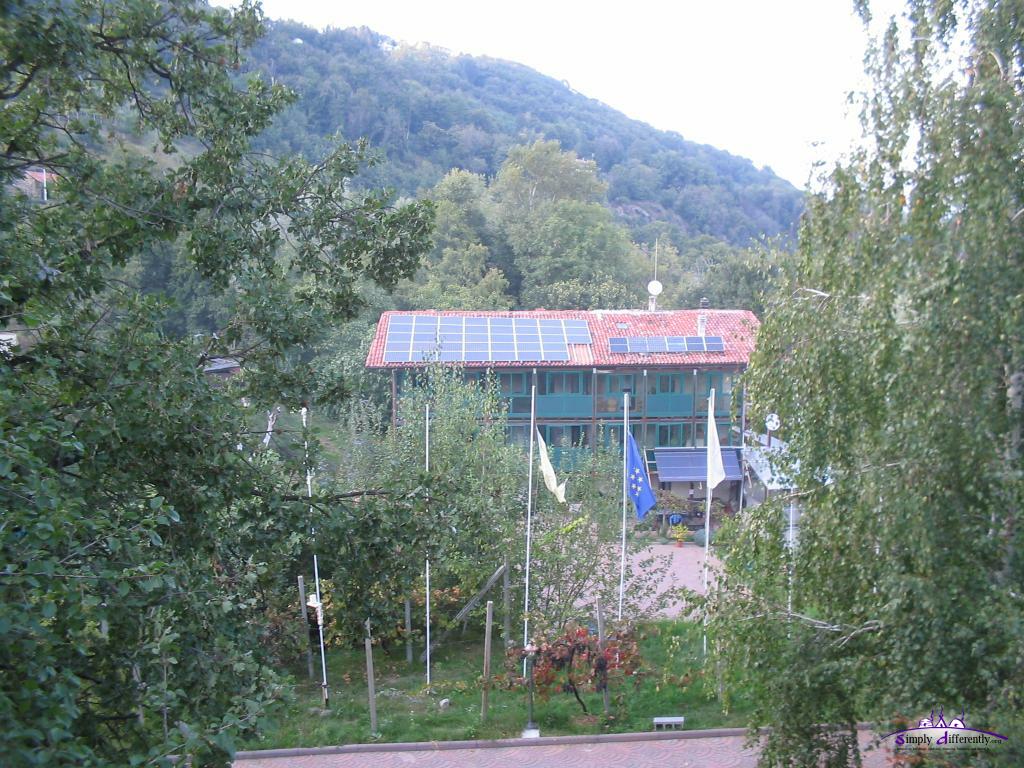 2007/09/23 16:23 The bridge of old egyptian mystery school and alternative sustainable energy is shown in the photos quite well, the labyrinths are made for walking meditation and next to it some photovoltaic modules. Upon return from the trip, the weather changed and cooled off, with rain temperature down to 10°C, and inside the yurt 12°C - this afternoon the sun briefly comes through the overcast sky and warms up the yurt to 20°C. Within the next days I will put up the straw insulation I made last year, as soon there are a dry sunny day to remove rain cover and so forth. 20. 9. 2007: Cooler & Sunny Days
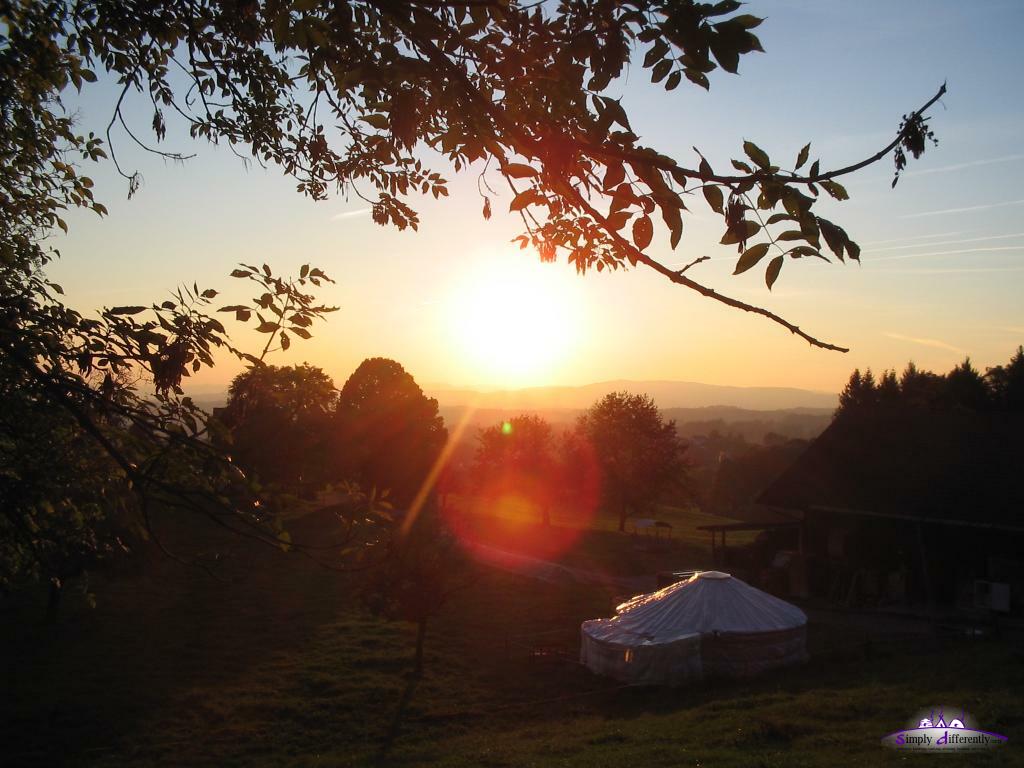
I'm also thinking putting up the winter insulation to ease the temperature drop after sunset.
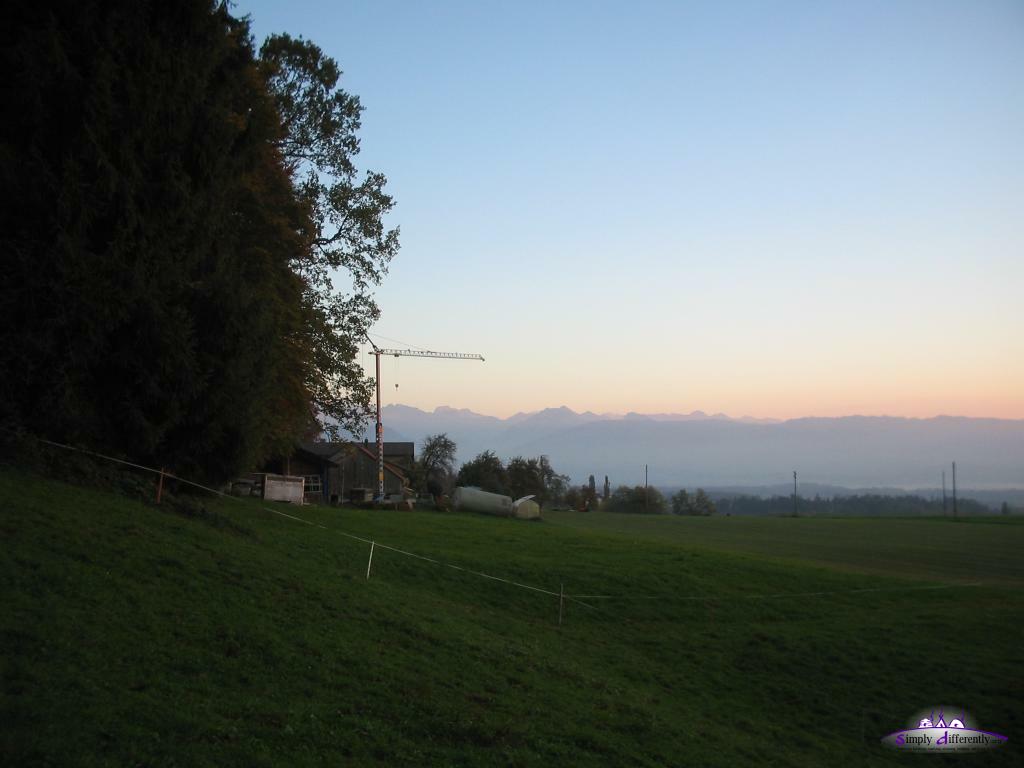
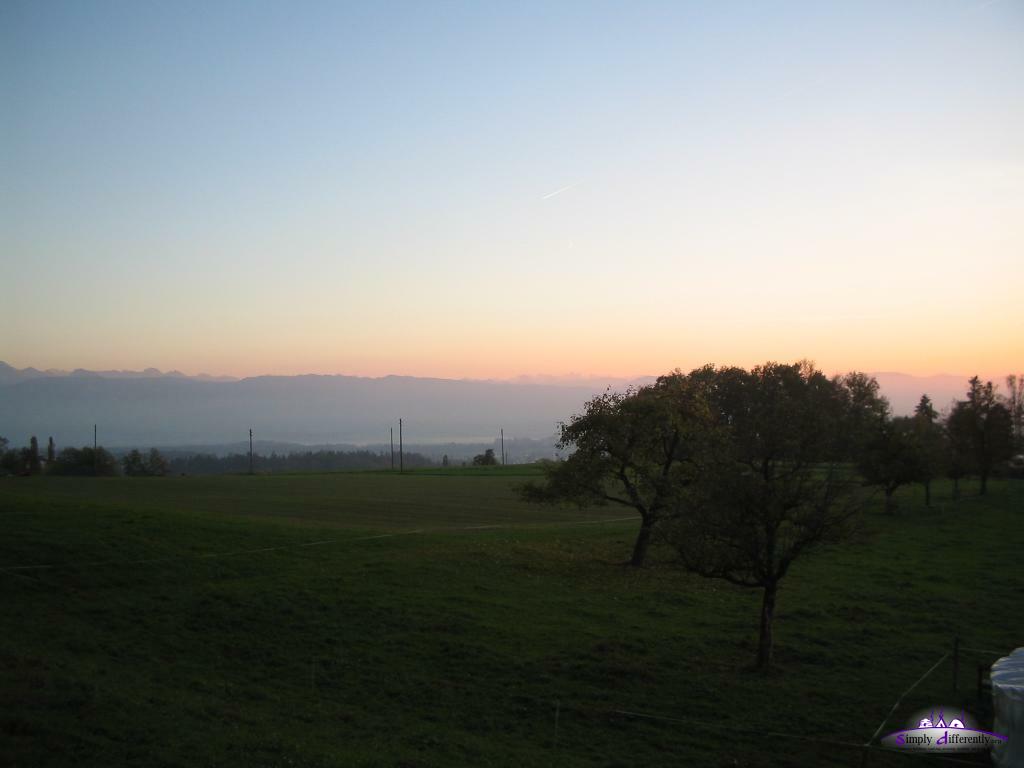
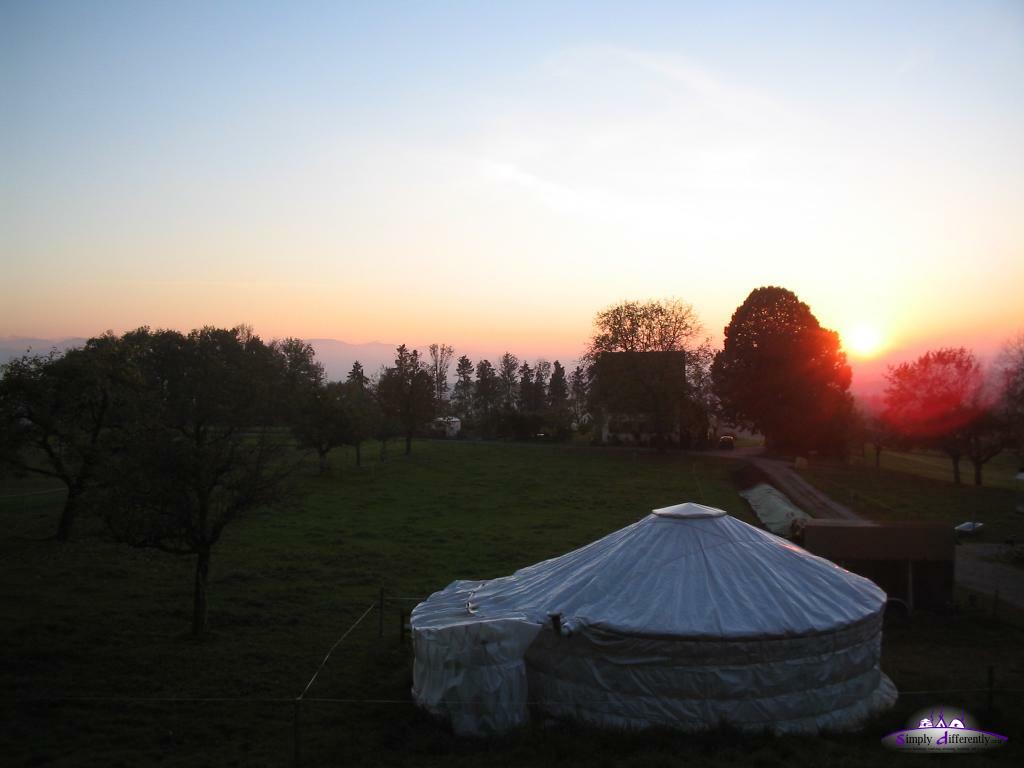
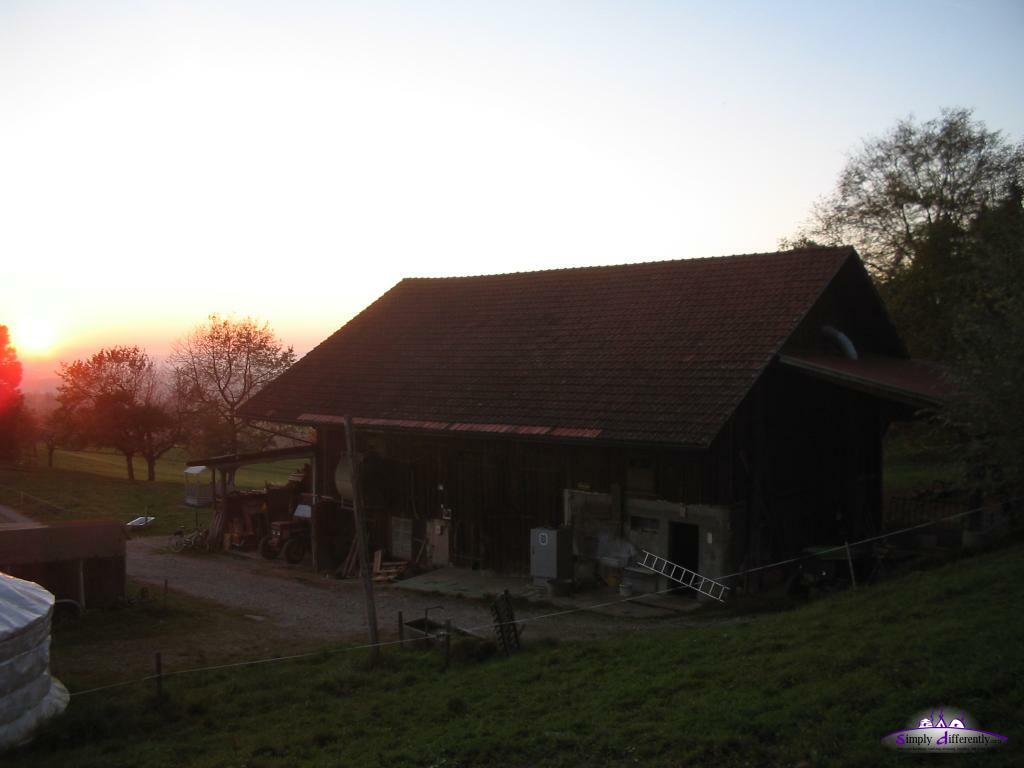
This sunset was wonderful, soft gold light from the sun - some slight fog in the far distance softening the atmosphere.
17. 9. 2007: Fixing SkylightToday I just fixed the skylight again, the clear tape I used to seal the junction of the cone-like form of the PVC I used. It usually lasts for 5-6 months before the tape glue is dried and looses any adhesion - a quick look in my diary here shows it lasted now over 10 months. The PVC isn't as soft as it used to be, a bit rough handling and it cracks, might be time to replace it again. Again a couple of days of mild temperatures, 18-22°C outside, and up to 30°C inside when I keep the skylight and door closed, with door open it goes down to 24°C inside.
While looking for alternative locations for my yurt I made contact with more tipi and yurt-enthusiasts. Yet, Switzerland Page << Prev | 1 | 2 | 3 | 4 | 5 | 6 | 7 | 8 | 9 | 10 | 11 | 12 | 13 | 14 | 15 | 16 | 17 | 18 | 19 | 20 | 21 | Next >> Content:
| |||||||||||||||||||||||||||||||||||||||||||||


| Home | · | About | · |  Tipi | · |  Yurt | · |  Dome | · | Features | · | Gallery |


Creative Commons (CC) BY-SA-NC 2005-2017, developed, designed and written by René K. Müller
Graphics & illustrations made with Inkscape, Tgif, Gimp, PovRay, GD.pm
Web-Site powered by FreeBSD & Debian/Linux - 100% Open Source