
|
Page << Prev | 1 | 2 | 3 | 4 | 5 | 6 | 7 | 8 | 9 | 10 | 11 | 12 | 13 | 14 | 15 | 16 | 17 | 18 | 19 | 20 | 21 | Next >> Yurt / Ger Diarywritten by Rene K. Mueller, Copyright (c) 2005, 2006, 2007, 2008, 2009, last updated Sat, January 3, 2015 26. 12. 2006: Winter/Summer Solstice & Humidity
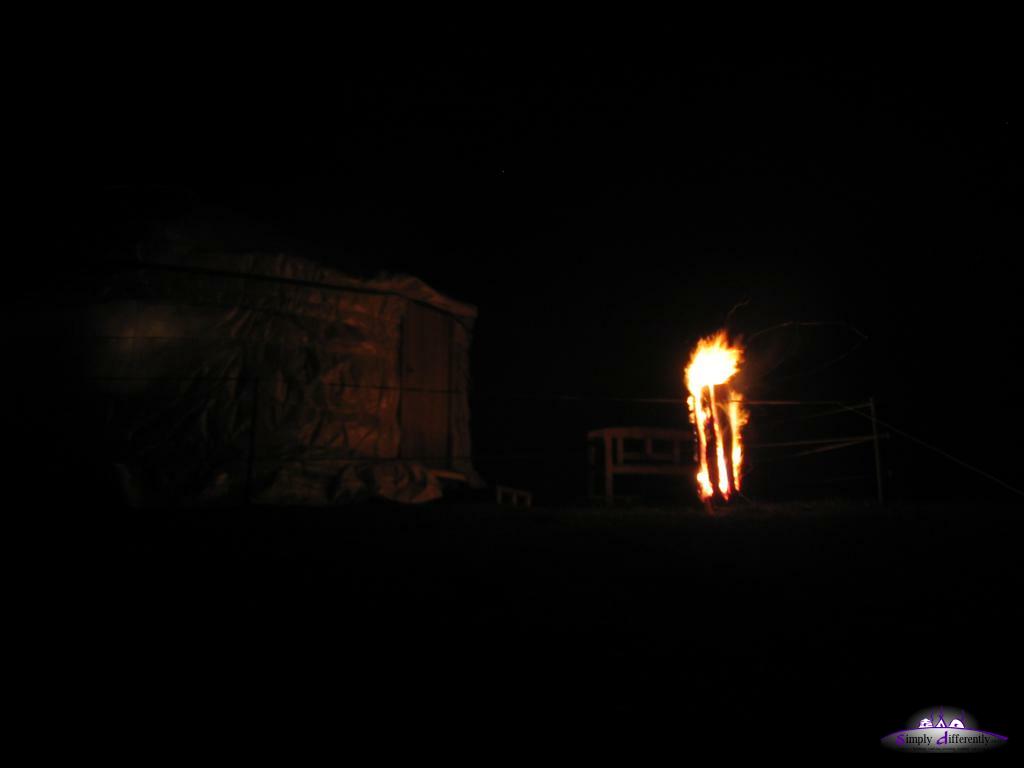
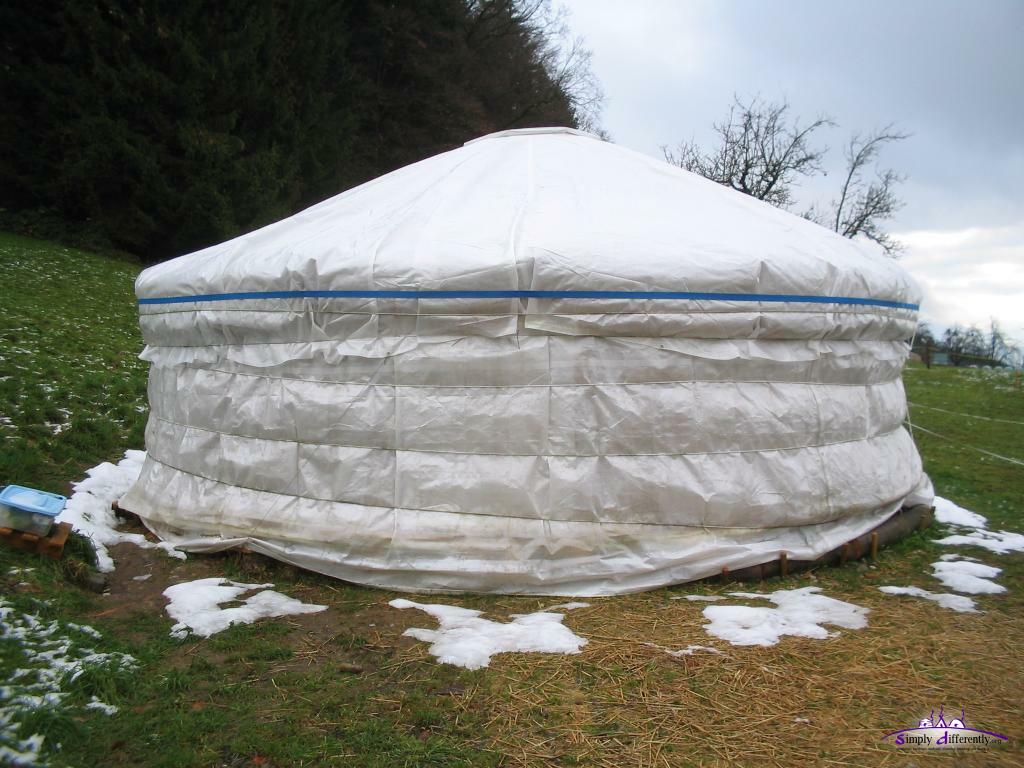
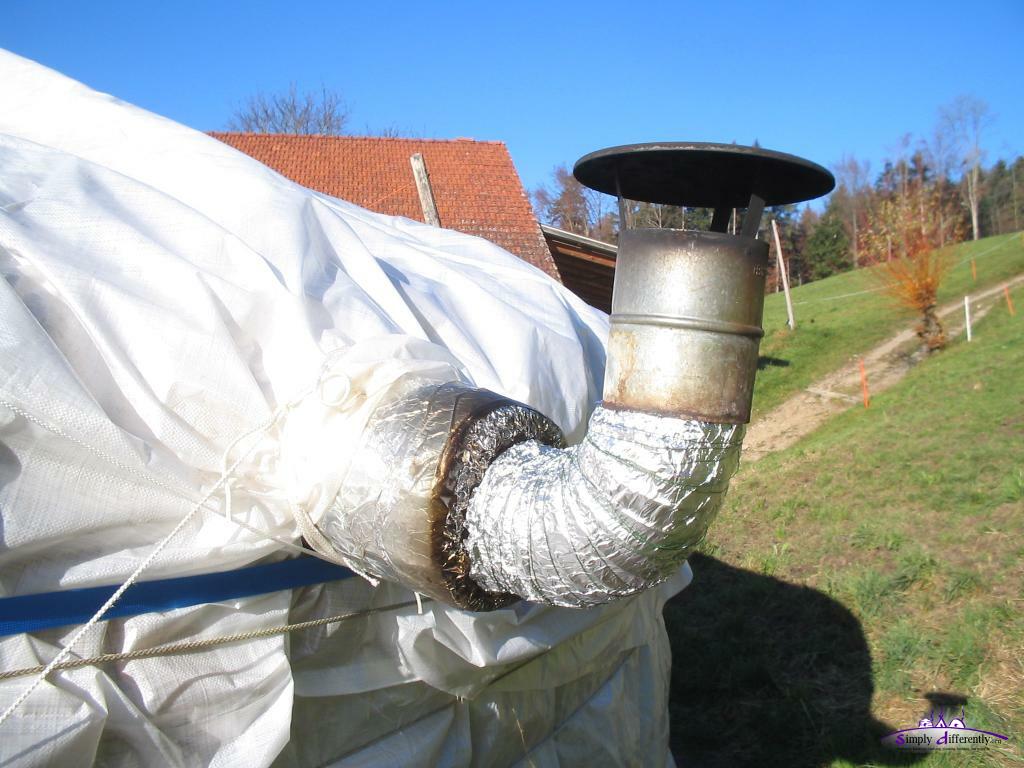
21./22. 12. winter solstice (or summer solstice for southern hemisphere) - fired a "finnish candle" to celebrate this day and night. Humidity The last weeks I noticed humidity within the straw, at the outer overlapping region where the roof overlaps the wall, where the humidity actually condensates - so, the water drops undernead the rain cover, on the wall. Some humidity consensates higher on the roof, apprx. 20-30cm up to the roof from the wall, and does collect 10cm away from the wall, and drops through the straw on the interior cotton. When I hang up wet cloth to dry the next day that region I hung up the cloths I had water drops along the interior cotton. So, I'm thinking using humidity passing foil, and let humidity intentionally condensate and let the water flow between that foil and rain cover over the outer wall rain cover then. More Experiences with Heating Outside -1°C morning and noon, getting up fire the stove for 2 hours, to apprx. 18°C, and then let it last for a couple of hours, drops 1°C per hour, down to apprx. 10°C when I fire the stove again for the evening. Just sitting, e.g. on the computer makes one feel 15°C as fresh, whereas little physical activity makes it feel warm - so it's essential to keep doing physical things as well, otherwise it doesn't make sense to fire the stove all day long to keep the temperate above 20°C. At -5°C I require to fire the stove constantly and moderately to keep ~24°C steady, which is non-sense (way too hot for my personal taste), but a value for the new insulation. I usually have the temperature between 12°C and 18°C when I work on the desk, which I experience as comfortable. I also got better in handling of the stove, apprx. 20-30 mins to heat up the stove, before actually closing the pipe, actually 3/4 closed, and keep the heat raising above the stove and ventilated around in the yurt with the fan. I'm also thinking using a "swedish stove" where you see the fire, and little or no stones which store the heat in the stove. Let's see. 14. 12. 2006: Skeleton of Travel Yurt FinishedI finished today the skeleton of the travel yurt, essentially drilling holes into the crown-wheel, using a small tool to drill holes with the correct inclination (28°) and angle (since I use a polygon form for the crown-wheel this matters), using two cords to mark the center and directing the tool to the center:  Drilling tool, 25° (24-28°) 2006/12/14 12:11 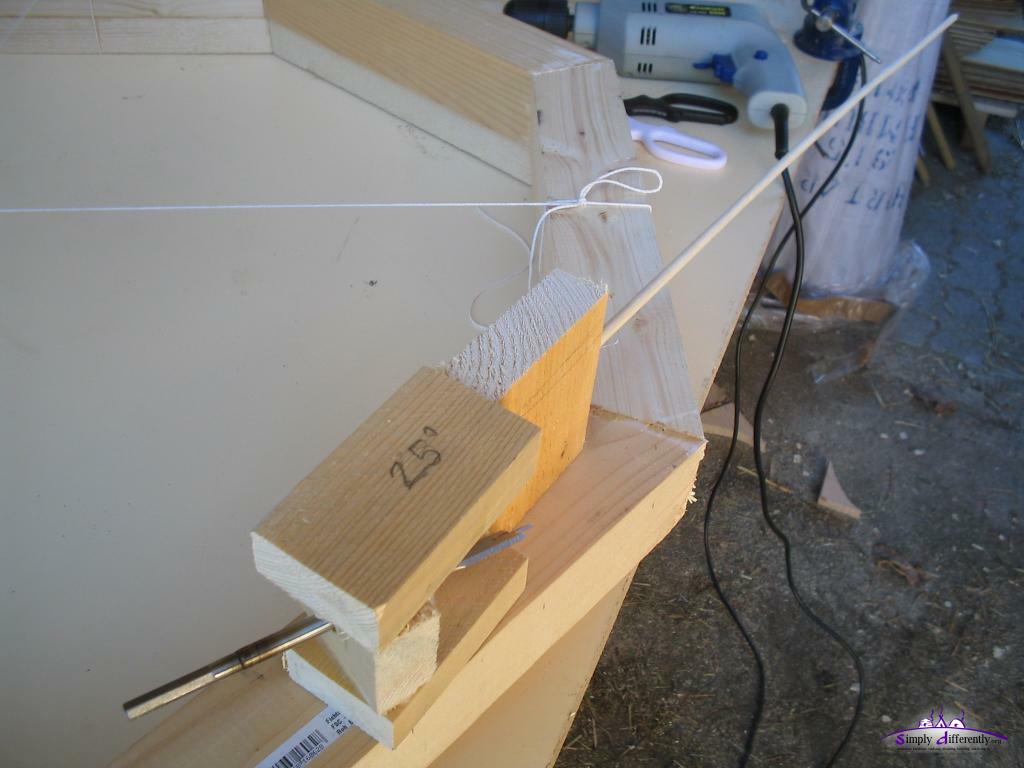 Drilling tool, with pointing stick directing center of wheel 2006/12/14 12:11 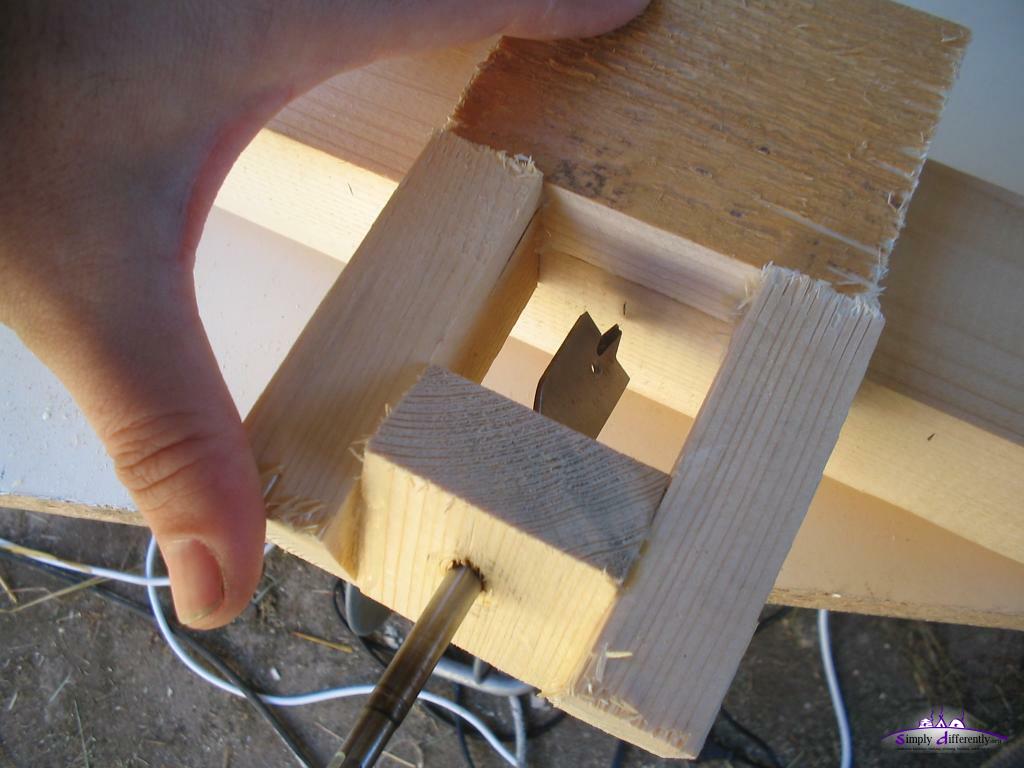 Drilling tool in usage (1) 2006/12/14 12:12 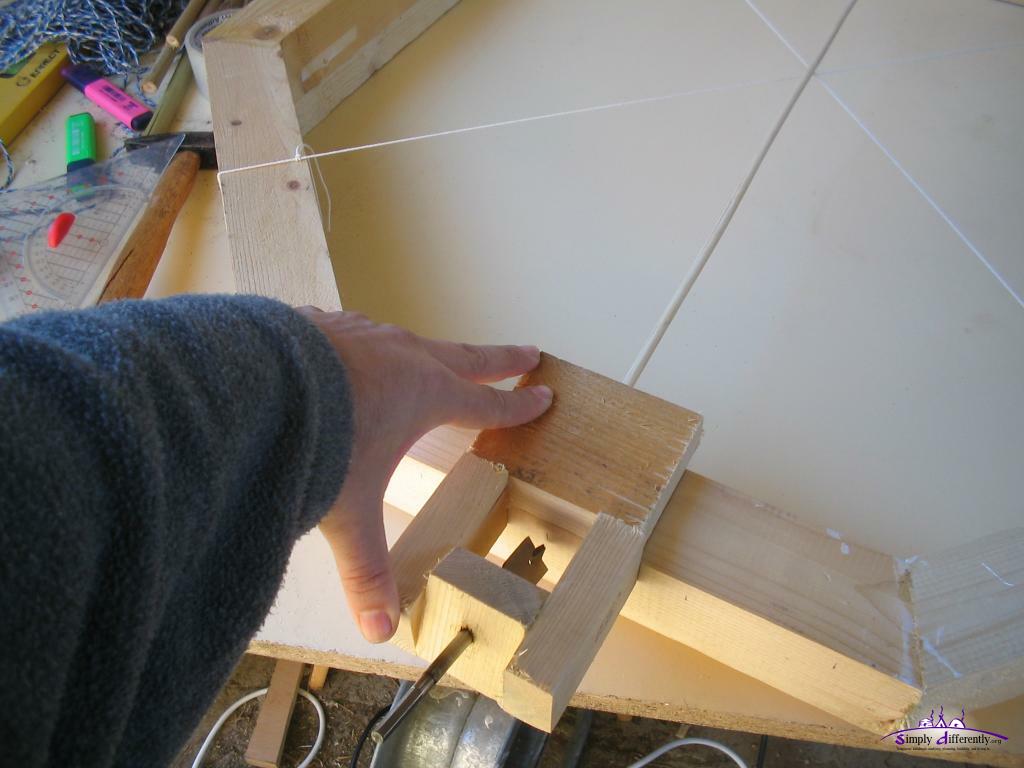 Drilling tool in usage (2) 2006/12/14 12:12  Drilling tool in usage (3) 2006/12/14 12:16 As next I wanted to quickly test the yurt setup, I used just a piece of timber placed where the doorframe would be; and used a tripod in order to have the crown-wheel high enough so I could erect the yurt myself: 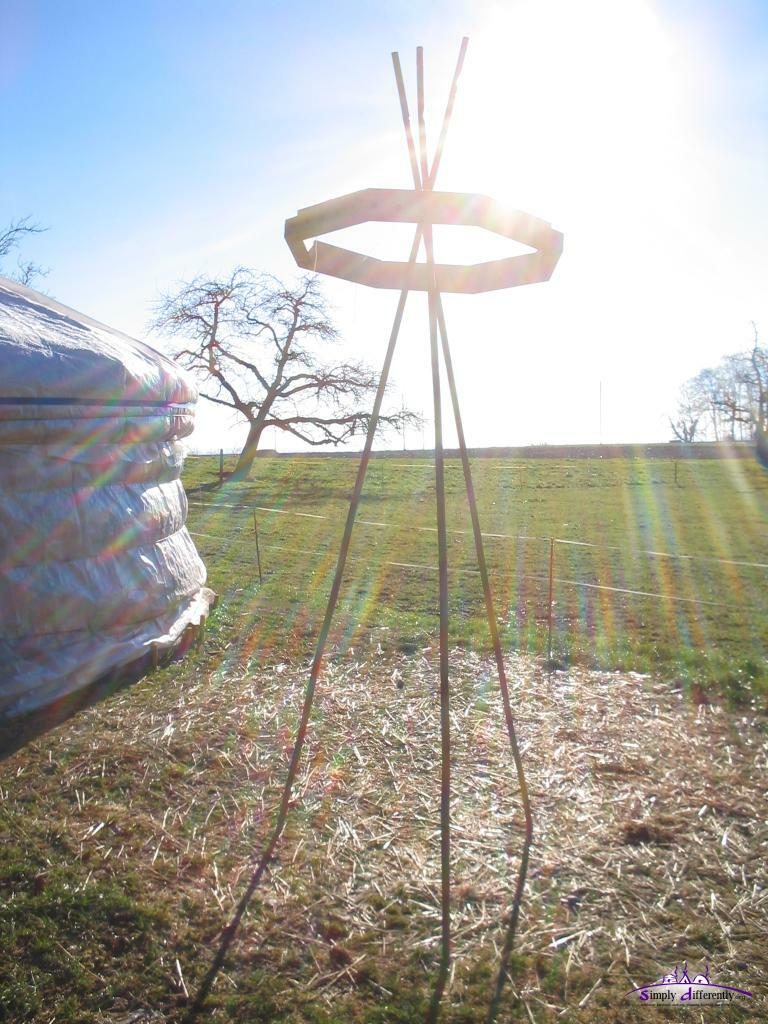 Tripod for crown-wheel (2) (one man yurt pitching) 2006/12/14 12:42 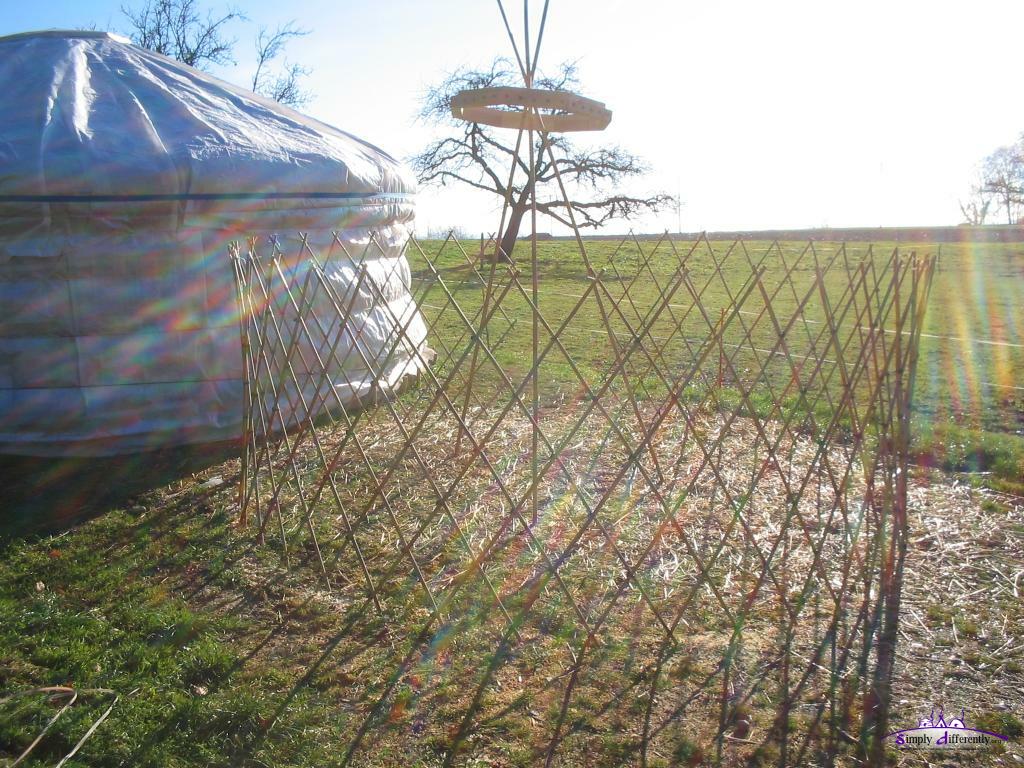 Yurt errecting with tripod (1) 2006/12/14 12:59  Yurt errecting with tripod (2) 2006/12/14 13:54 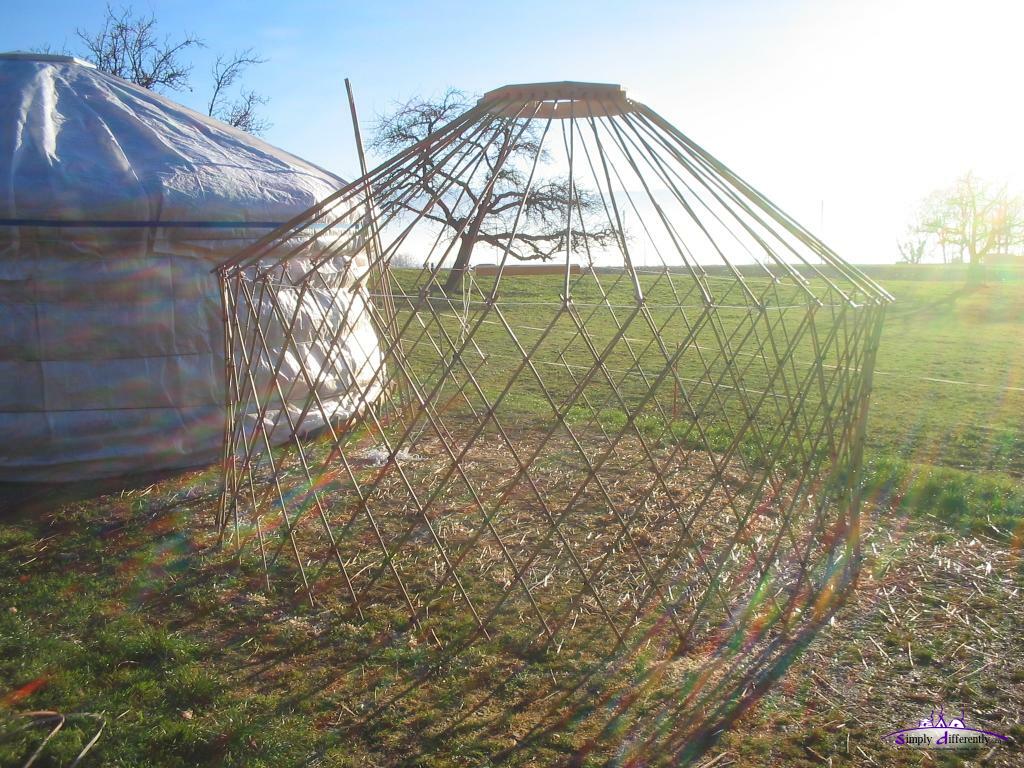 Yurt errecting (3) 2006/12/14 13:57  Yurt errecting (4) 2006/12/14 13:57  Yurt errecting (5) 2006/12/14 14:02 Since I drilled the hole with 20mm and majority of roof poles are 15-18mm (narrow ends), there is too much space and the crown-wheel twists too much as you can see below. The solution is to use some tape and increase the diameter of the roof poles just at the ends where they enter the crown-wheel, to have only 1mm spacing (increasing diameter to 19mm). Otherwise the yurt works very well, very light, and the lattice wall is one section, 37 junctions, compressed about 80-95cm wide only, extended apprx. 11.5m wide. Some more impressions at 10°C and cloudless sky: 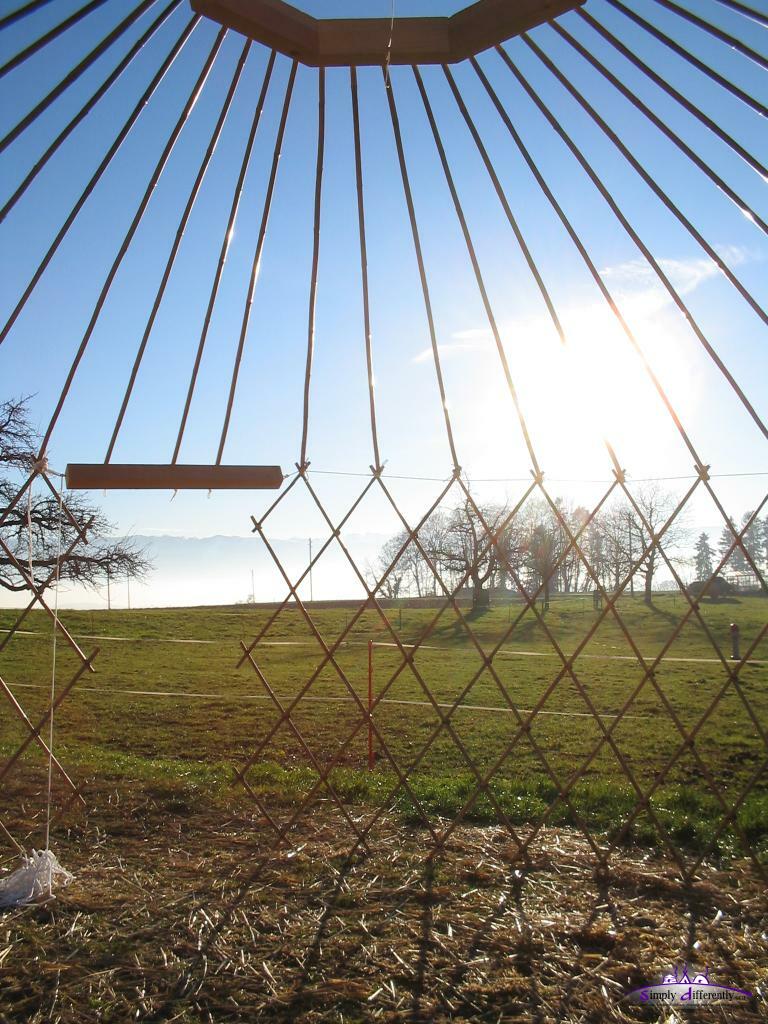 2006/12/14 14:06 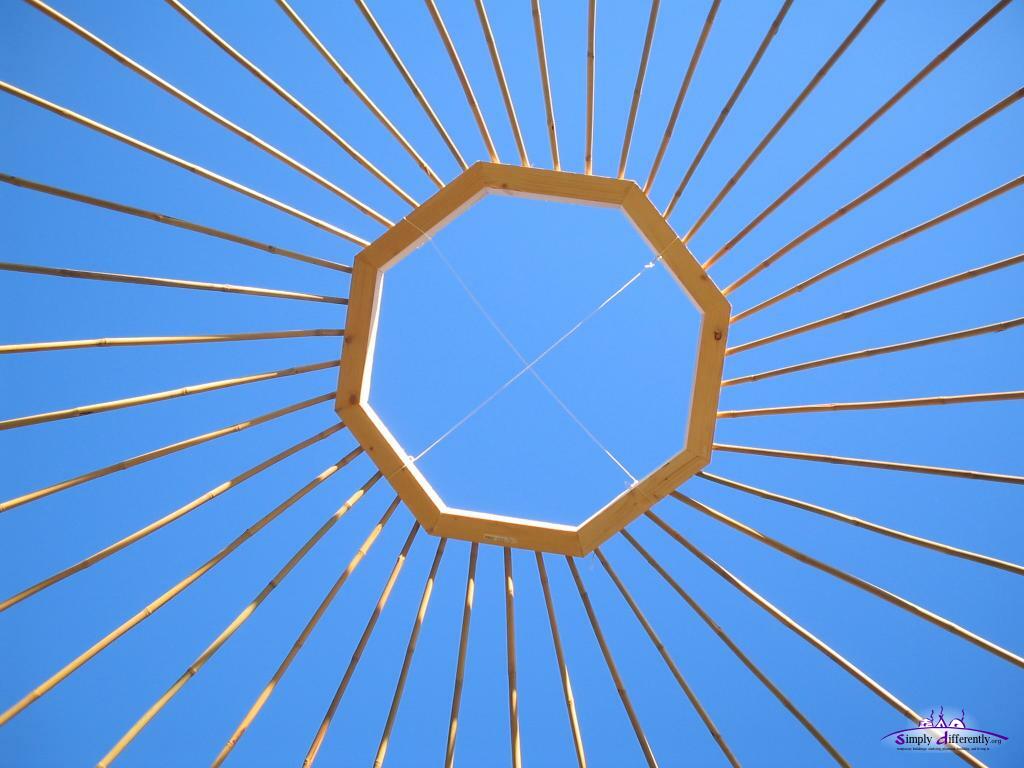 2006/12/14 14:16 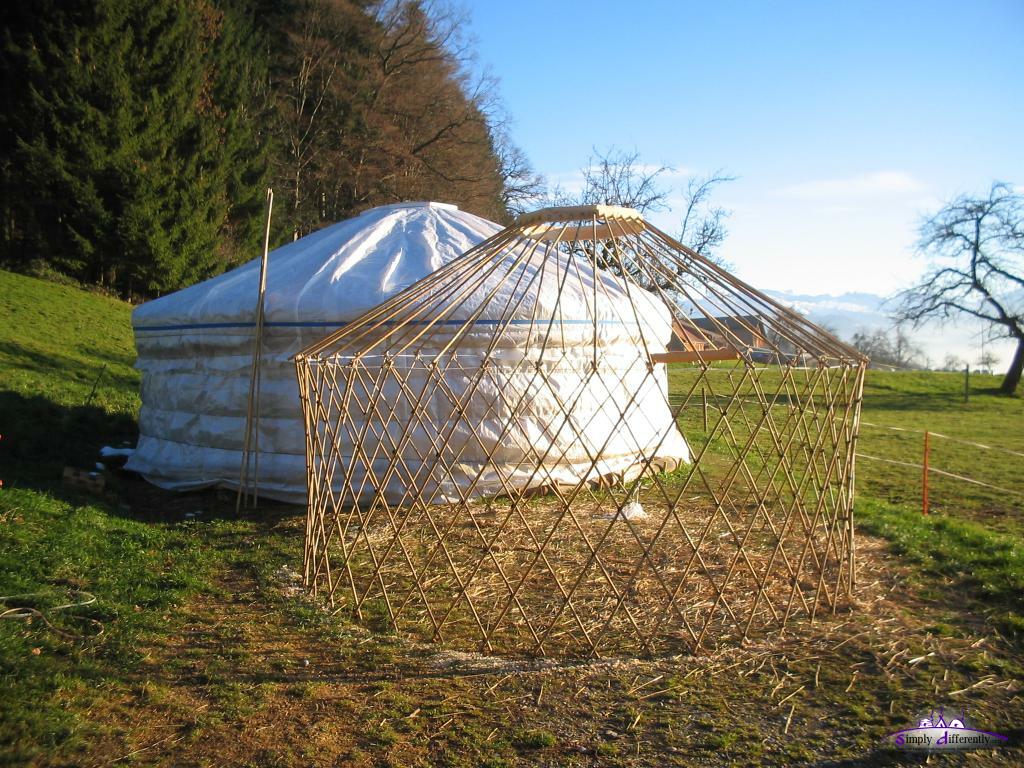 2006/12/14 14:20 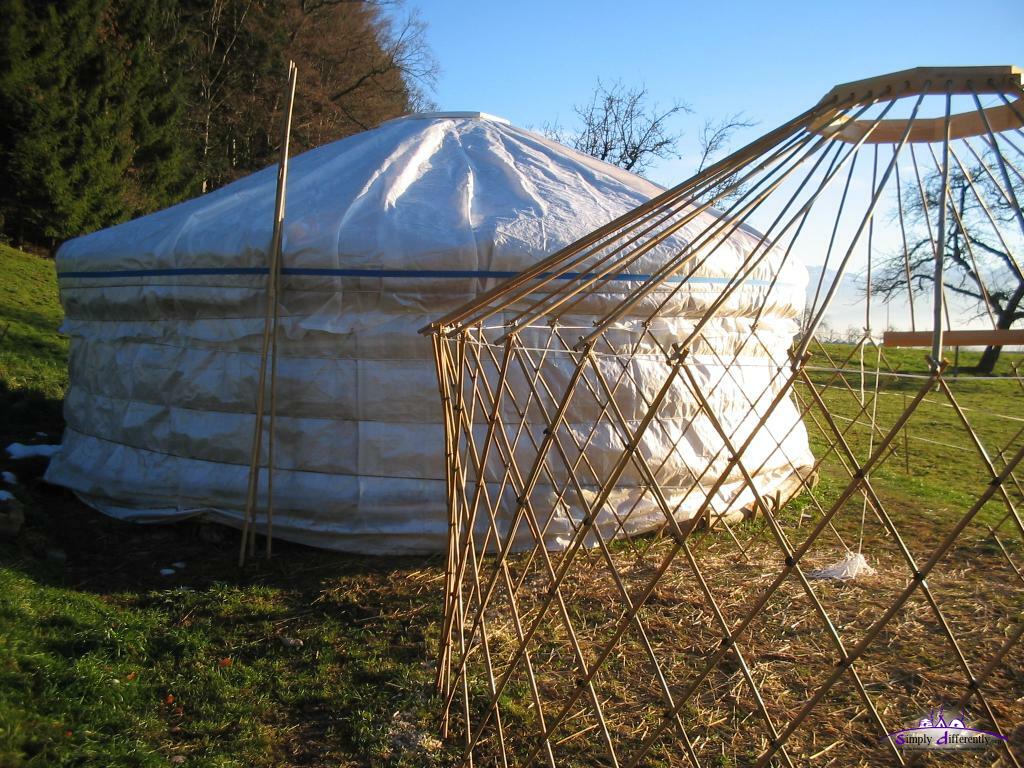 2006/12/14 14:20 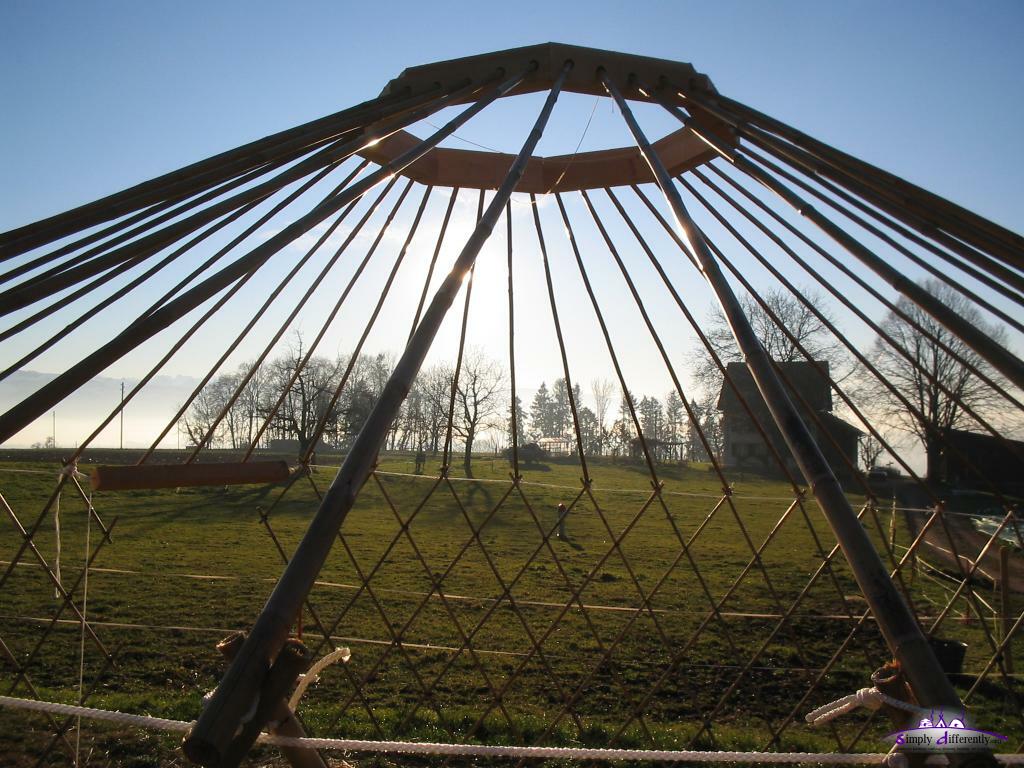 2006/12/14 14:20 10. 12. 2006: First Snow
A couple of days ago I also finished the lattice wall for the travel yurt, things still to do:
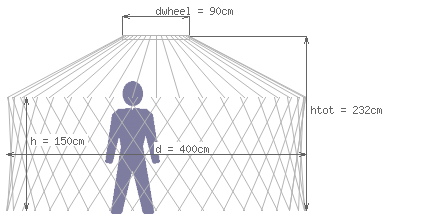
1. 12. 2006: Building Another Yurt: 4 Meter Travel YurtThe two 6.4m yurts (64 poles), the 8.45m (84 poles) yurt and the 9.45m (92 poles) yurt I postponed til spring time (crown-wheel, skylight-frame and doors done for all), but I thought to do at least a small lightweight yurt, which I can use when I travel and optionally also as small workspace.
I use 1.82m long bamboo poles (1.5-1.7cm the thicker ends) for roof and lattice wall, one pole weights (80kg / 250) = 0.3kg. Total poles: 40 (roof) + 37 * 2 = 114 * 0.3kg = 34kg weight of the skeleton (without door). I will use a PE rain cover with an cotton interior canvas, a simplistic setup. While doing the crown-wheel in the evening, the next morning I noticed the glue did not dry at all - with the fog and temperatures around 2-3°C it couldn't dry at all. So, I have to take the crown-wheel into my yurt, take it apart again, saw the junctions again, and glue again (crown-wheel, collar and skylight frame), and maybe even the rest of the yurt construction too such as binding the lattice wall and preparing the roof poles as the night we had fog, and under the shelter where I work it was wet too, not good for the bamboo. 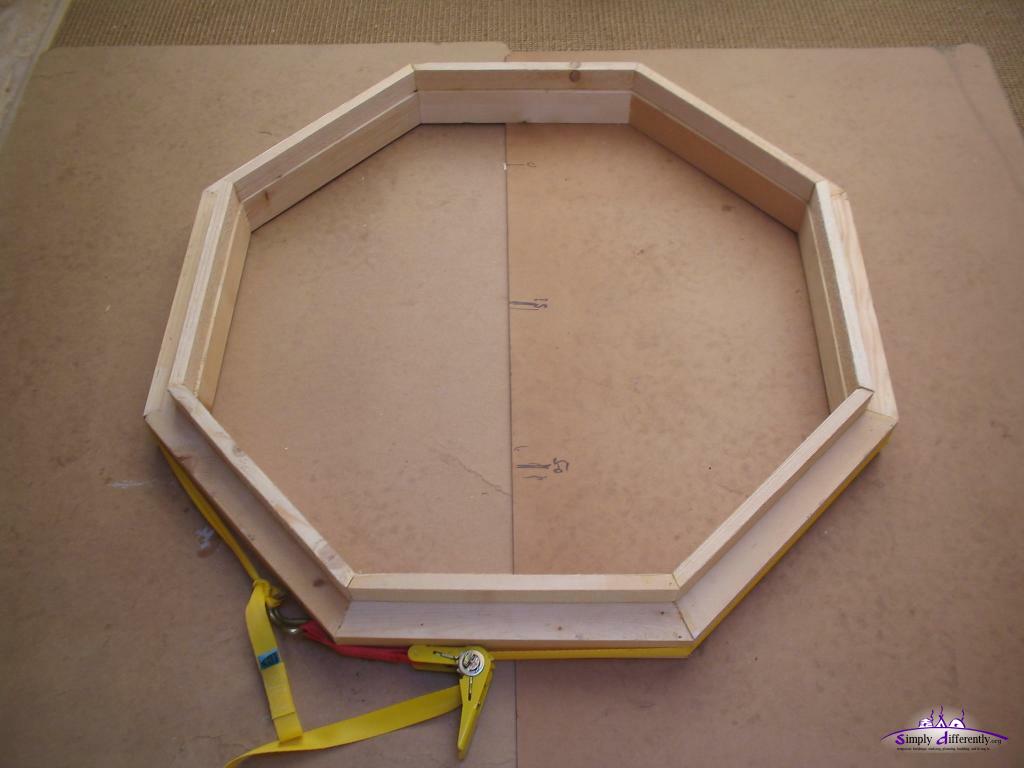 90cm 8-segment crown-wheel with collar 2006/12/03 11:01 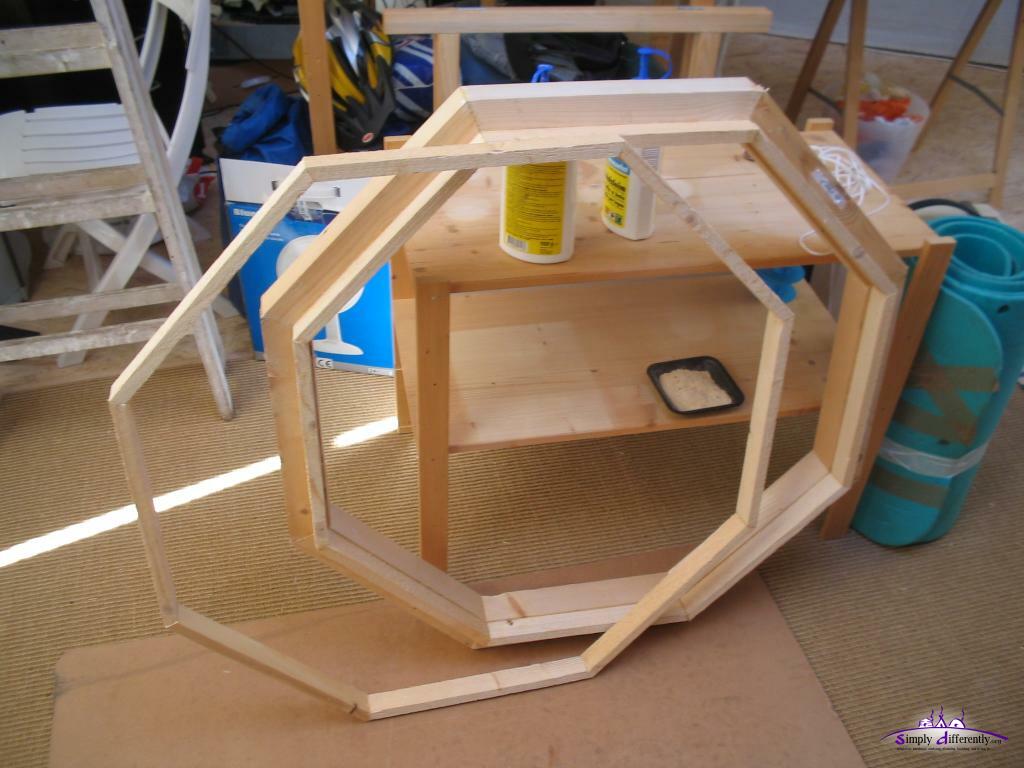 90cm 8-segment crown-wheel and skylight frame 2006/12/03 11:04 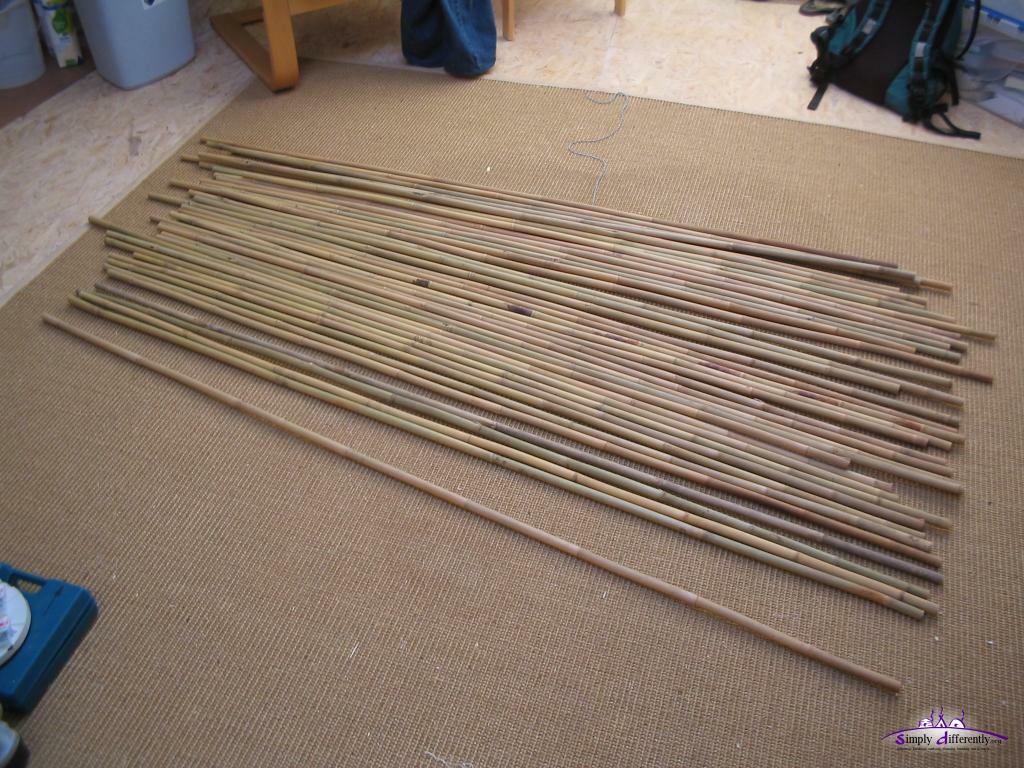 Making of the roof poles (1): laying out 2006/12/03 12:16 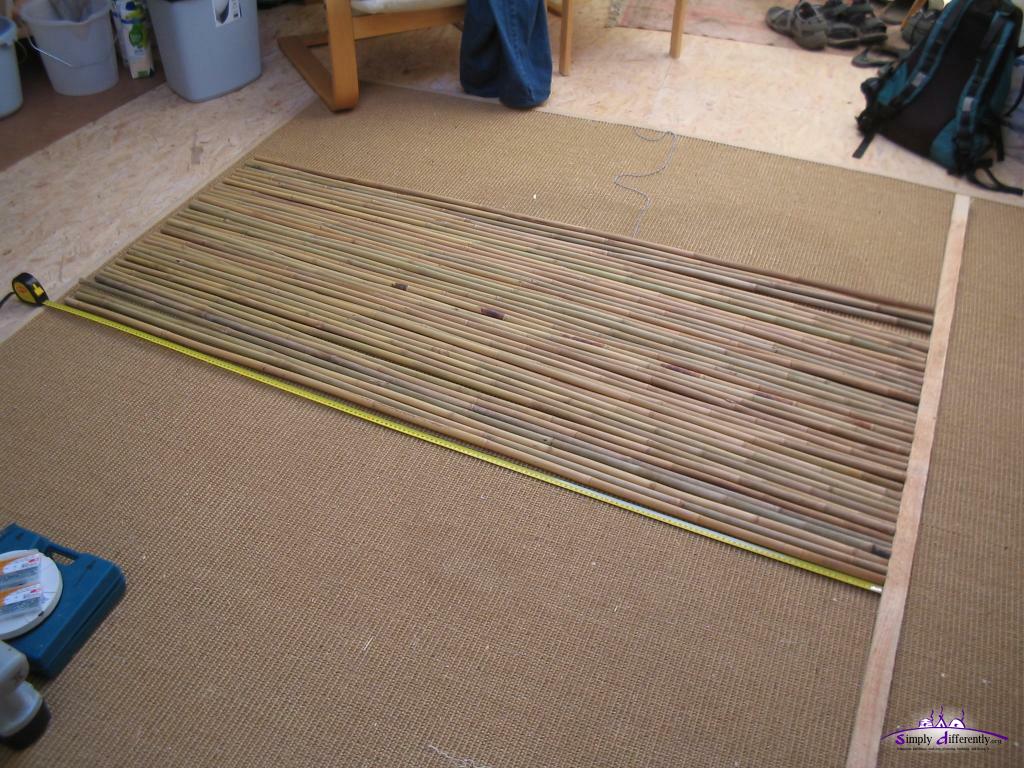 Making of the roof poles (2): aligning 2006/12/03 12:23 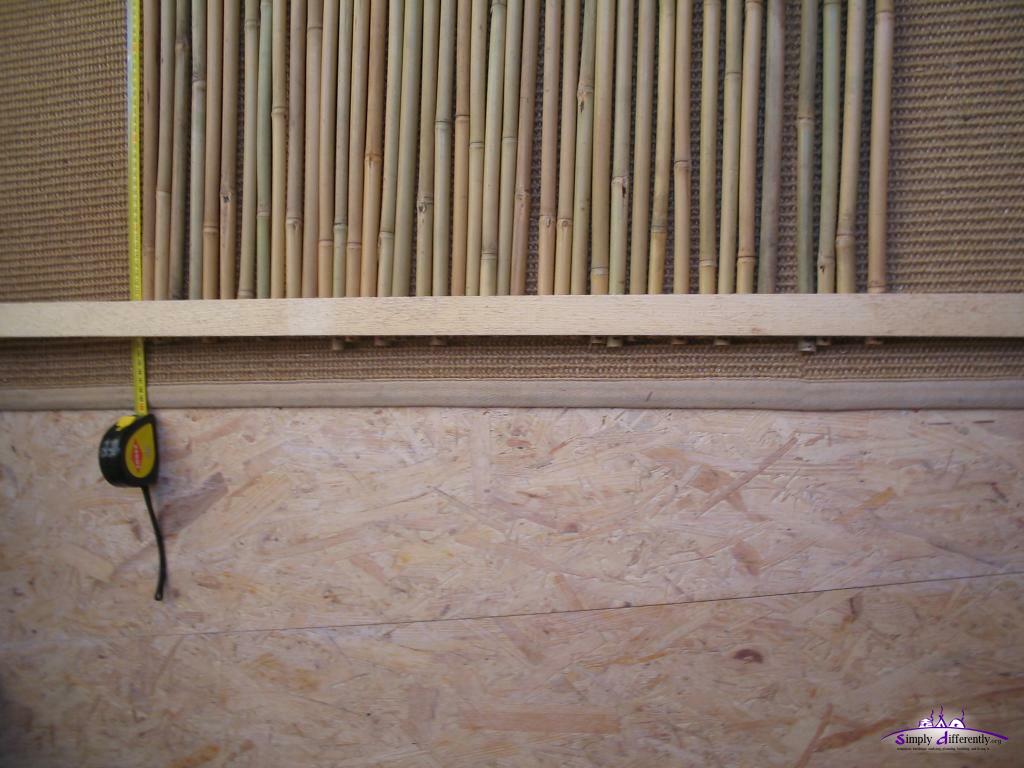 Making of the roof poles (3): measure length of all 2006/12/03 12:27  Making of the roof poles (3a): measure length of all (closeup) 2006/12/03 12:27 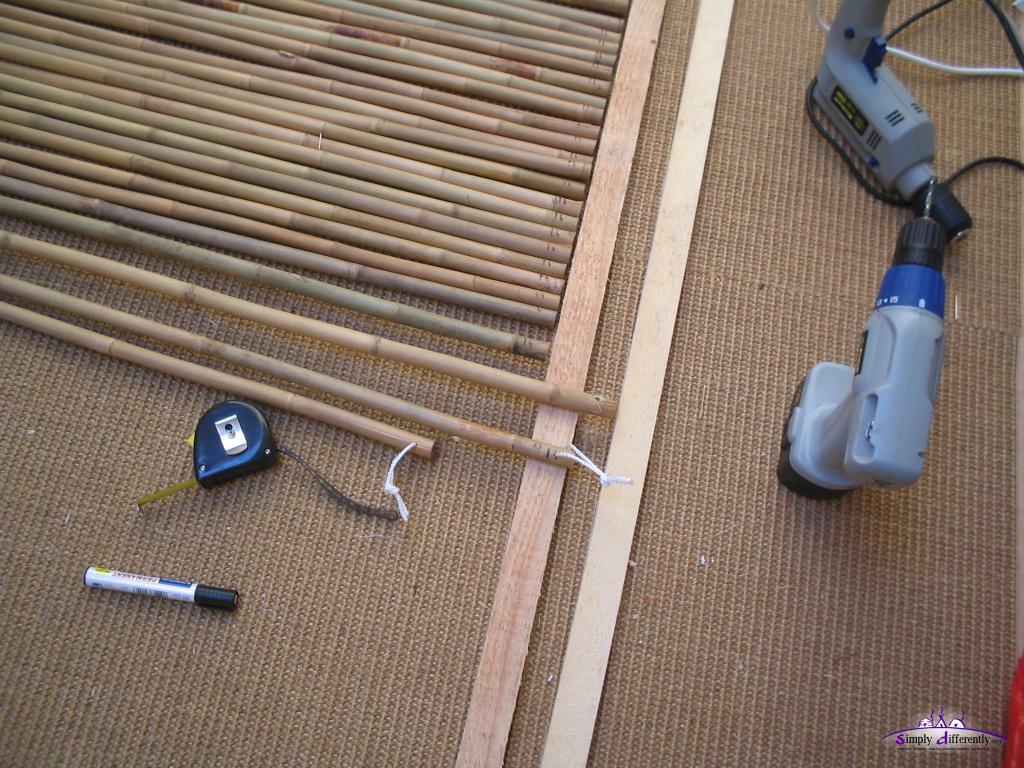 Making of the roof poles (4): drilling hole and put cord on it 2006/12/03 12:38 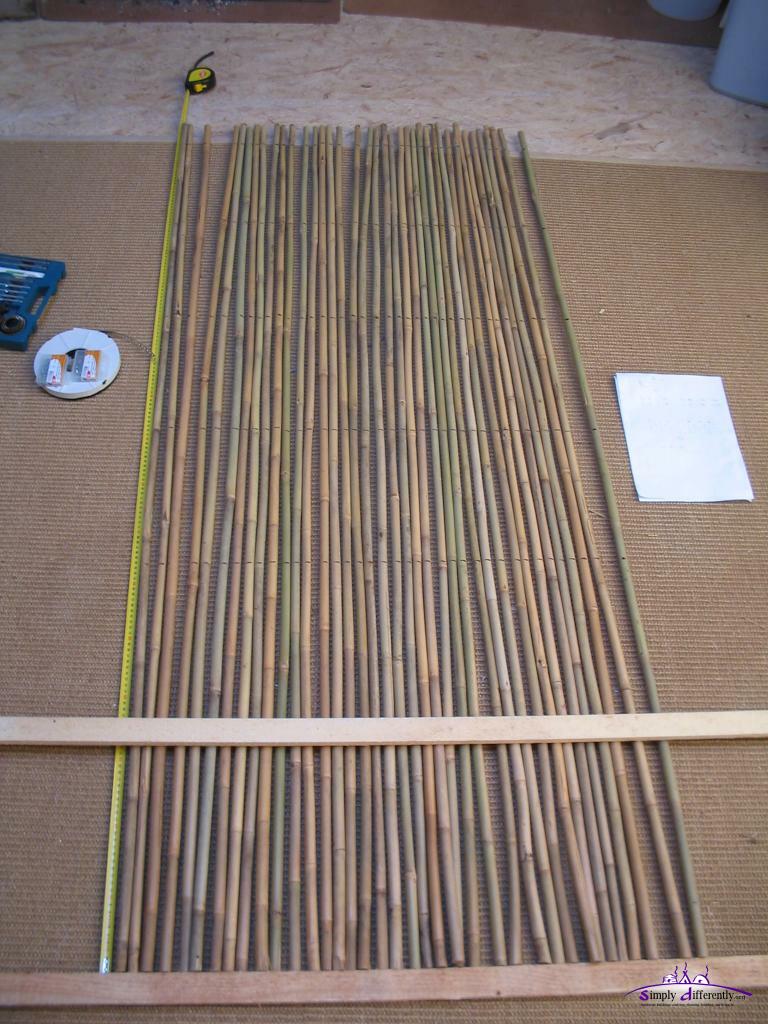 Making of the lattice wall: marking all junctions/holes 2006/12/03 14:09 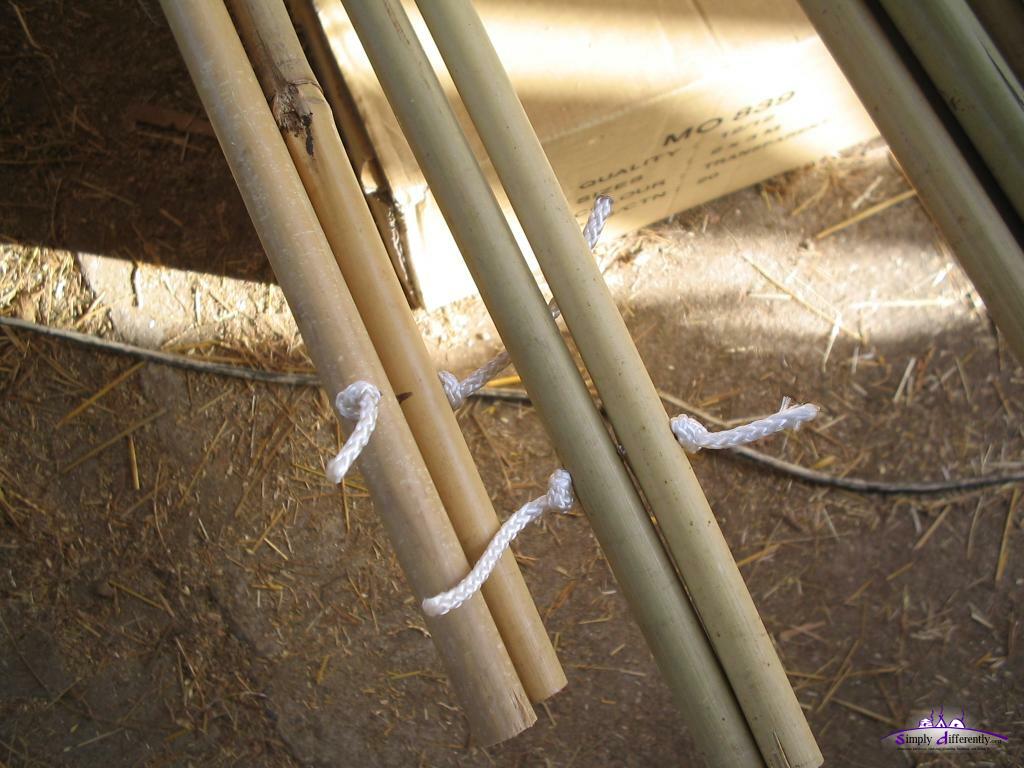 Making of the lattice wall: binding twins 2006/12/04 11:16 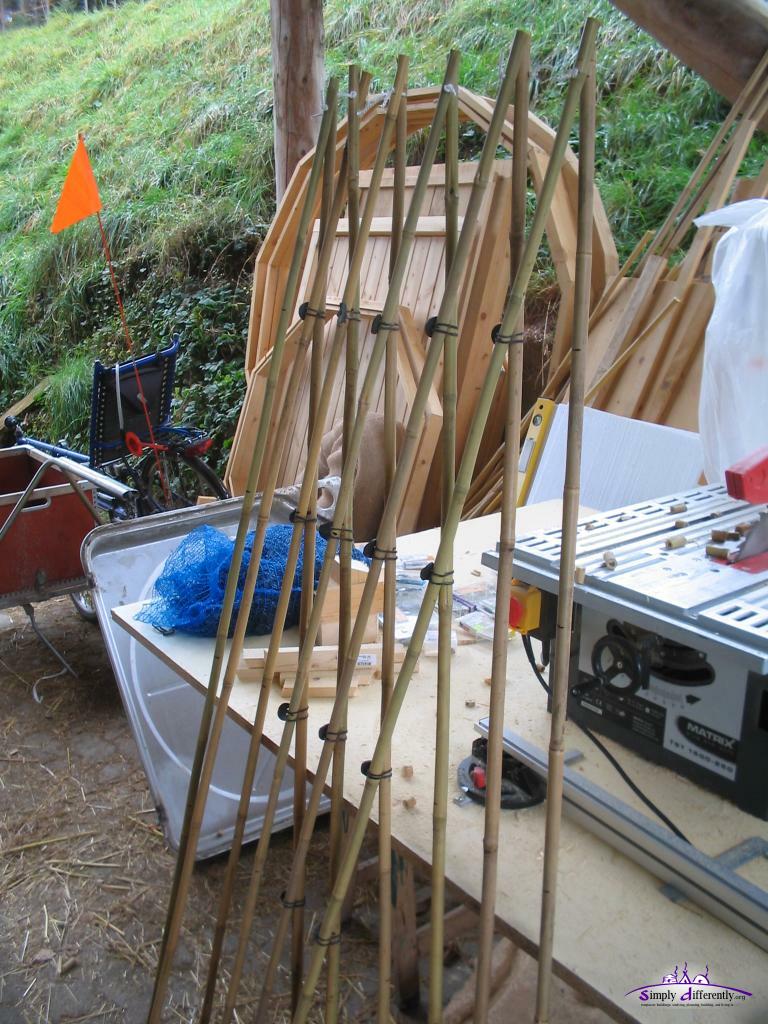 2006/12/04 12:02  Making of the lattice wall: finished 2006/12/10 09:43 26. 11. 2006: First Experience with New Thermal Insulation
Here a few more photos around sunset: 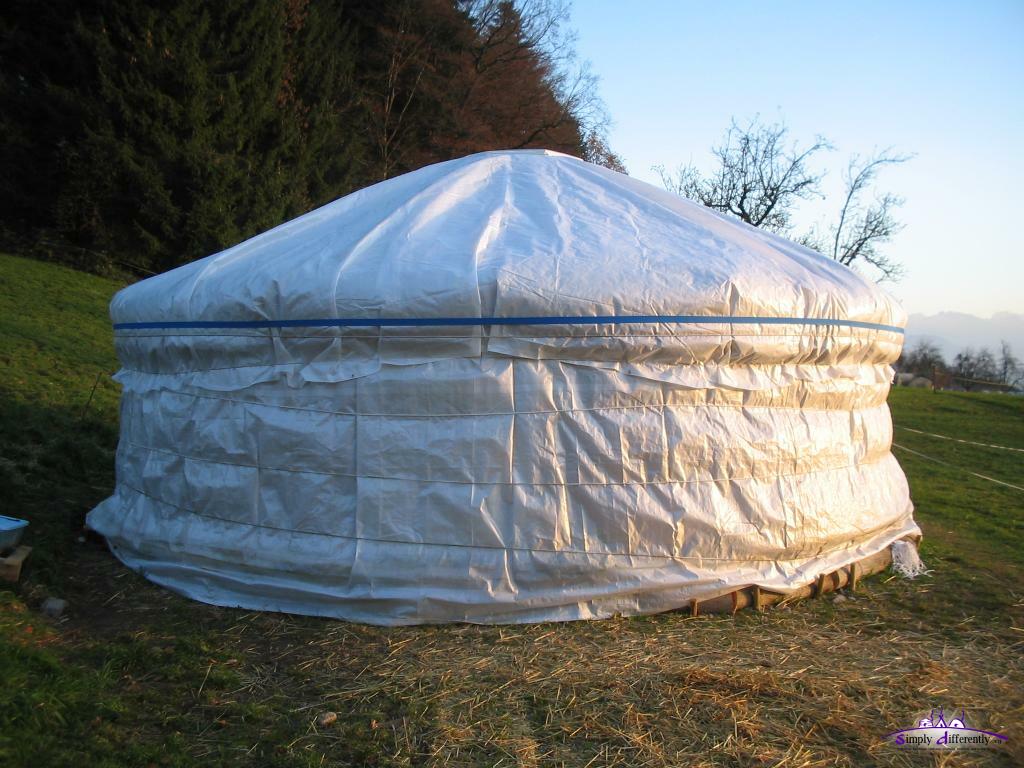 2006/11/26 15:01 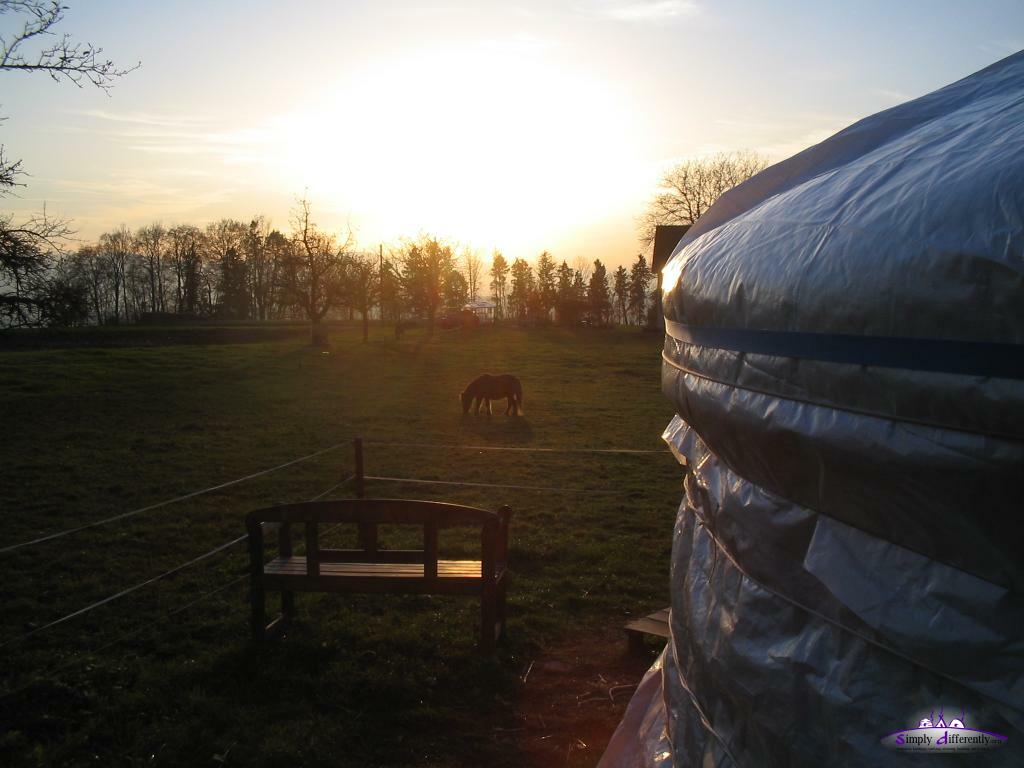 2006/11/26 15:00 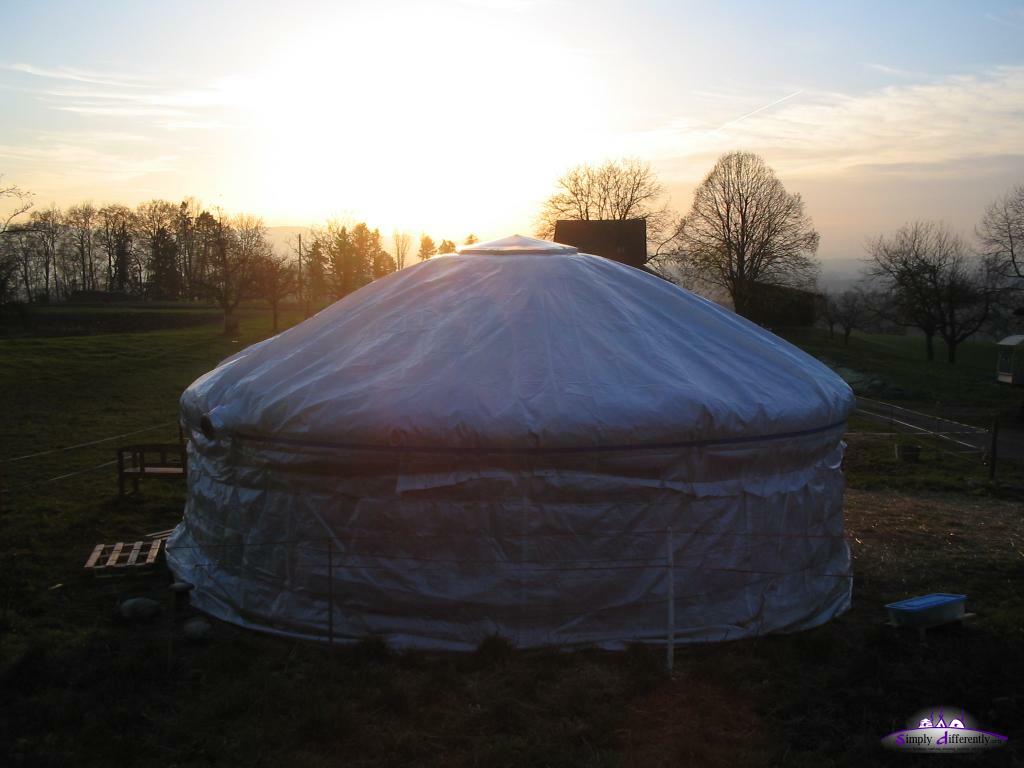 2006/11/26 15:02  2006/11/26 15:05
Once I cleaned up the interior a photo series will follow also showing the details of the rope and tension ribbons. Next Plans I realized, as you may have noticed on some of the photos, that the PE rain cover almost comes horizontal under the clear skylight, which means with wind rain water could leak into the yurt. Therefore I consider to heighten the collar of the crown-wheel additionally so the PE rain cover has to go a bit higher again and that slope prevents then rain coming in - this because the straw filled segments used up all space I planned for the insulation. Now that I'm almost done with the winter setup I can focus now for the interior, where I like to make a shower using a "camp-shower" I've got, as mentioned before, a black bag simply which holds 20l water, but I think one can shower easily with 3l without washing hair, or 4-5l with washing hair (I use apprx. 1.0 to 1.5l to wash or shampoo my hair). When one ponders that statistically 125 to 150l water is used per person per day in Europe, e.g. water-based toilette takes 8l per flush or 70l for 5min shower etc, there are other ways to use water, more conscious I would say. I have noticed the obvious myself, if you don't have running water in the building then you are using water much more careful, one becomes very appreciative of it - to many things actually as a consequence, not just water. Heat Storage I also pondered about another way to store heat, especially since I have a small stove, and after the fire is out the temperature used to drop quickly back then when thermal insulation wasn't as good, but now I have with straw based blankets on the wall and roof, which shows significant better heat storage already as mentioned above, but I still ponder on additional options. One additional solution could be a bag or canister to keep 50 or 100l water, behind the stove, and store and release the heat more slowly. The advantage is obvious, the canister could be light and easy to transport without water. The stones used in the stove to carry the heat are heavy, and a water-based heat storage and release facility would be much better for nomadic living. Page << Prev | 1 | 2 | 3 | 4 | 5 | 6 | 7 | 8 | 9 | 10 | 11 | 12 | 13 | 14 | 15 | 16 | 17 | 18 | 19 | 20 | 21 | Next >> Content:
|


| Home | · | About | · |  Tipi | · |  Yurt | · |  Dome | · | Features | · | Gallery |


Creative Commons (CC) BY-SA-NC 2005-2017, developed, designed and written by René K. Müller
Graphics & illustrations made with Inkscape, Tgif, Gimp, PovRay, GD.pm
Web-Site powered by FreeBSD & Debian/Linux - 100% Open Source