
|
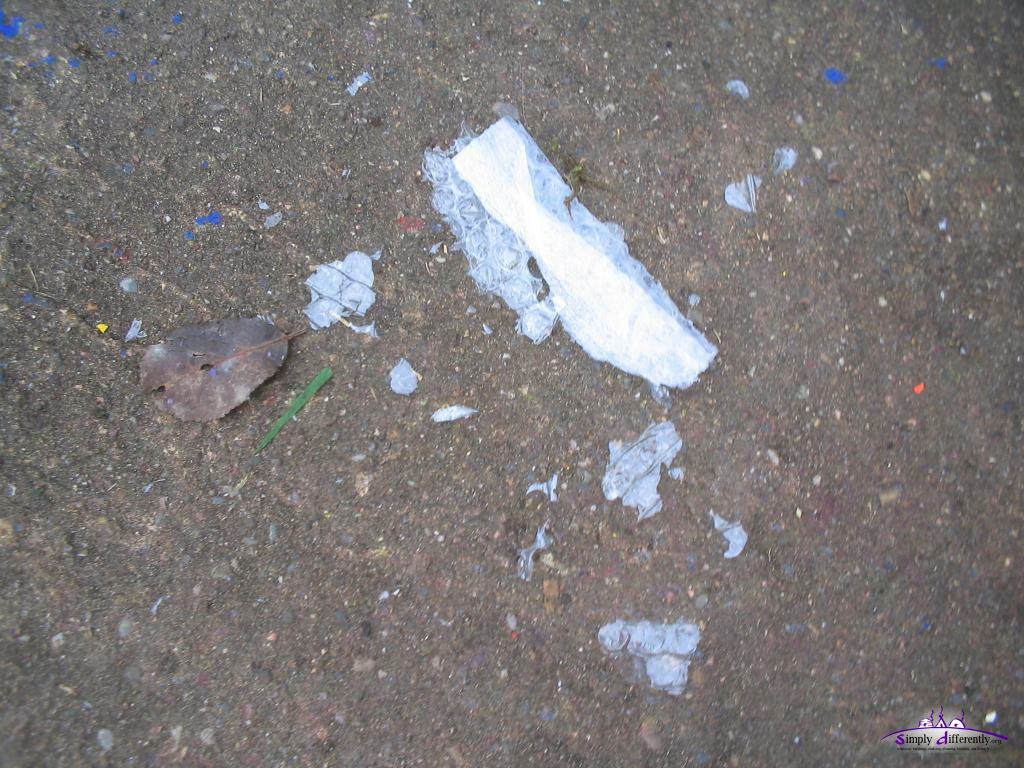
Page << Prev | 1 | 2 | 3 | 4 | 5 | 6 | 7 | 8 | 9 | 10 | 11 | 12 | 13 | 14 | 15 | 16 | 17 | 18 | 19 | 20 | 21 | Next >> Yurt / Ger Diarywritten by Rene K. Mueller, Copyright (c) 2005, 2006, 2007, 2008, 2009, last updated Sat, January 3, 2015 18. 10. 2006: Preliminary SetupToday I finished overglazing the floor, and used varnish for roof pole and wall junctions ends, to avoid fungus. Also used varnish to seal the cut OSB planks and around the edge on the floor. 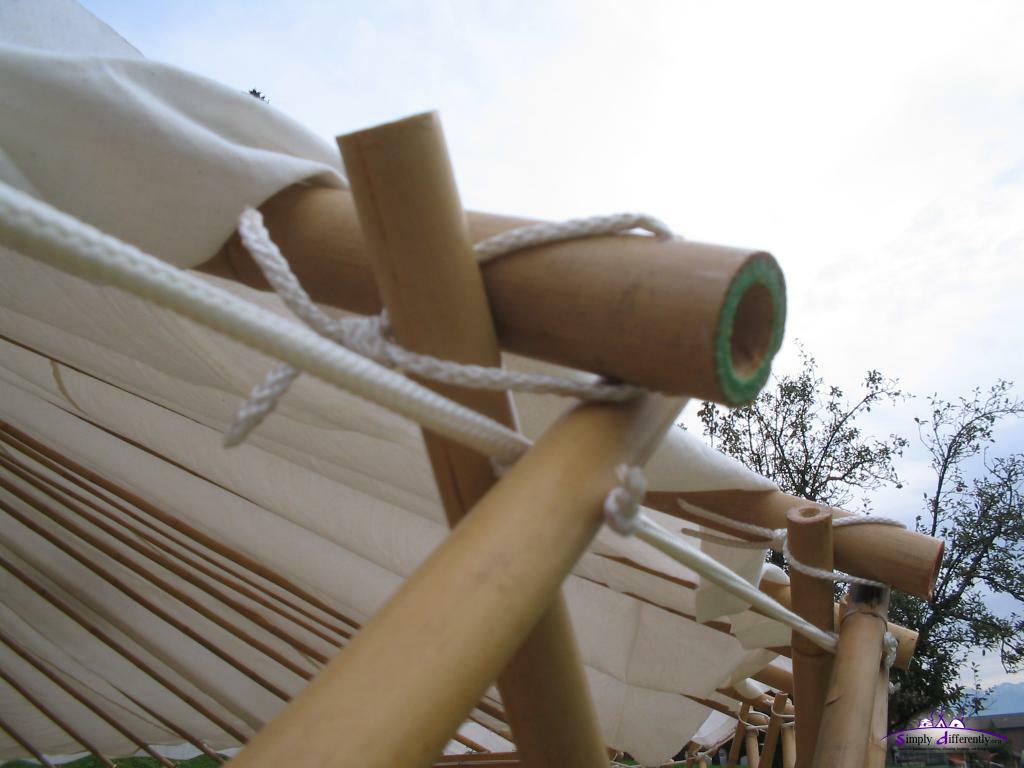 Roof pole / lattice wall junction, Closeup (1) 2006/10/18 12:25 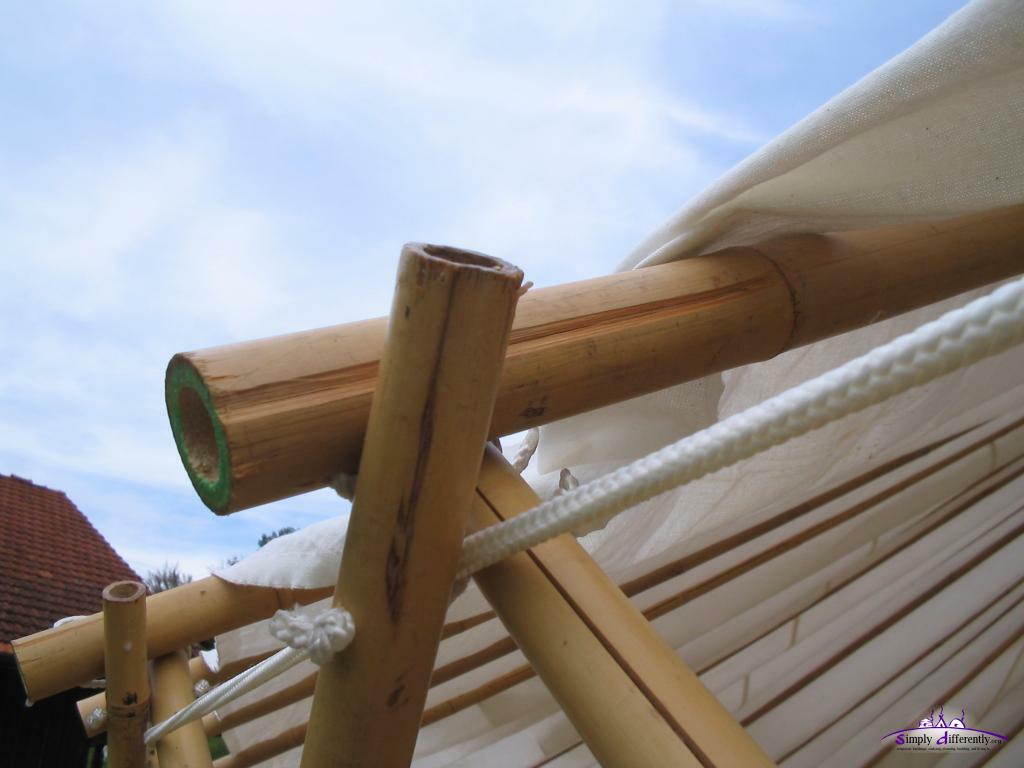 Roof pole / lattice wall junction, Closeup (2) 2006/10/18 12:25 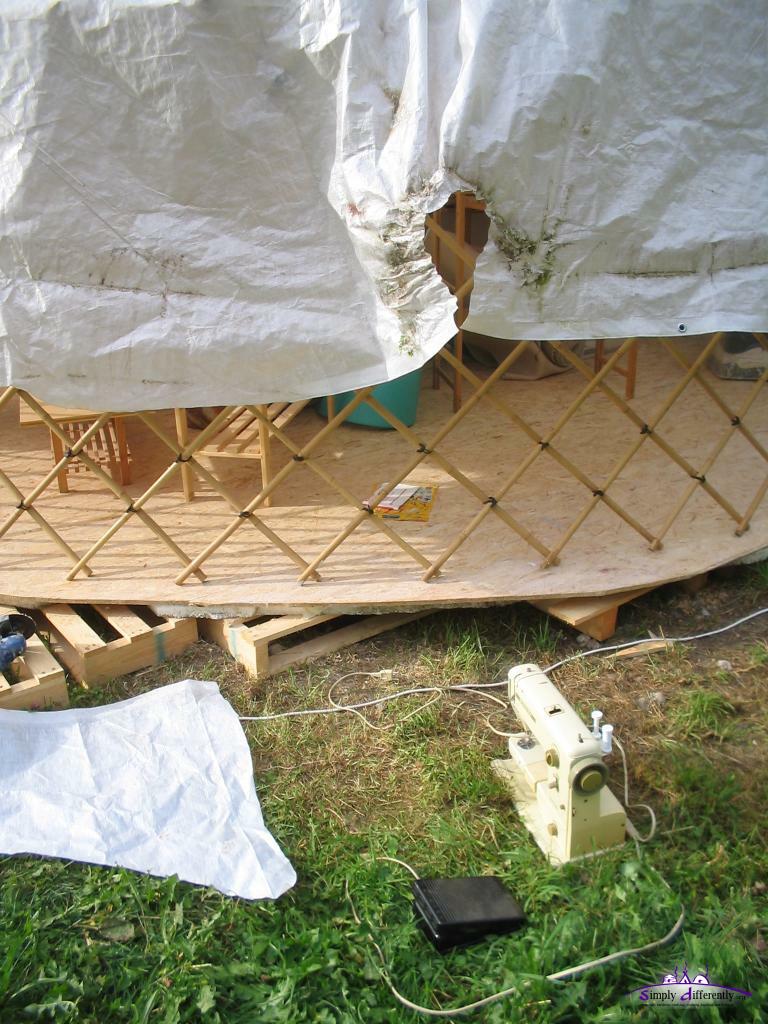 Cut away melted part of the PE rain cover (from stove pipe, despite of thermal insulation) 2006/10/18 13:39  Fixed PE rain cover (sewed) - I strengthed that part now with double layer 2006/10/18 13:58 As next I put up one layer of double layered bubble wrap on the wall, and the wall rain cover as well. 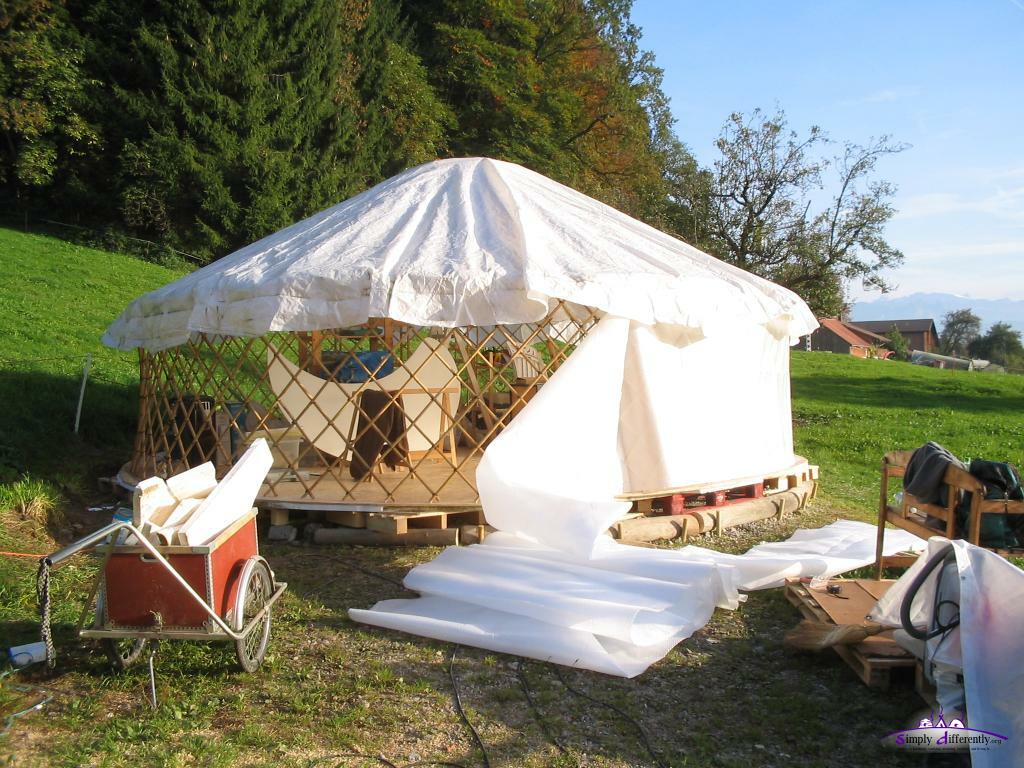 Adding single layer of double layered bubble-wrap 2006/10/18 14:55  Thermal wall layer added (1) 2006/10/18 15:15 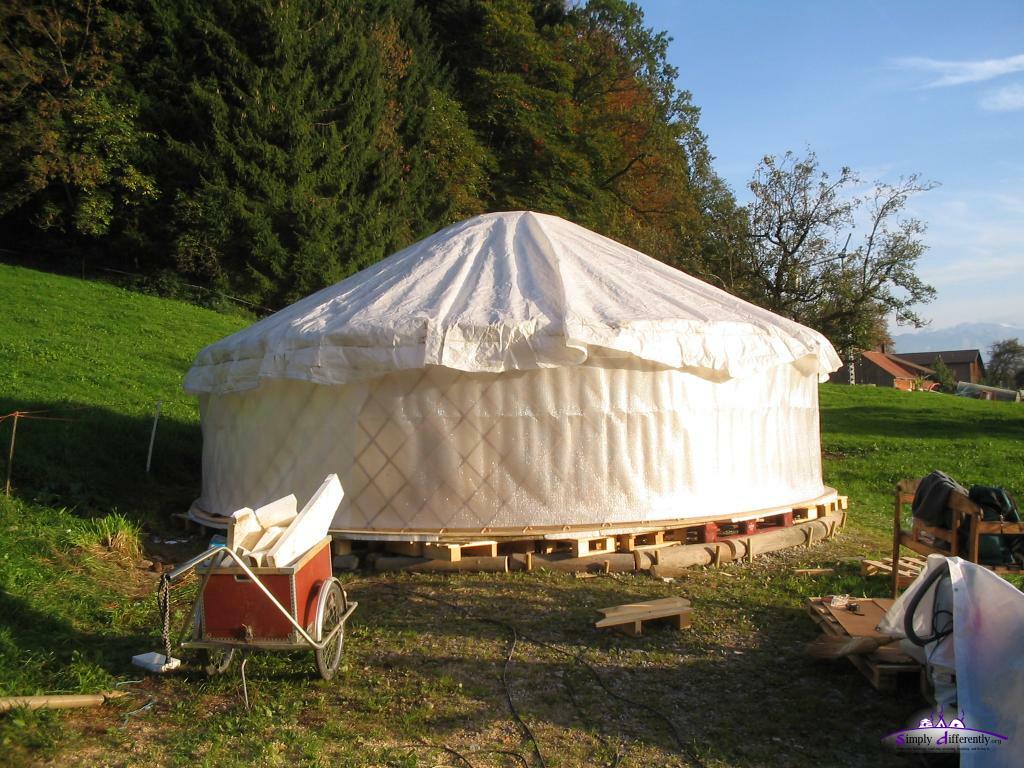 Thermal wall layer added (2) 2006/10/18 15:15 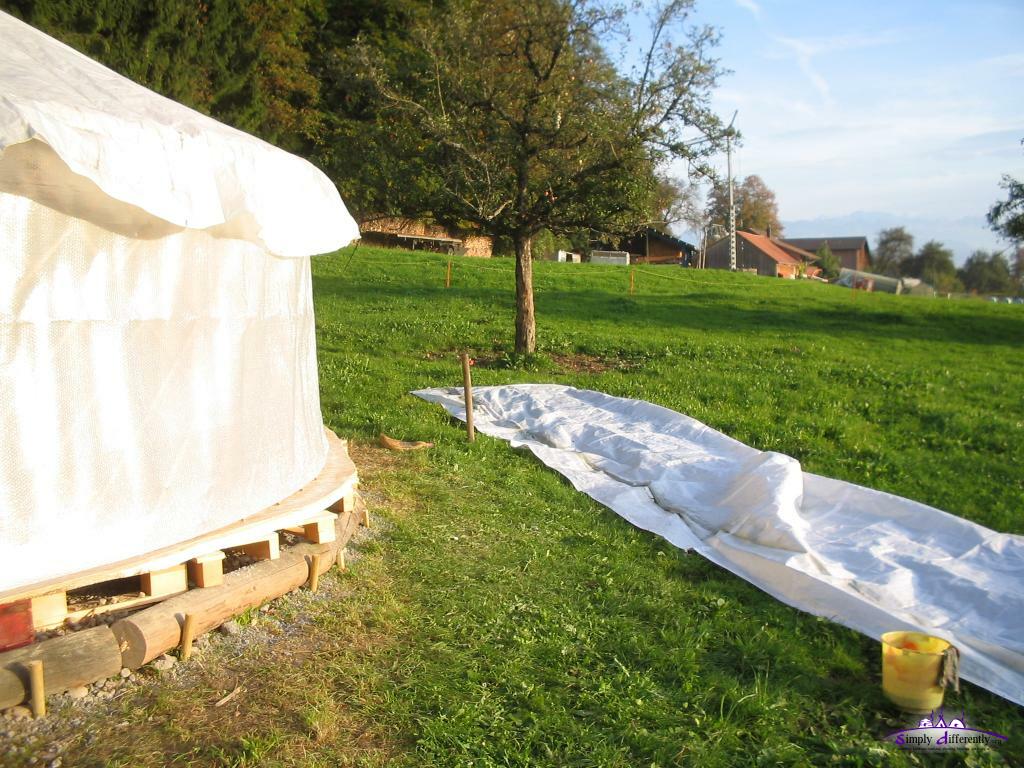 Cleaning part of wall rain cover (1) 2006/10/18 15:27 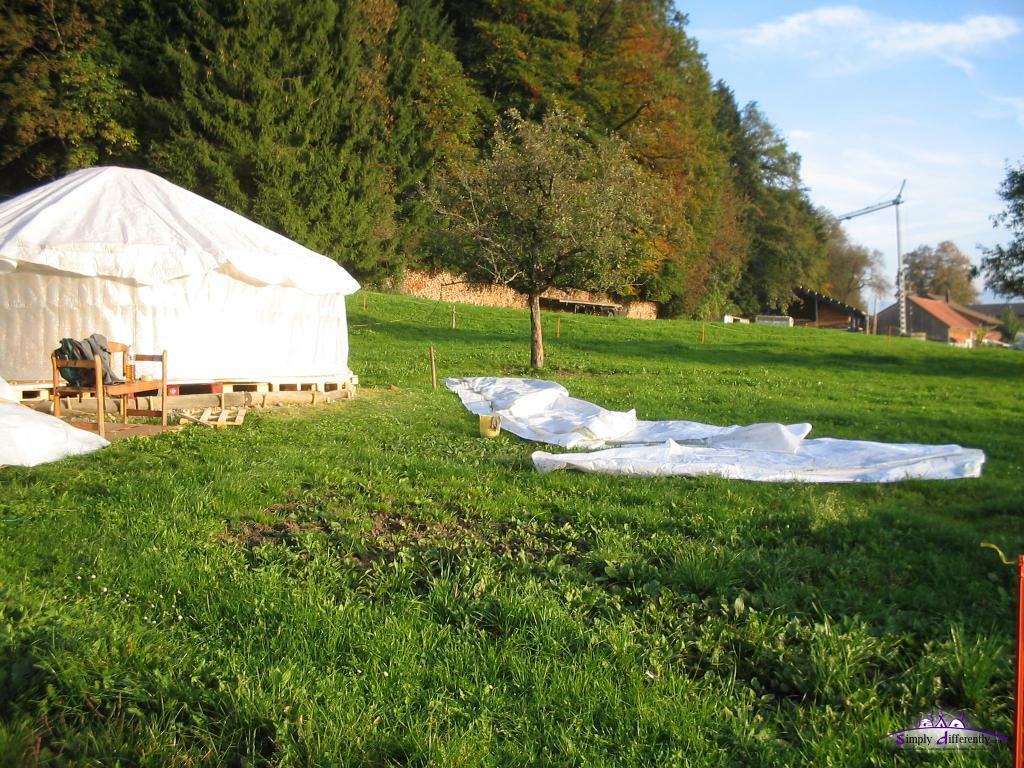 Cleaning part of wall rain cover (2) 2006/10/18 15:27  Putting up wall rain cover 2006/10/18 15:38 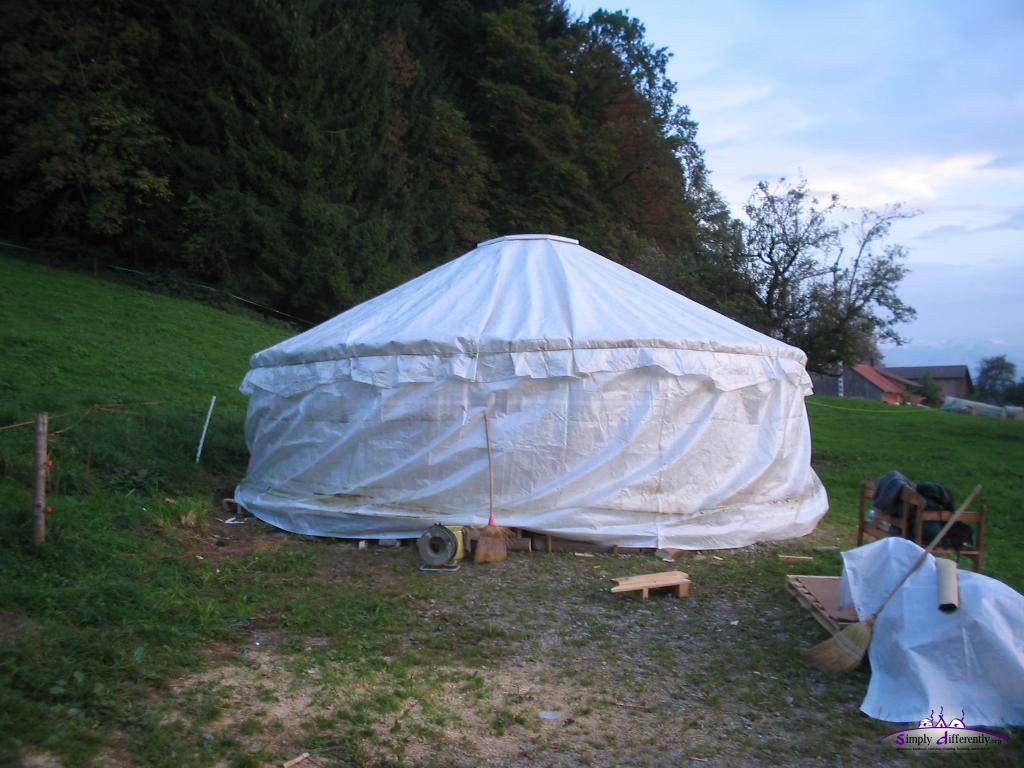 Wall rain cover put up (1) 2006/10/18 16:23 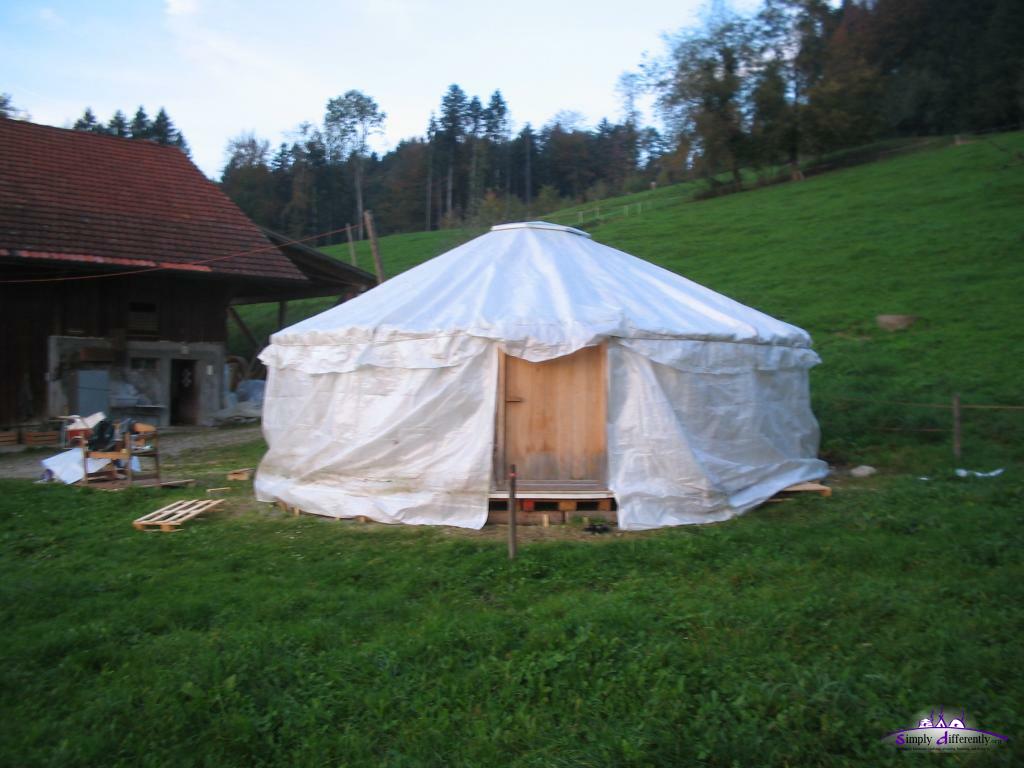 Wall rain cover put up (2) 2006/10/18 16:24
The next days I start to position all my interiors, fix some details for this winter such as new skylight as current clear PVC has several cracks and leaks water slightly now through the top layer; in other words, clear PVC skylight lasts apprx. a year, maybe longer with a stronger frame unlike I did.
17. 10. 2006: Finishing Floor & Yurt Skeleton ErrectedIn an effort I finished the floor, Styrofoam (50cm x 100cm x 4cm) and taped them together, and on top the 33 pieces of OSB planks (183cm x 67.5cm x 1.5cm with groves), and partially painted it with an overglaze.
 Fixating the gravel 2006/10/13 12:59 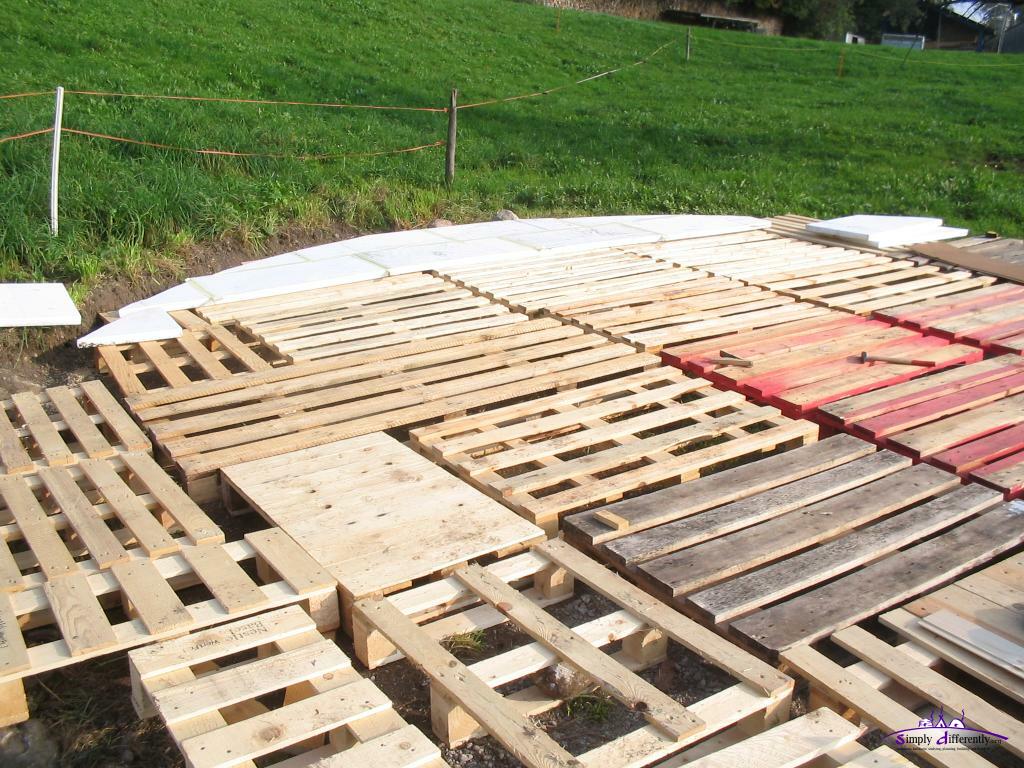 Starting styrofoam layer, taping it together 2006/10/15 14:17  OSB planks for the top level of the floor 2006/10/17 07:47 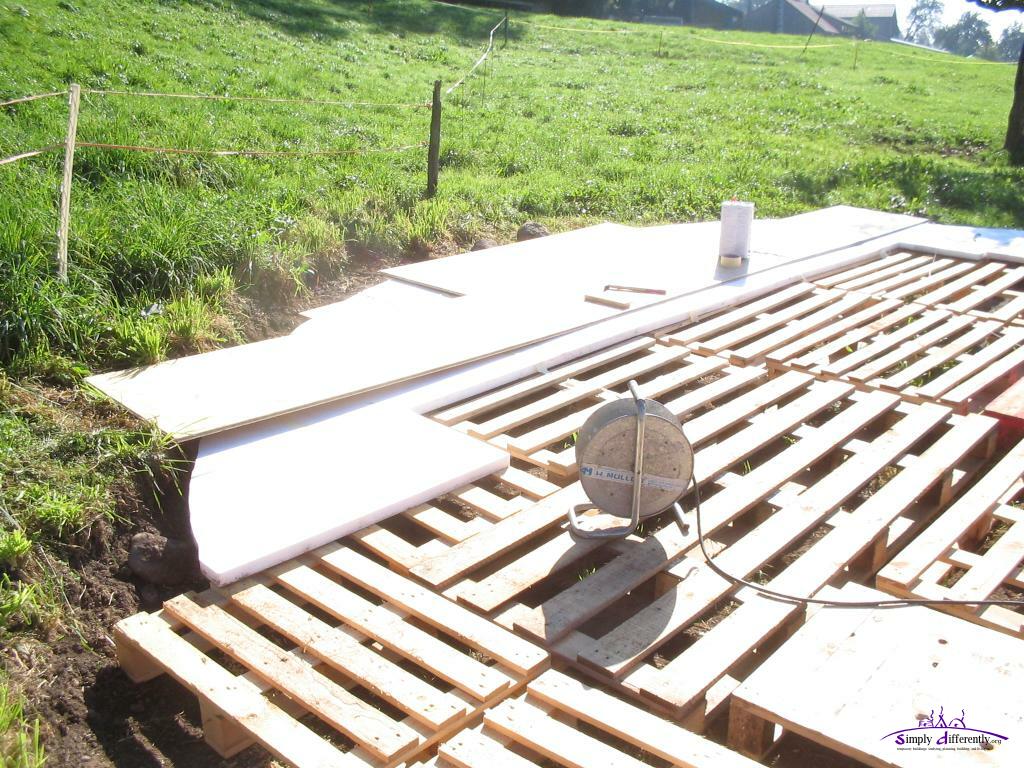 Adding OSB planks on top of styrofoam 2006/10/17 09:53 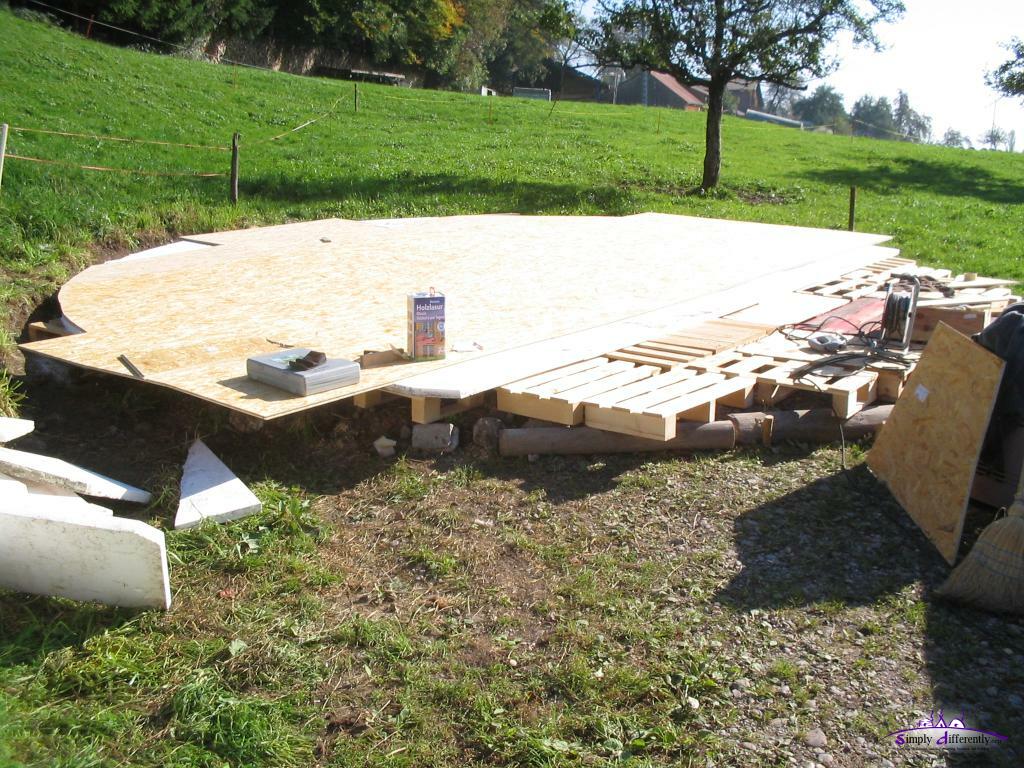 And so on ... 2006/10/17 12:47 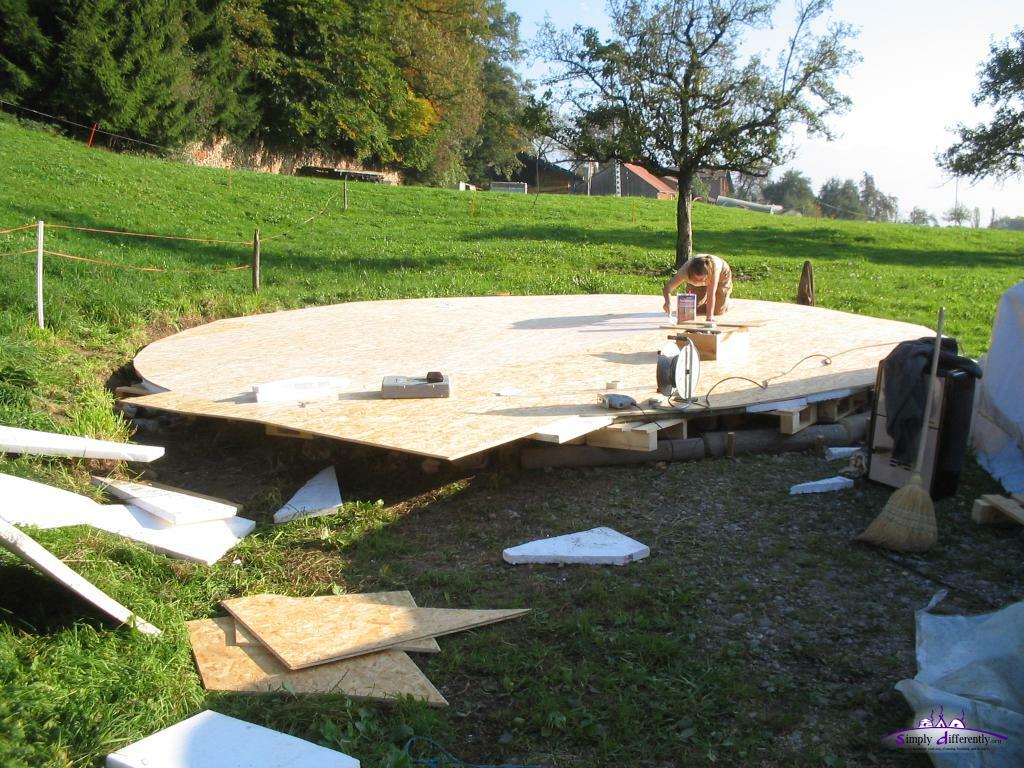 A friend helping with overglazing the OSB planks 2006/10/17 14:31 Cloudless bright sunny day - what a joy to work even it was a bit tension to finish as much as possible today, as the next days the weather will change - so working on the floor is weather depend. As next I moved majority of my stuff on the floor, and then began to extend the lattice wall / khana, and then crown-wheel / toono and its roof-poles / unis. Arround 19:00, already dark with little sight, I put the roof cotton canvas and rain cover over it, to reduce the moisture of the air fall unto the interiors. The wall I didn't put up as it was too late for the day, as around 19:30 it's dark.
 Moving interior on the floor 2006/10/17 15:03 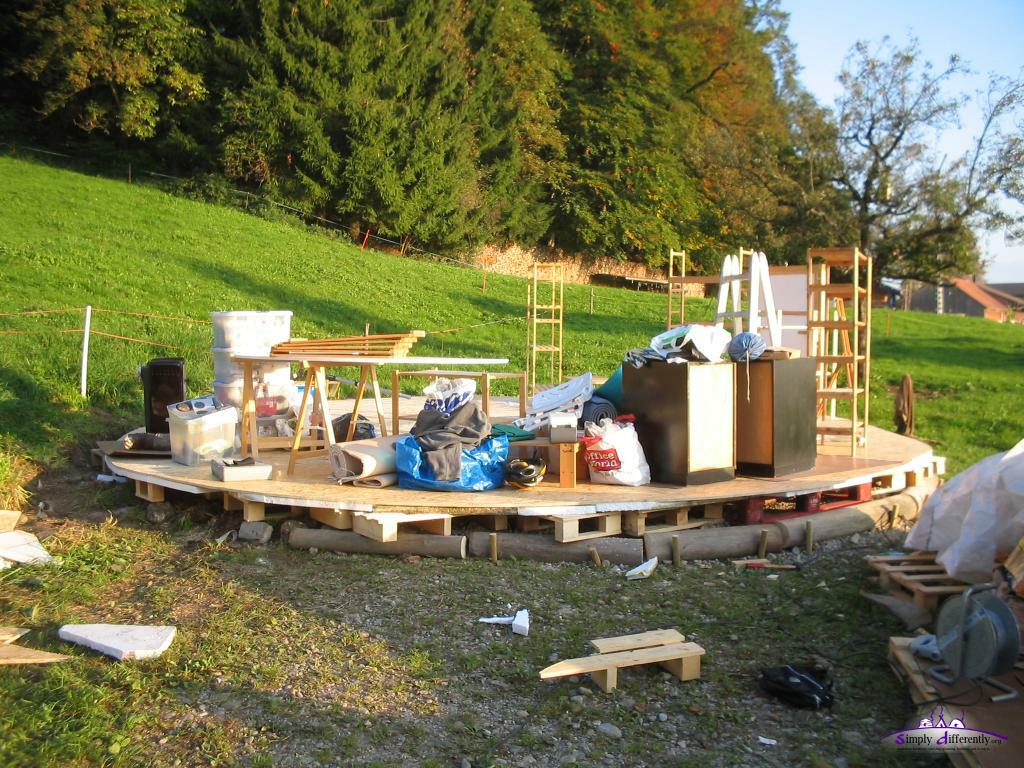 2006/10/17 15:30 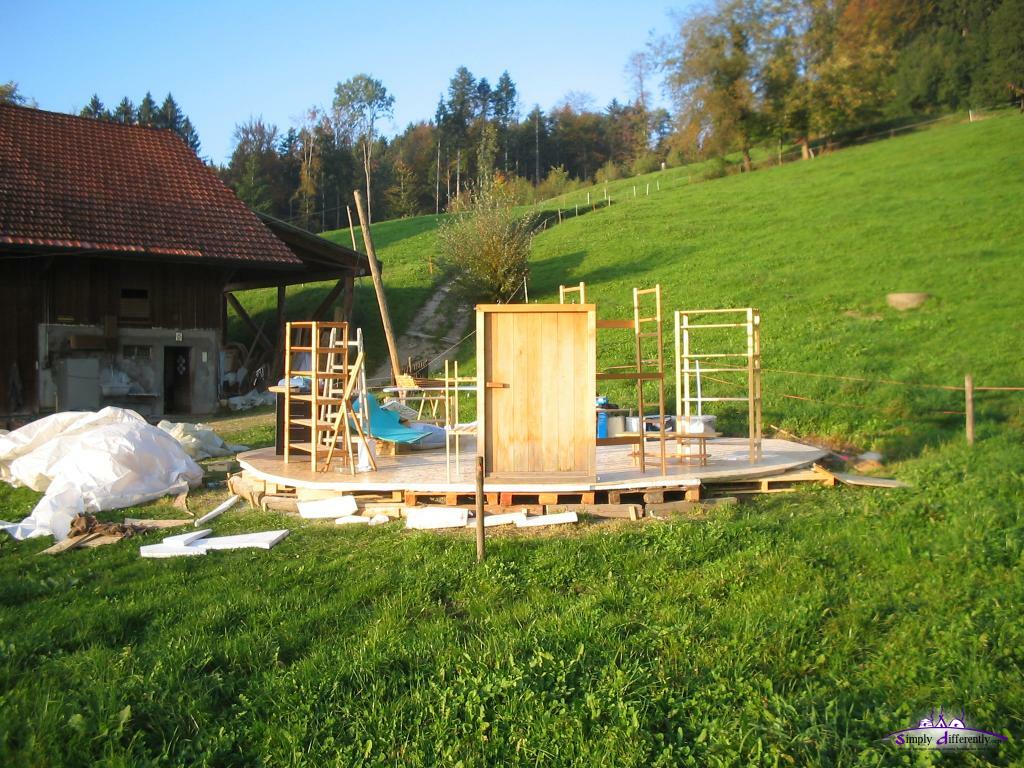 2006/10/17 15:30 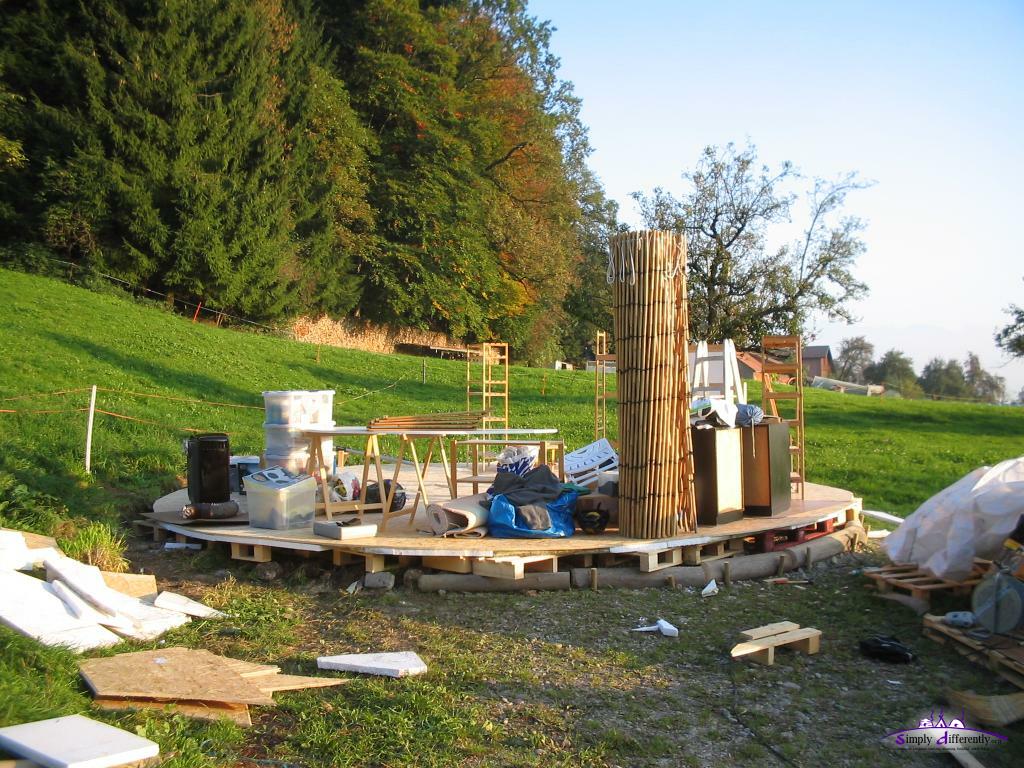 Moving lattice wall / khana, still compressed 2006/10/17 15:32 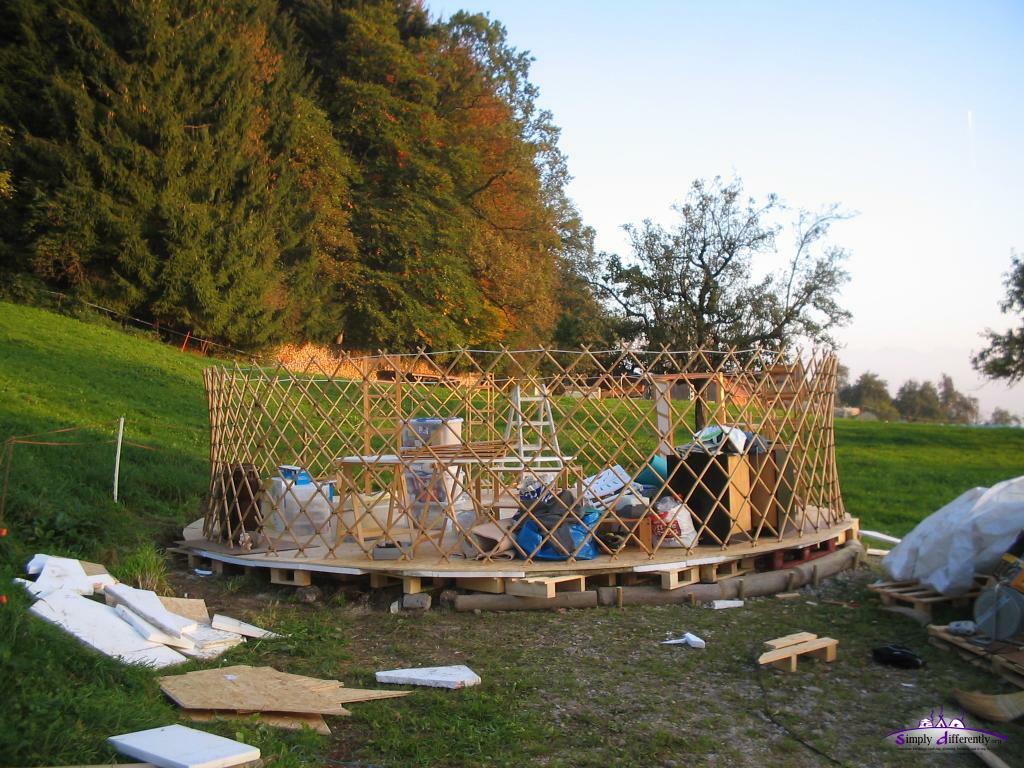 Extending lattice wall / khana 2006/10/17 15:58 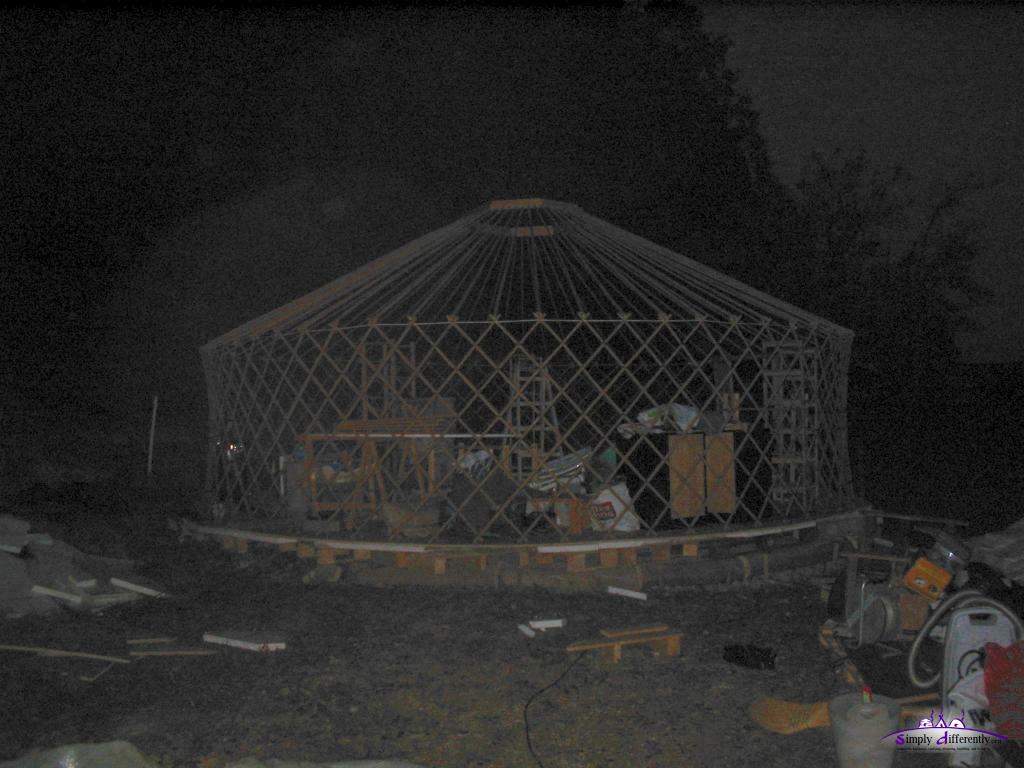 Early night, skeleton finished - then we put rain cover on the roof 2006/10/17 16:56 I put up the yurt with slightly reduced diameter so the planned winter thermal insulation fits on the 6.40m diameter floor, and I was surprised to see the roof raise significantly, making the roof steeper too which is good for having snow slide easier, quite welcome for the winter-time. As a quick reflection: it took me quite some time (~2 days) to level the ground, as the palettes I used had different heights (11cm to 15cm) which meant to level the ground accordingly - I will use gravel the next time for the entire floor (this time I used only 2/3 of the area with gravel and leveled the other parts by displacing the ground, which was very time consuming), and fixating the gravels on the edge with heavy round wood. So, the overhead for making a floor for a yurt in humid climate like here in Switzerland is notable. I hope it is worth the effort, as the last time I didn't use palettes and had the thermal floor insulation get wet from rain. Thoughts for new additions for the yurt:
and all additions still be highly transportable - let's see what I can implement. Working on the other yurts as I planned I had to postpone til early spring I guess. 16. 10. 2006: Still Moving & Preparing FloorI'm in the midst of preparing the floor now, multilayered as mentioned before, and moved all my stuff today (bed-room, office, etc) using a large trailer, and tomorrow probably finishing the floor, and then erect the yurt again with the summer thermal insulation. The winter thermal insulation I will within the next 1-2 weeks, blankets filled with straw so far my plans. While taking down the yurt I discovered that the roof with its bubblewrap was porous and I had to throw it away - really bad, the culprit is the UV radiation. So, one lesson of my first setup is, which I also will include in the Yurt Notes that the bubblewrap must be UV resistant when using semi-transparent PE raincover as I did, otherwise the wrap is only useable for one summer season.
 Porous bubble-wrap (1) 2006/10/14 08:34  Porous bubble-wrap (2) 2006/10/14 08:35 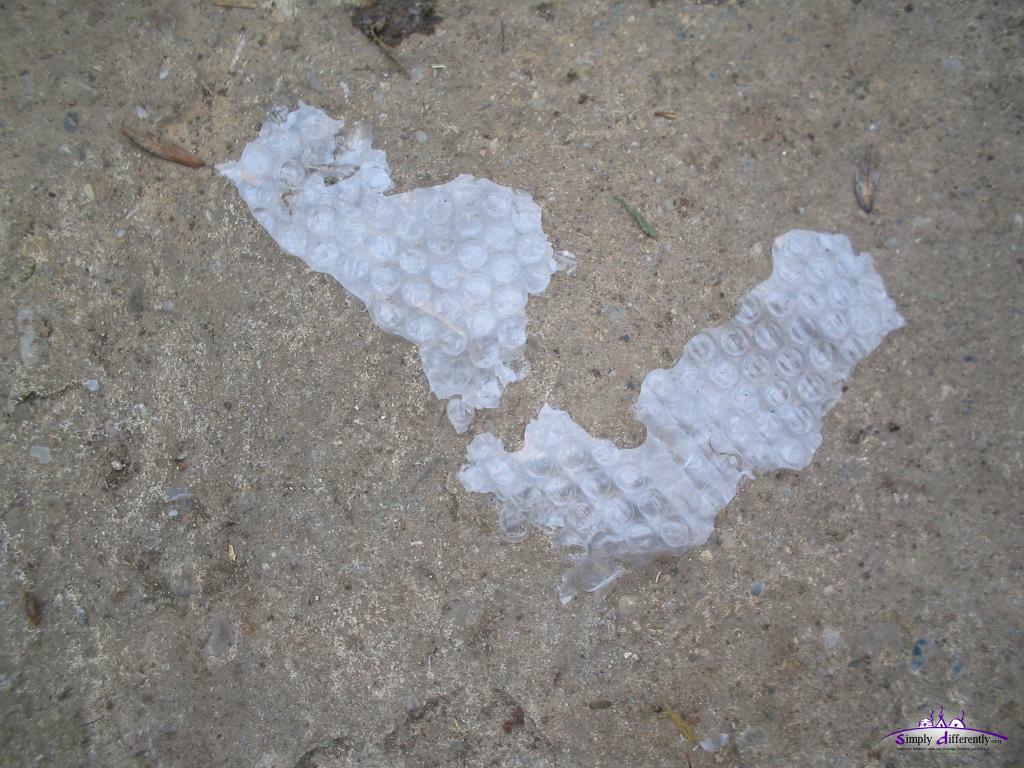 Porous bubble-wrap (3) 2006/10/14 08:35 12. 10. 2006: Preparing the New Site (continued)So here the next steps, leveled the place by displacing the ground a bit on the slope, and adding more gravel to make it more even. Then I began to place the collected aged "euro"-palettes and "one-way" palettes (used only once and then thrown away by companies) from big chain stores nearby:
 2006/10/12 13:36  2006/10/12 14:48 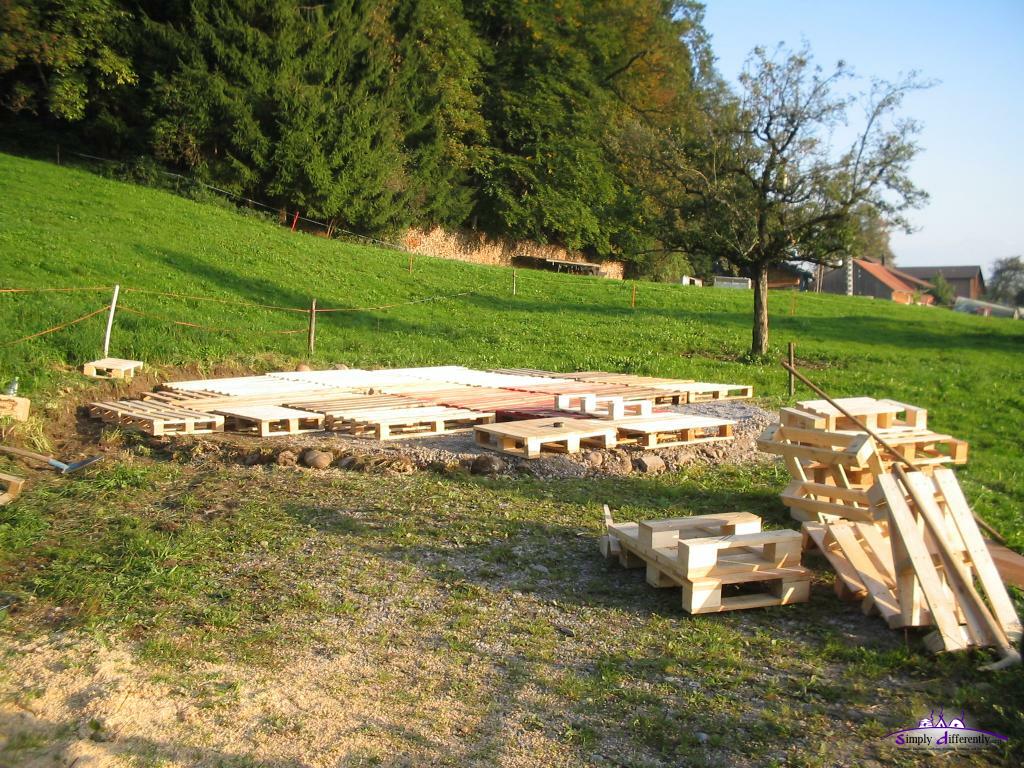 2006/10/12 15:25 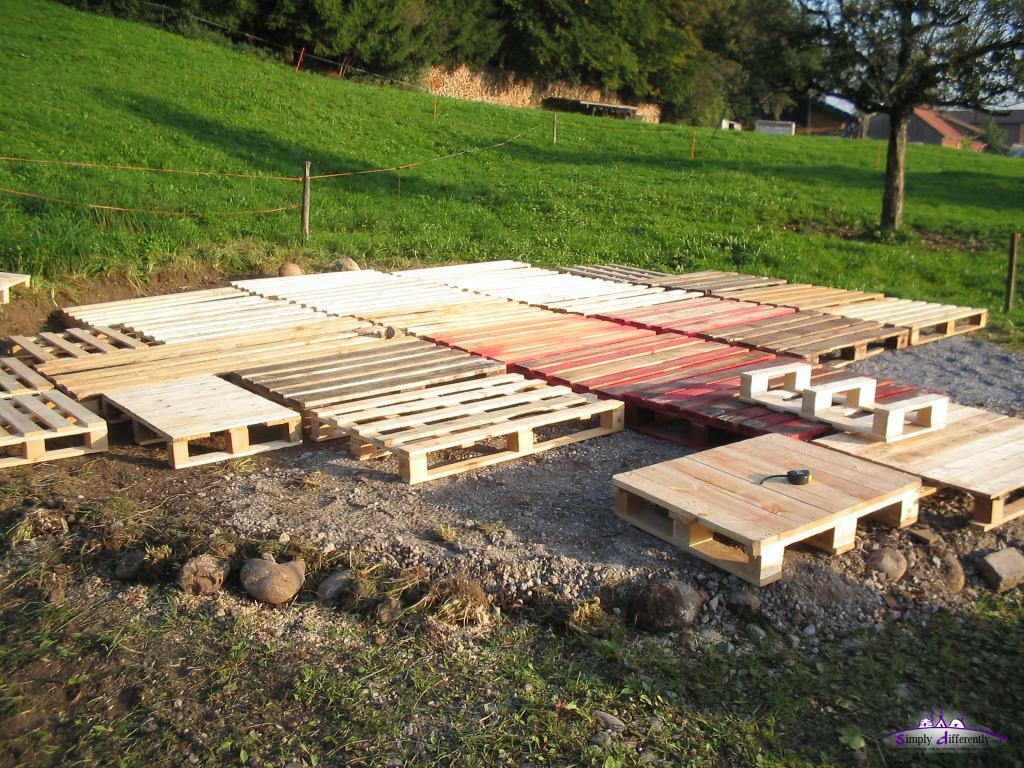 2006/10/12 15:25  2006/10/12 15:49 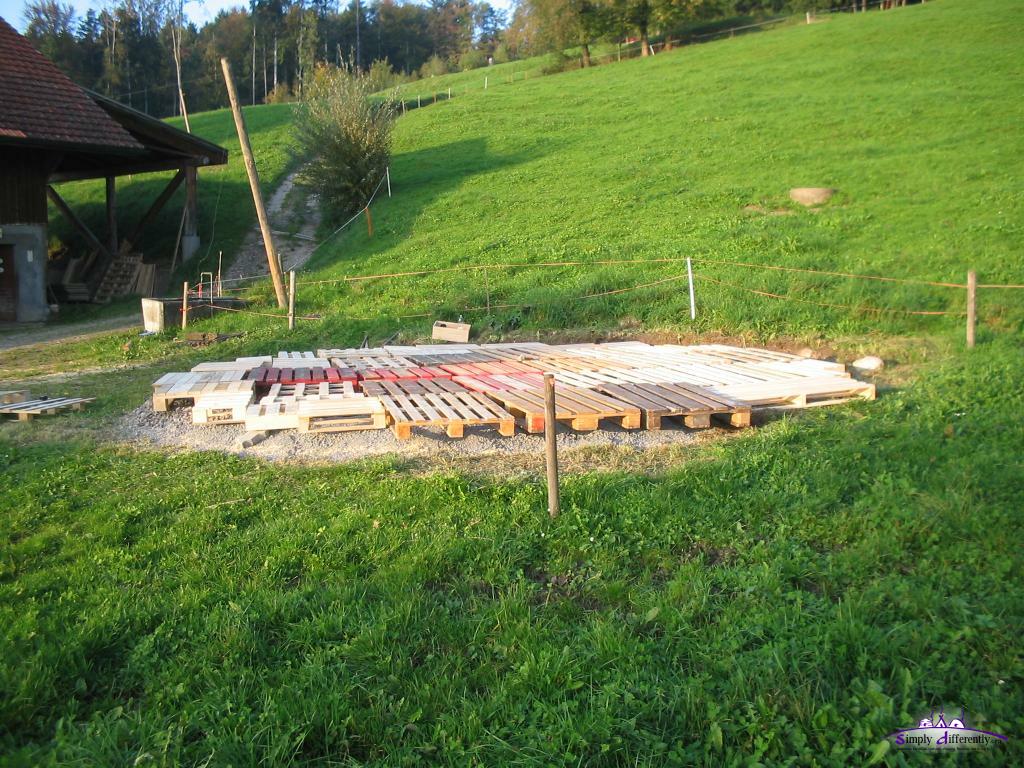 2006/10/12 15:49 The detail or fine leveling of the palettes (+/- 1 to 2cm) I do with gravel, couple of small stones and if neccessary short wood pieces (left-overs from constructions I did before).
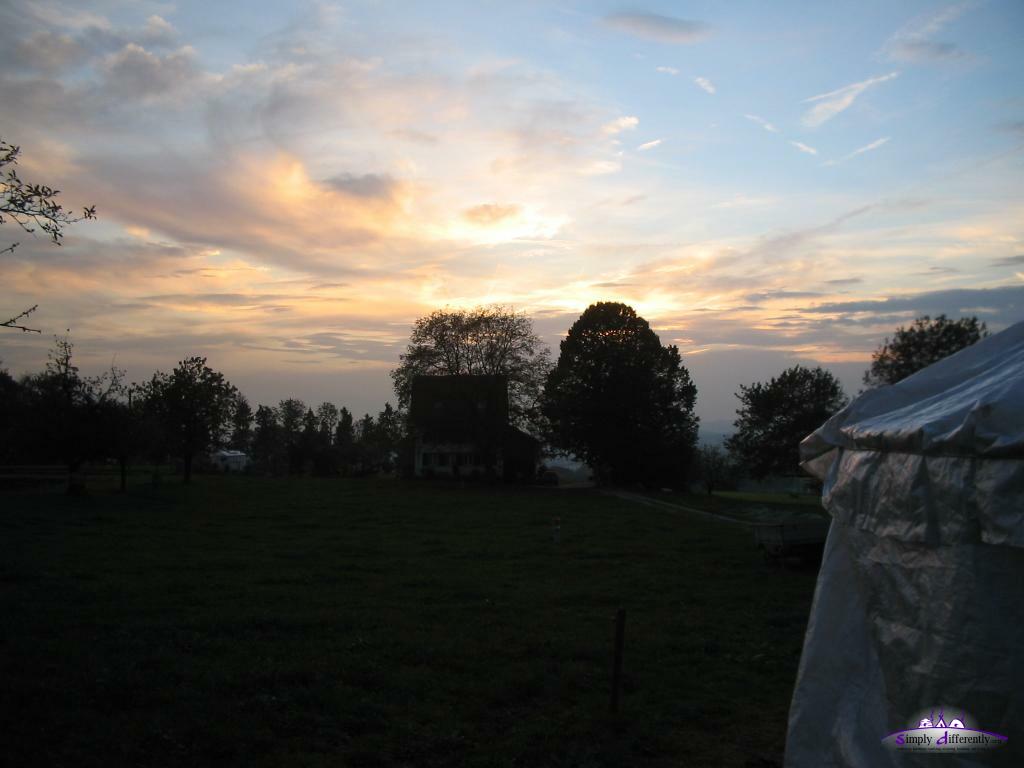
This morning I visited the place, and saw it was still in the shade of the nearby forest around 10:00 in the morning - I oversaw it at the first sightings of the place which happened in afternoon. On the other hand the sun lasts very long as the sunset happens in a far distant horizont, unlike the place I used before which has a range of trees nearby where the sun sets relatively early at the evening.
Especially for the winter-time good exposure to sunlight is important and reduces heating requirements - so the new places isn't that optimal in that regard, otherwise the new site looks very good and I'm happy I found it.
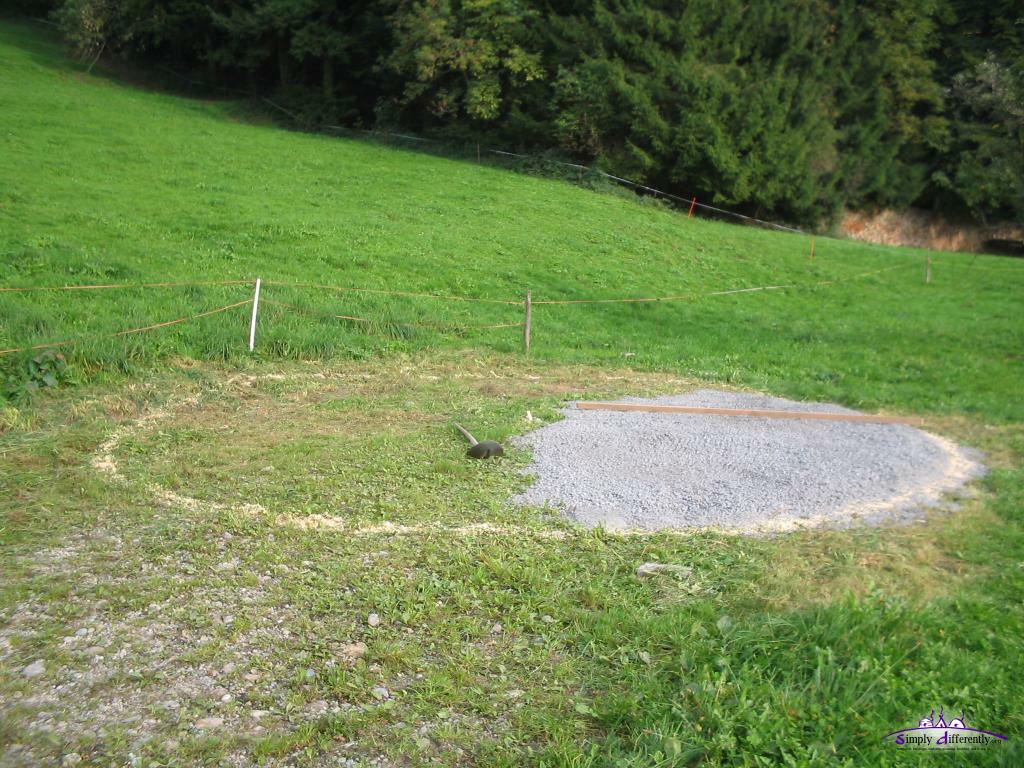
11. 10. 2006: Preparing the New SiteAs first I checked the distance (radius) to all sides, and then set the center accordingly - as next I used a stick with a cord with the length of the radius, and marked the circle by scratching the ground a bit, then marked it with sewing dust to make it more viewable.
The left-hand side of the photo, the starting slope of the hill already, will be displaced as next. The planned layers for the floor:
Page << Prev | 1 | 2 | 3 | 4 | 5 | 6 | 7 | 8 | 9 | 10 | 11 | 12 | 13 | 14 | 15 | 16 | 17 | 18 | 19 | 20 | 21 | Next >> Content:
|

| Home | · | About | · |  Tipi | · |  Yurt | · |  Dome | · | Features | · | Gallery |


Creative Commons (CC) BY-SA-NC 2005-2017, developed, designed and written by René K. Müller
Graphics & illustrations made with Inkscape, Tgif, Gimp, PovRay, GD.pm
Web-Site powered by FreeBSD & Debian/Linux - 100% Open Source