|
Page << Prev | 1 | 2 | 3 | 4 | 5 | 6 | 7 | 8 | 9 | 10 | 11 | 12 | 13 | 14 | 15 | 16 | 17 | 18 | 19 | 20 | 21 | Next >> Yurt / Ger Diarywritten by Rene K. Mueller, Copyright (c) 2005, 2006, 2007, 2008, 2009, last updated Sat, January 3, 2015 28. 7. 2006: Bamboo Splitting
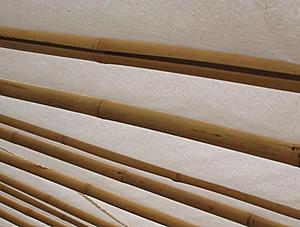
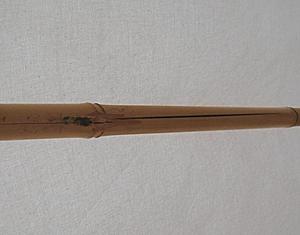
Exported bamboo is dried for 1/2 to 1 year, and has apprx. 50% remaining humidity - during shipment on a ship it dries additionally, until it arrives e.g. in Europe, apprx. 20% humidity. I was told it would take another 5-10 years til the bamboo is fully dried, but nobody keeps bamboo that long, it's sold earlier. So far the bamboo expert of the whole sale garden company said, the spliting comes from the knots in the bamboo, which cannot expand and shrink the same way as the hollow parts of the bamboo, and that the tension there, with the remaining humidity in the chambers, increase the probability of the spliting: fast temperature changes, e.g. in the summer from hot afternoon in colder evening.
I mentioned that I used the bamboo for a yurt construction, and that I was thinking of painting the bamboo so with my half transparent cover setup it would not get as warm anymore by having it bright or even white painted. So, it's a common issue, for us westerners it's an aesthetic issue (or also a problem when you handle split bamboo with bare hands that you can injure yourself easily as the edge along the split is extremely sharp) but otherwise a known thing that bamboo simply splits. I will try to reduce this splitting of bamboo, and then share my eperiences here.
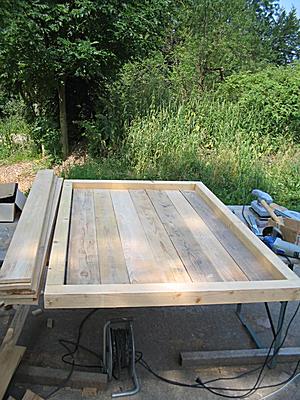
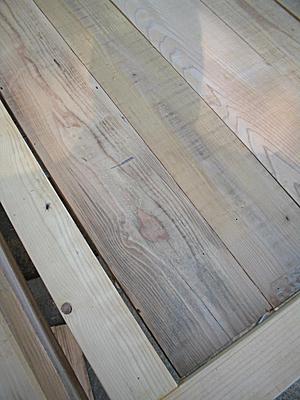
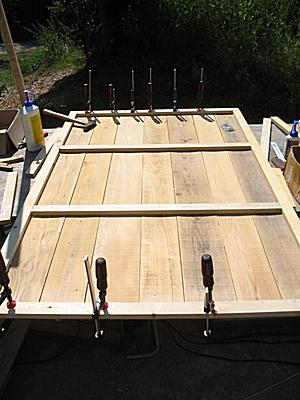
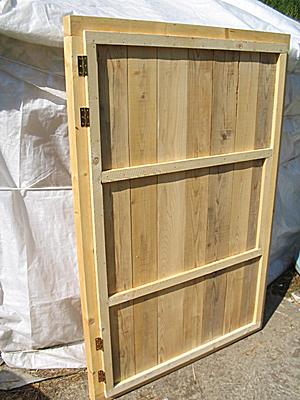
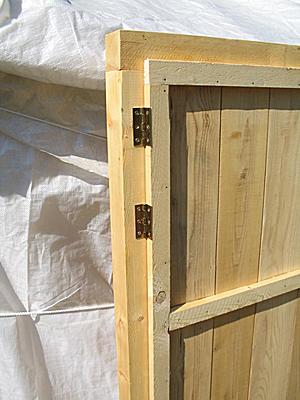
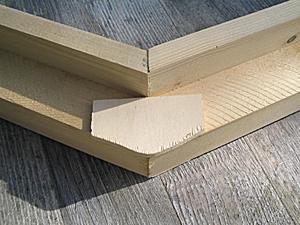
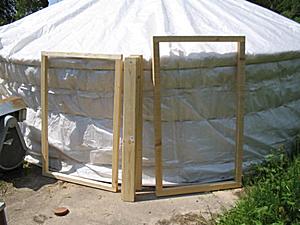
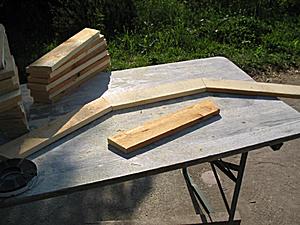
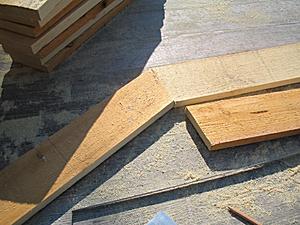
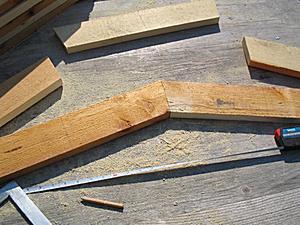
24. 7. 2006: Hot DaysThe last weeks it has been very warm, actually hot for our climate zone (Switzerland), over 30°C, up to 35°C at peak. Inside of the yurt it is and was very hot. I left the door open all day long, and moved the skylight open, additionally I kept running the fan, which I used in the wintertime to distribute the stove heat in the yurt, now for venting air to my desk where I work. I'm thinking of making a cover for a sunshade, to have not so much heat radiation reach inside of the yurt. Since I'm teaming up with other projects where temporary buildings play a significant role I haven't worked further on the yurts as I need to order the bamboo sticks and poles (apprx. 700 pieces total for 3 yurts) and have postponed that order until I moved to my winter 2006/2007 domicile. 5. 7. 2006: Door ConstructionI was working today on three doors again whose frames I already made, two 1.5m height and one 1.70m high. Two I made with used and old laths, and one door I made with new wood. I will include a how-to build a door in the Yurt Notes with illustrations.
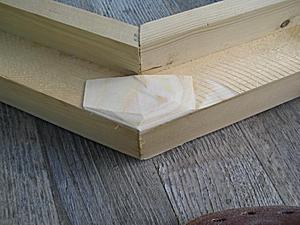
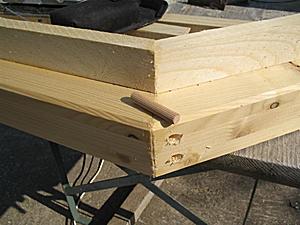
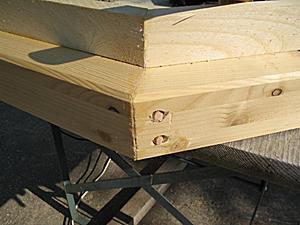
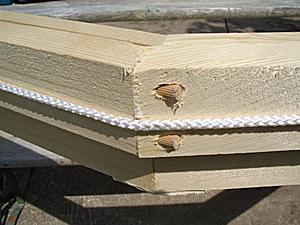
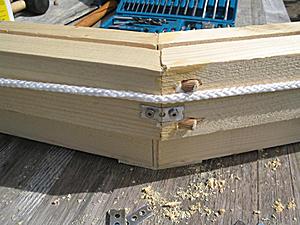
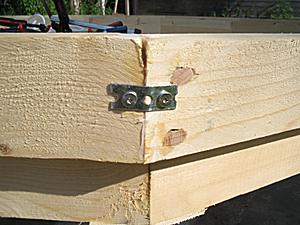
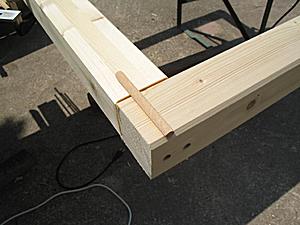
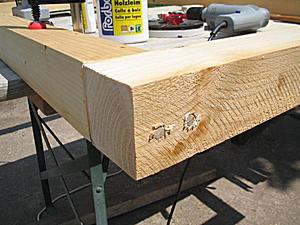
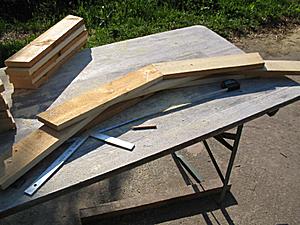
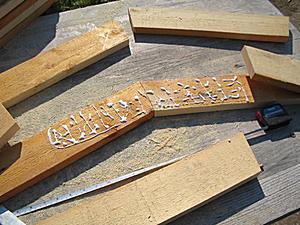
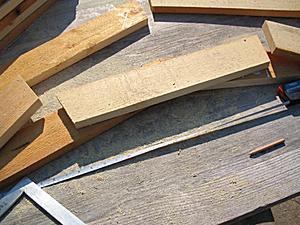
What's left to do is the closing mechanisms, which I do with wood as well. An additional locking mechanism with a locker I will maybe do too. 25. 6. 2006: New Concepts & More Details on Crown-WheelsGot a visit from Claudius Kern and discussed intensivly new concepts of his to extend the traditional yurt for humid climate like central europe; the main idea is to use air space just behind the rain cover so humidity does not condense at the rain cover or within the thermal insulator. The air space should be vast enough to operate as air channel, from the ground up to the crown-wheel. We are still discussing the details how to do this, and Claudius will work the next days on such simplified version of his rather complex approach he teaches at his yurt-build seminars. Expect updates on this in my Yurt Notes, and more details then.My first crown-wheel I used wooden dowels inside, which was hard to make exact. This time I made two new attempts:
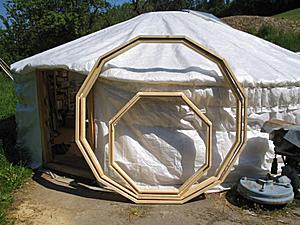
Additionally you see how I strengthened the skylight frame (which fits over the crown-wheel collar). The door frame construction:
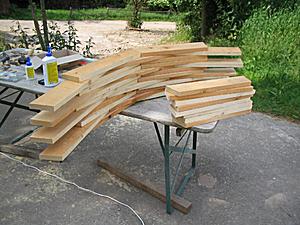
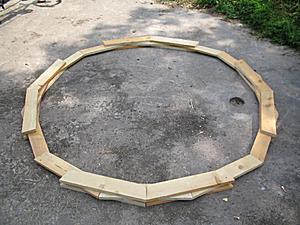
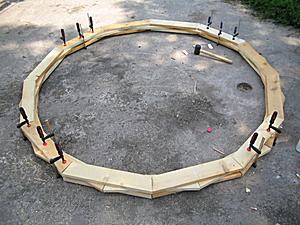
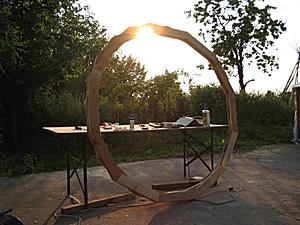
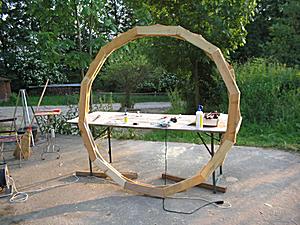
And finally the 12x3 segments based 1.92m crown-wheel I started:
I'm not yet sure of the stability of just 3 layers, as more layers the better; I will work on this crown-wheel a bit more and see if it is useable. 13. 6. 2006: Heat & WarmthThe last days have been very sunny, and warm; and I noticed more bamboo roof poles splitting (loud cracking) lengthwise, which doesn't descrease their stability - and I finally found out why they split. It is not the humidity as I was told, it is the heat I think. In my case of the yurt, with semi-transparent covers the heat radiation goes through the canvas (the rain cover itself isn't warm) to the bamboo poles, and they warm up due their color (brown/yellow). So, I'm thinking of painting the roof bamboo poles next time in white, to avoid those warm up and create tension and split then. So far only 3 or 4 poles splitted like this (out of 64 poles), and made a 2-3mm gap, I likely will replace with some extra poles I still have. I assume when I have a more thermal insulated yurt where the heat radiation of the sun doesn't reach the inside this won't be a problem anymore. In order to keep the inside of the yurt as cool as possible I leave the door open, and have the skylight on the side (see photo below), this way the temperature is inside the yurt 38-40°C vs outside 31°C (measured at the shadow side of the yurt). 9. - 12. 6. 2006: Finishing WheelsFinally again some dry and sunny days to work outside, and finishing the crown wheels for the two new yurts. See the photos enclosed in the 26. 5. 2006 entry. I also have some wood left which I want to use before I relocate and so I started to do a 3rd new yurt (6.4m diameter), and today I made its crown-wheel.
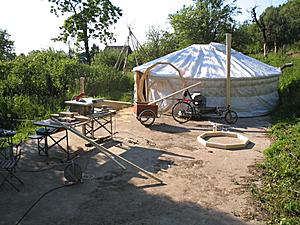
The three yurts I work on:
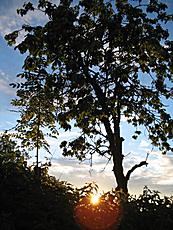
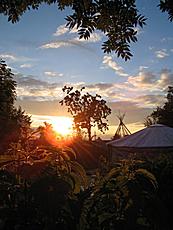
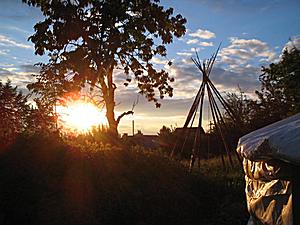
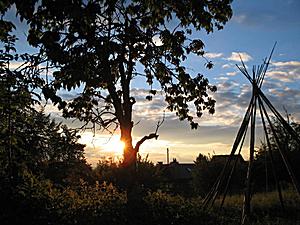
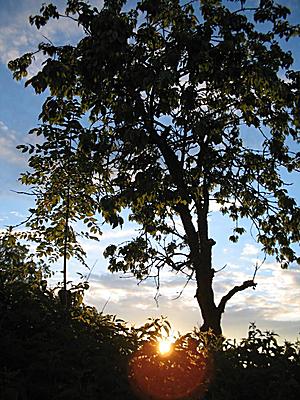
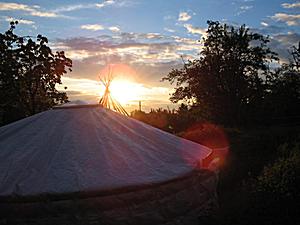
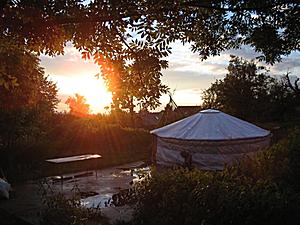
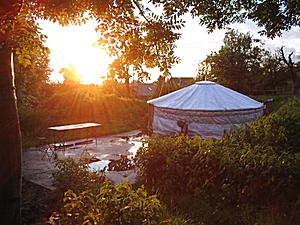
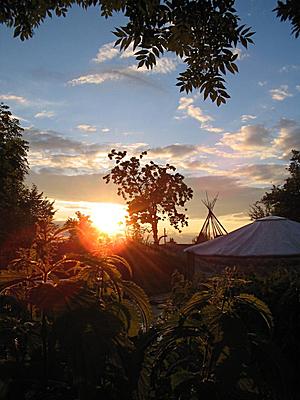
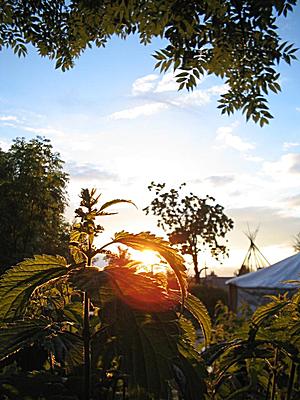
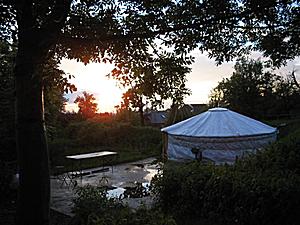
since I documented my first yurt in quite some detail, I won't do so for the following, only if I changed a procedure or so. 31. 5. 2006: Beautiful SunsetIt has cooled down the last days, lot of rain and even a bit snow again; and this evening we had a wonderful sunset:
It looks like I'm living in a jungle - yet, the plants are so green, and alive, and after the rain - a wonderful moment I tried to capture.
Page << Prev | 1 | 2 | 3 | 4 | 5 | 6 | 7 | 8 | 9 | 10 | 11 | 12 | 13 | 14 | 15 | 16 | 17 | 18 | 19 | 20 | 21 | Next >> Content:
|
| Home | · | About | · |  Tipi | · |  Yurt | · |  Dome | · | Features | · | Gallery |

Creative Commons (CC) BY-SA-NC 2005-2017, developed, designed and written by René K. Müller
Graphics & illustrations made with Inkscape, Tgif, Gimp, PovRay, GD.pm
Web-Site powered by FreeBSD & Debian/Linux - 100% Open Source

