
|
Page << Prev | 1 | 2 | 3 | 4 | 5 | 6 | 7 | 8 | 9 | 10 | 11 | 12 | 13 | 14 | 15 | 16 | 17 | 18 | 19 | 20 | 21 | Next >> Yurt / Ger Diarywritten by Rene K. Mueller, Copyright (c) 2005, 2006, 2007, 2008, 2009, last updated Sat, January 3, 2015 26. 5. 2006: New Wheels / Toono1.22m Wheel, 8 Segments for 6.4m Yurt
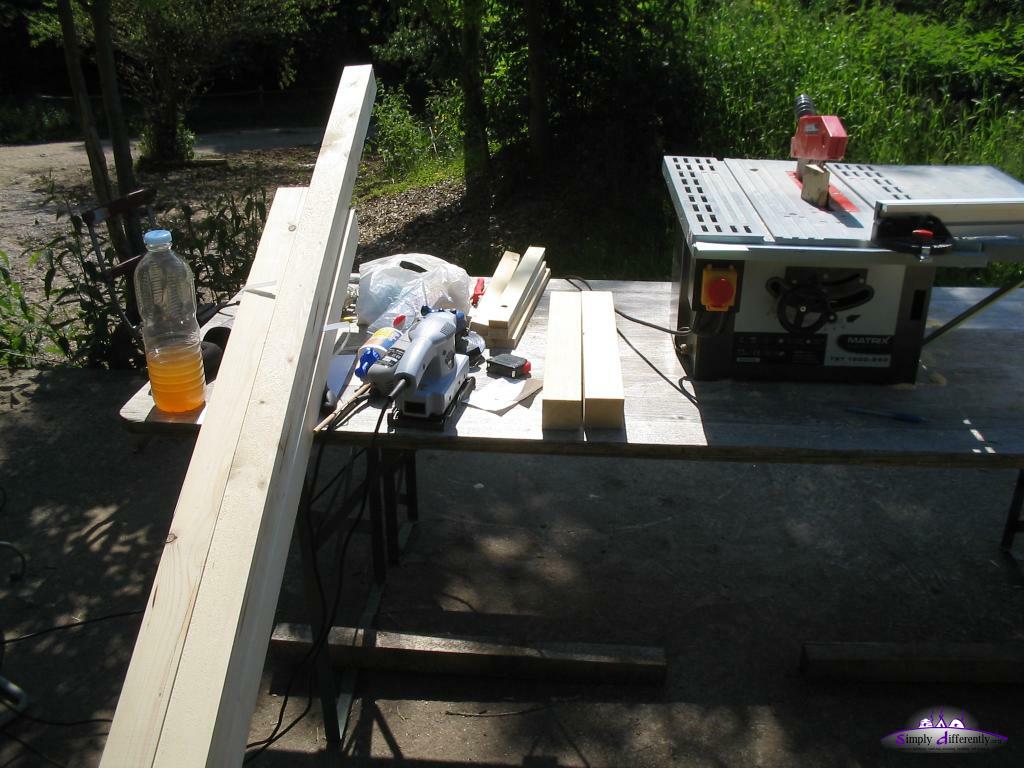
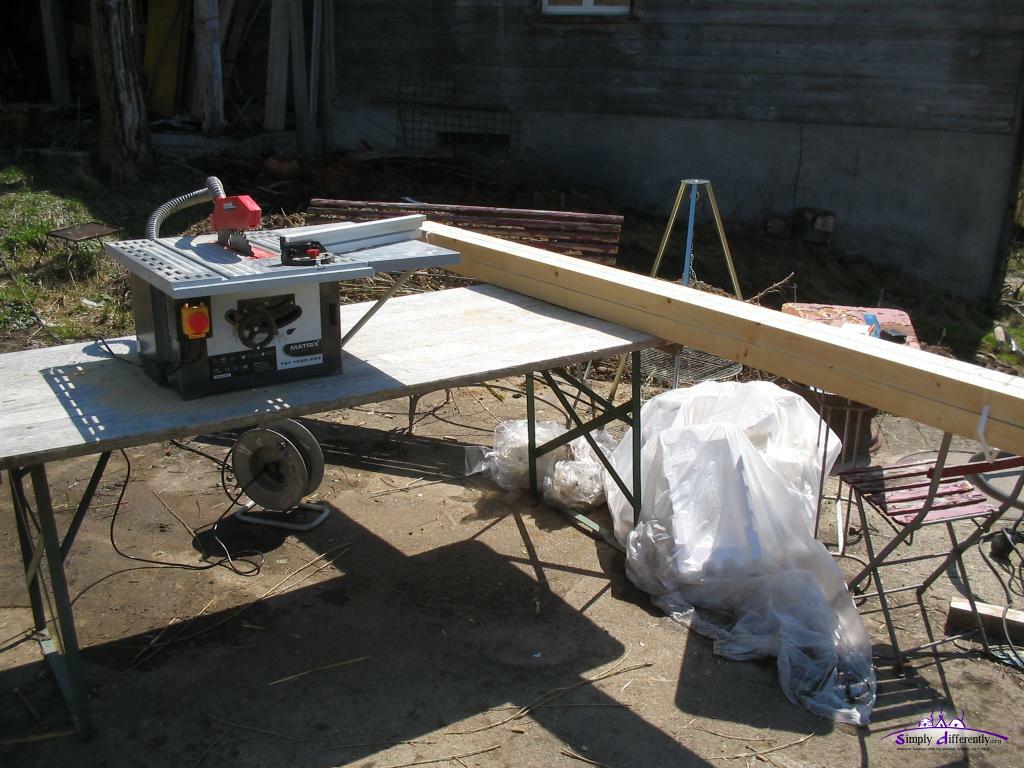 Preparing the crown wheel (8 segments approach) 2006/04/08 11:18 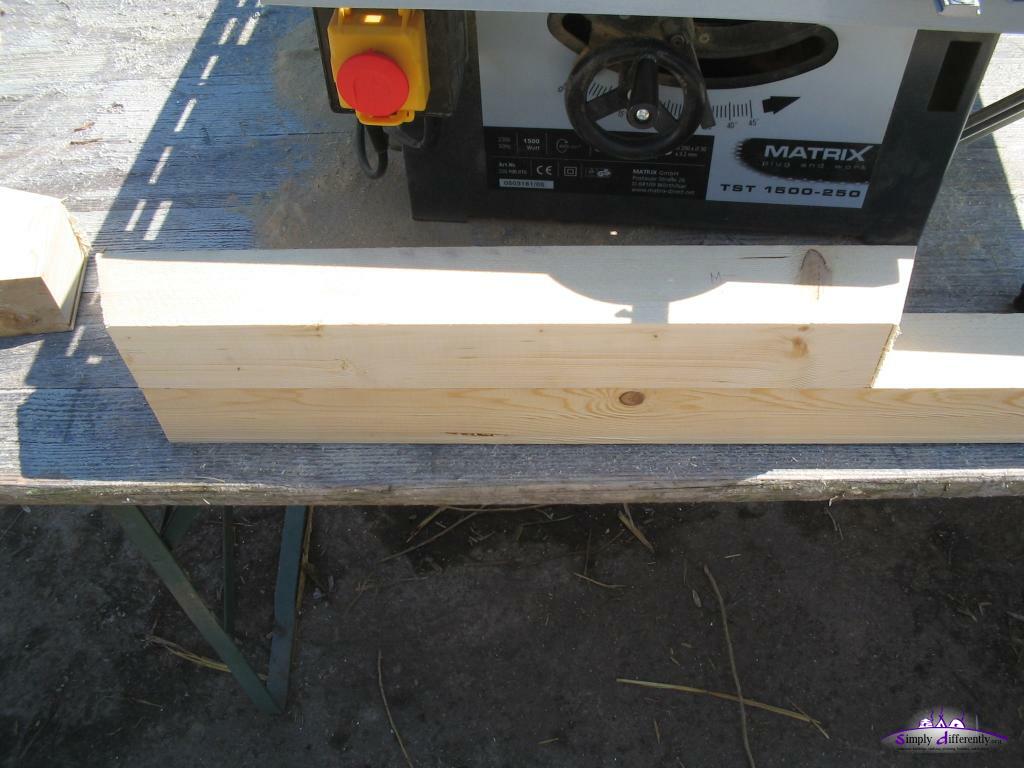 Cutting the master segment 2006/04/08 11:40 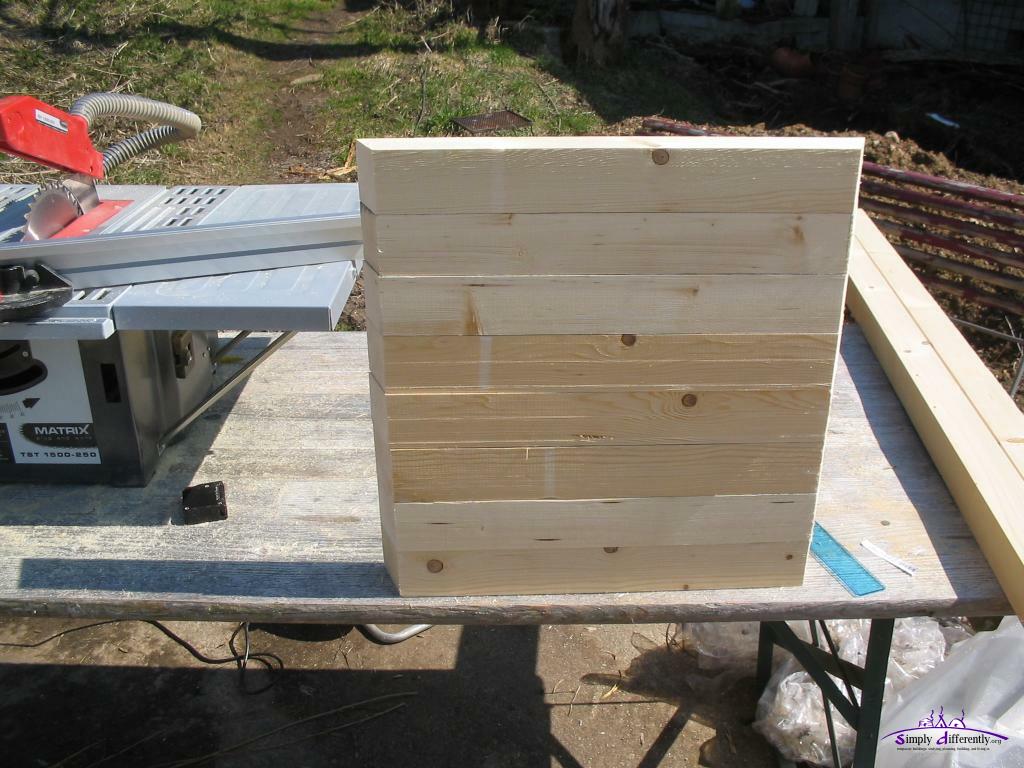 All segments done, but 22.5° is not precise, need to redo the angle 2006/04/08 12:21 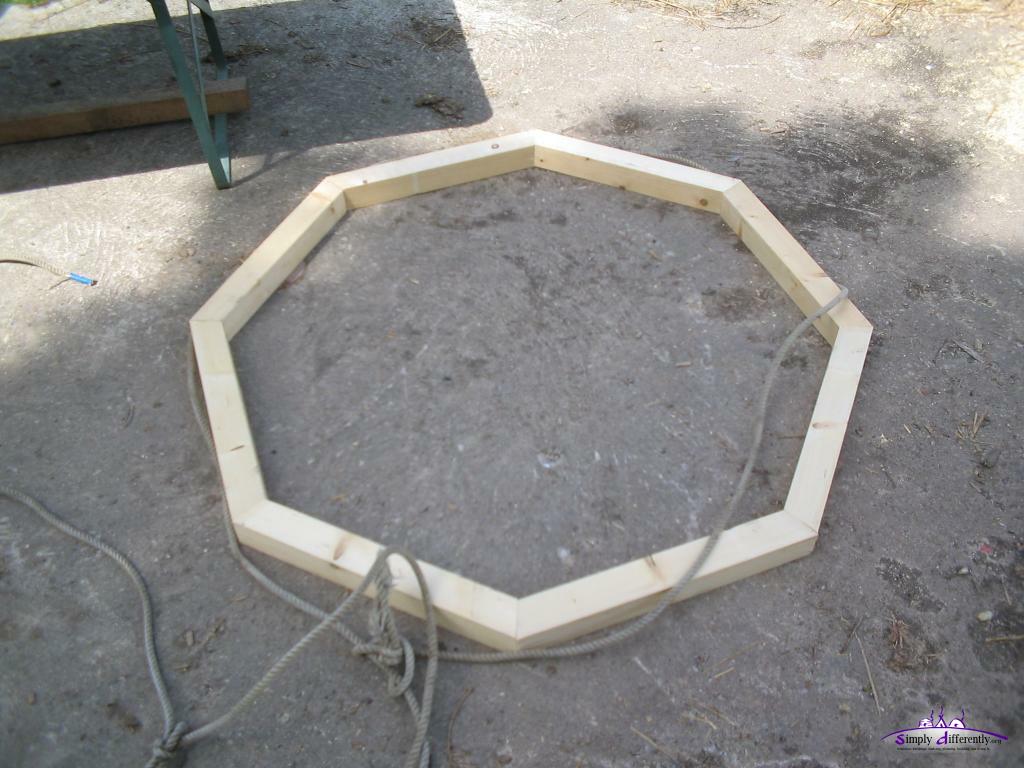 All segments laid on the ground, seeing if the segment seamless fit 2006/05/26 09:47 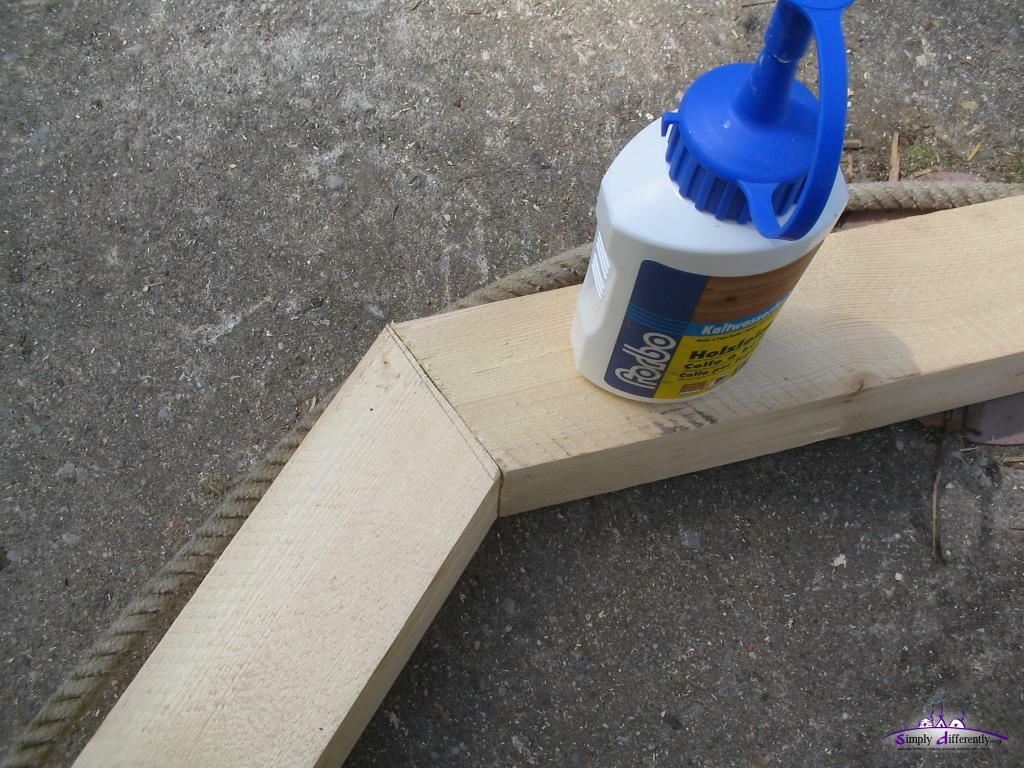 2006/05/26 09:48 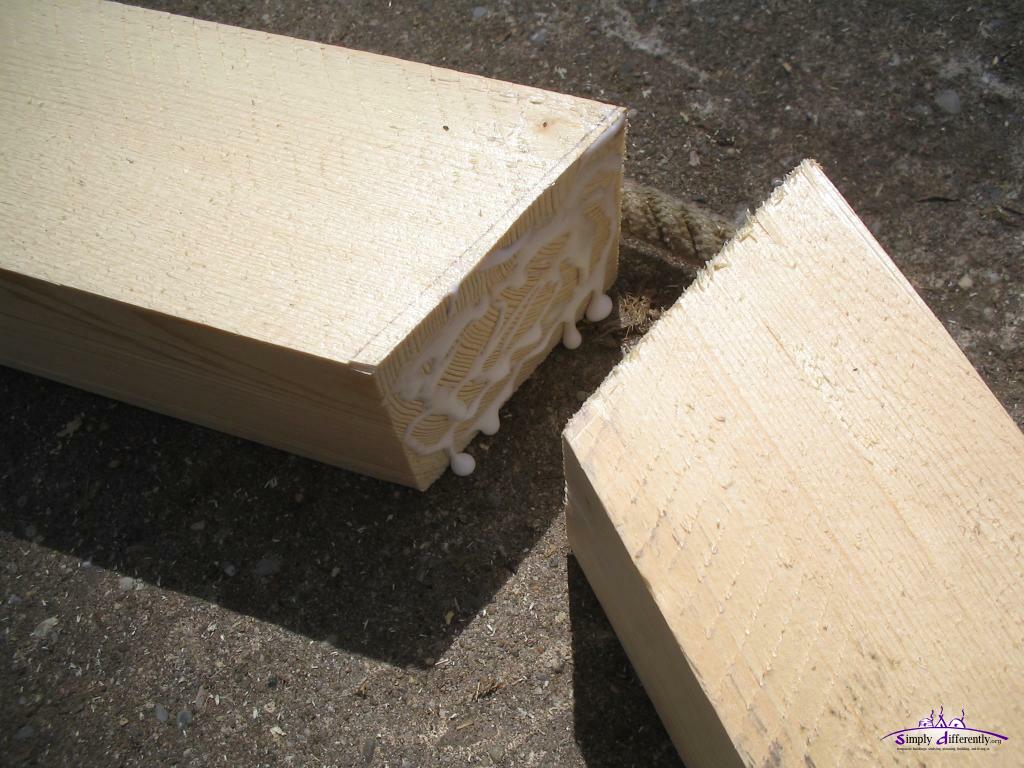 Beginning to glue all junctions, very quickly ... 2006/05/26 09:49 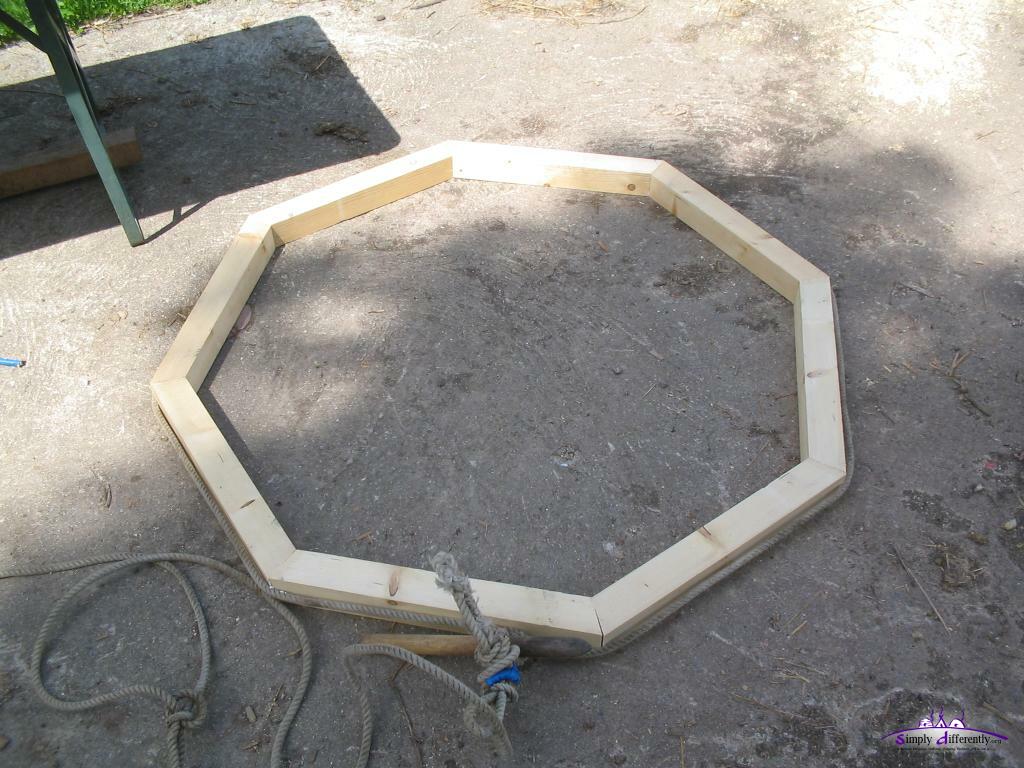 ... and a rope around all and then tightened, so you hear the wood ... 2006/05/26 09:53 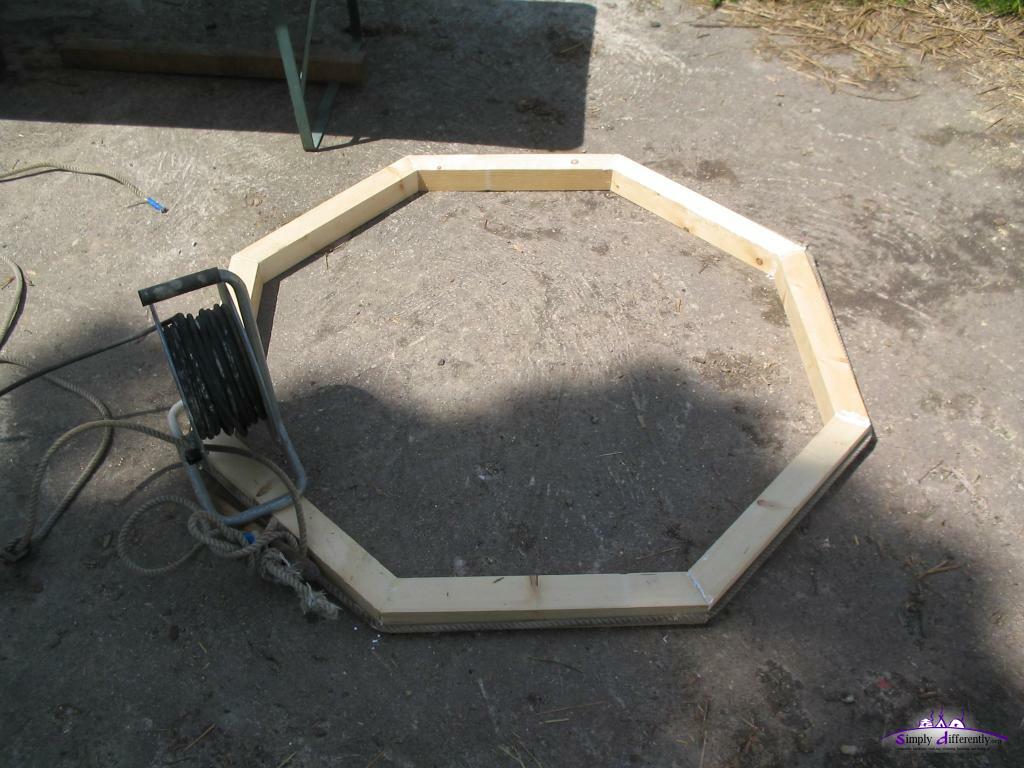 Had to put some weight on it so the tightening knot didn't open again 2006/05/26 09:59 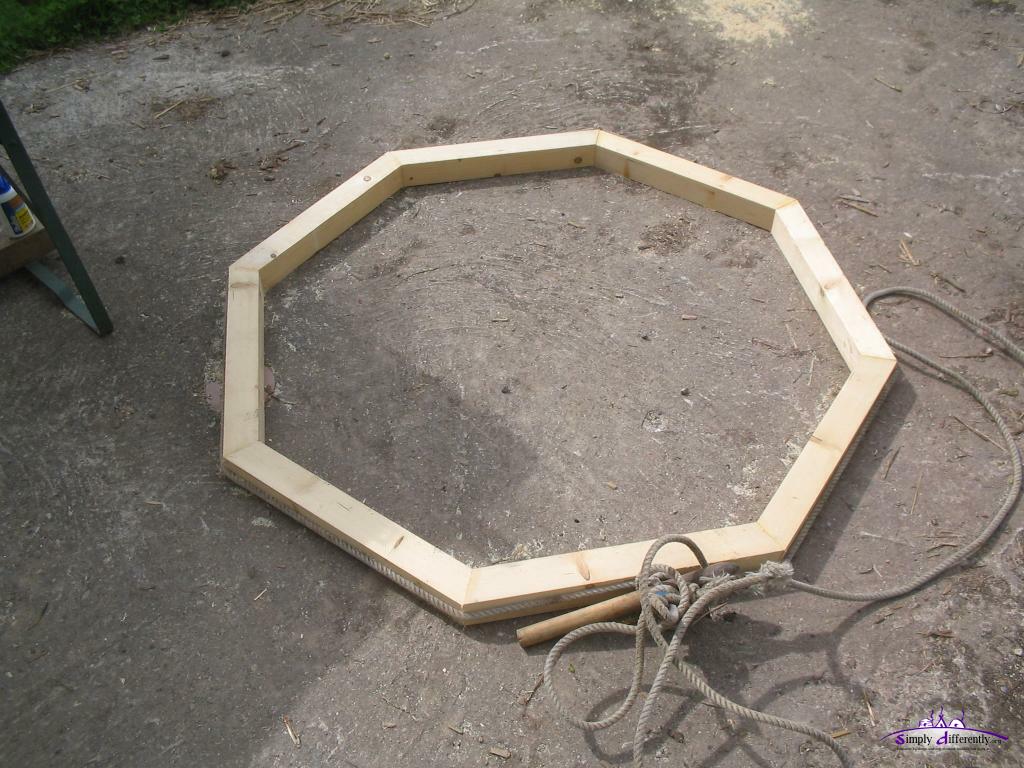 Letting it dry for 3-4 hours 2006/05/26 14:09 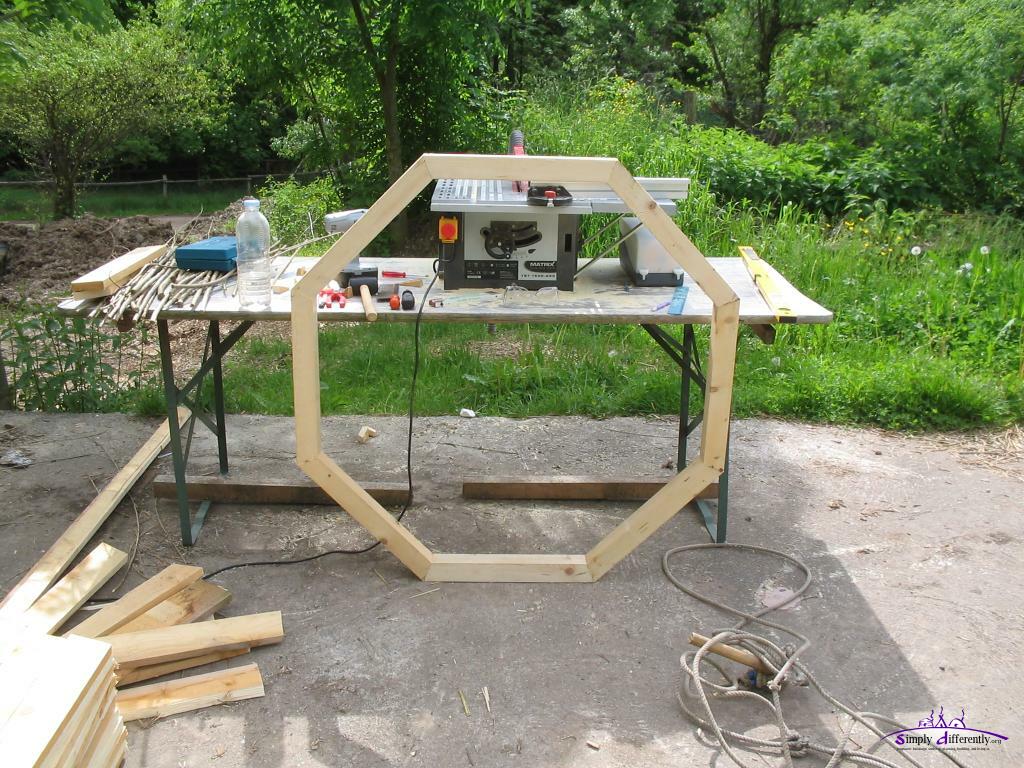 Finished for now (without dowels yet), quite stable 2006/05/26 14:10 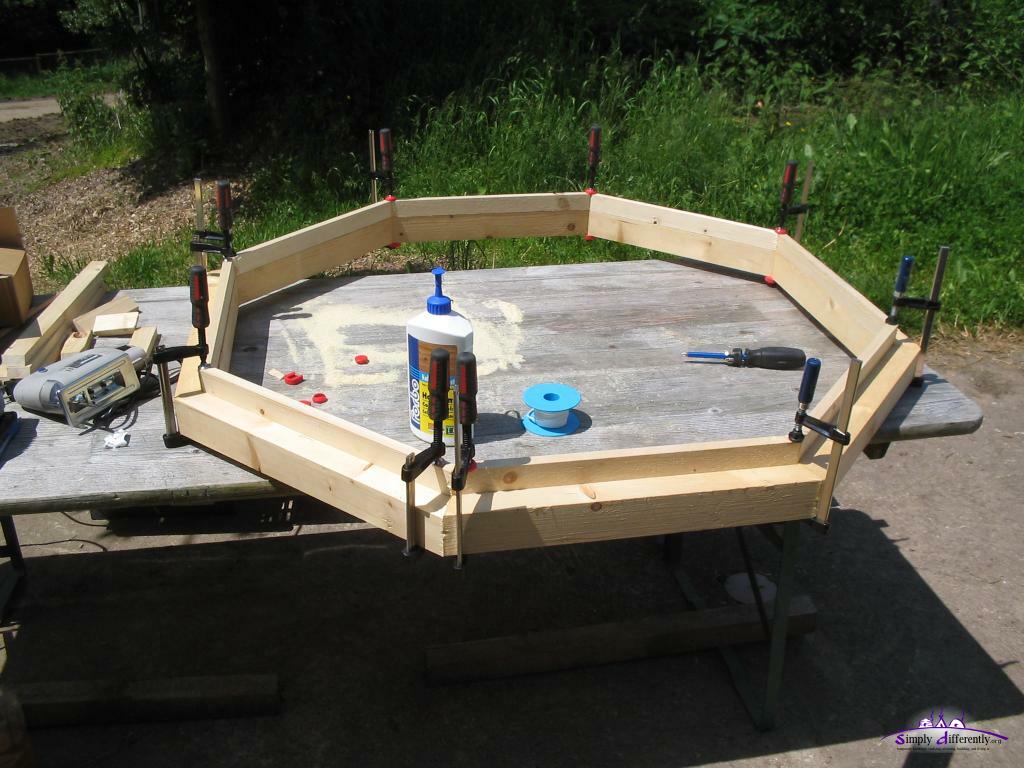 Adding the frame part to the crown wheel (toono) 2006/06/07 10:41 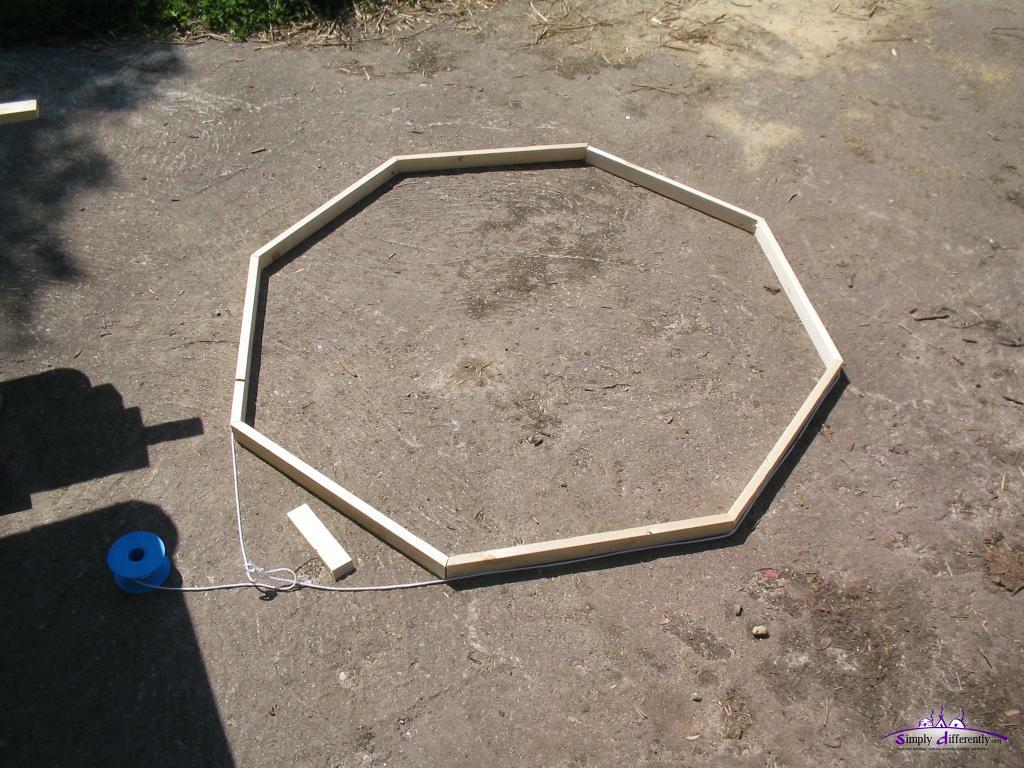 Positioning the frame for the skylight 2006/06/07 13:40 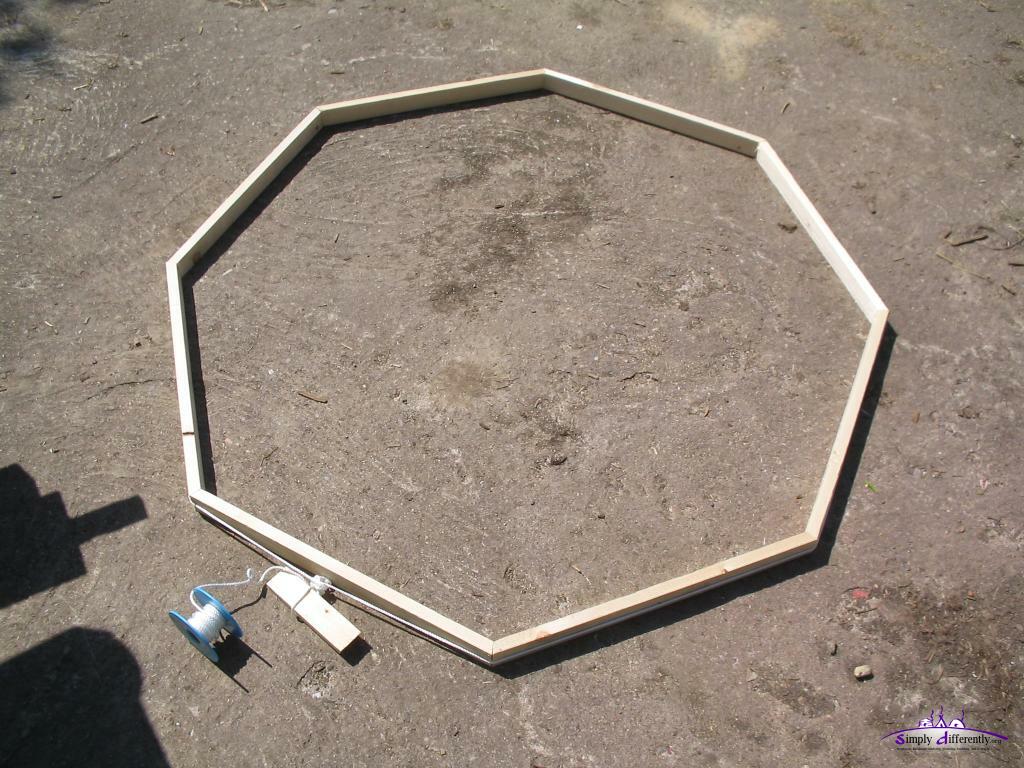 Frame of the skylight glued, and tightened with a rope 2006/06/07 13:44 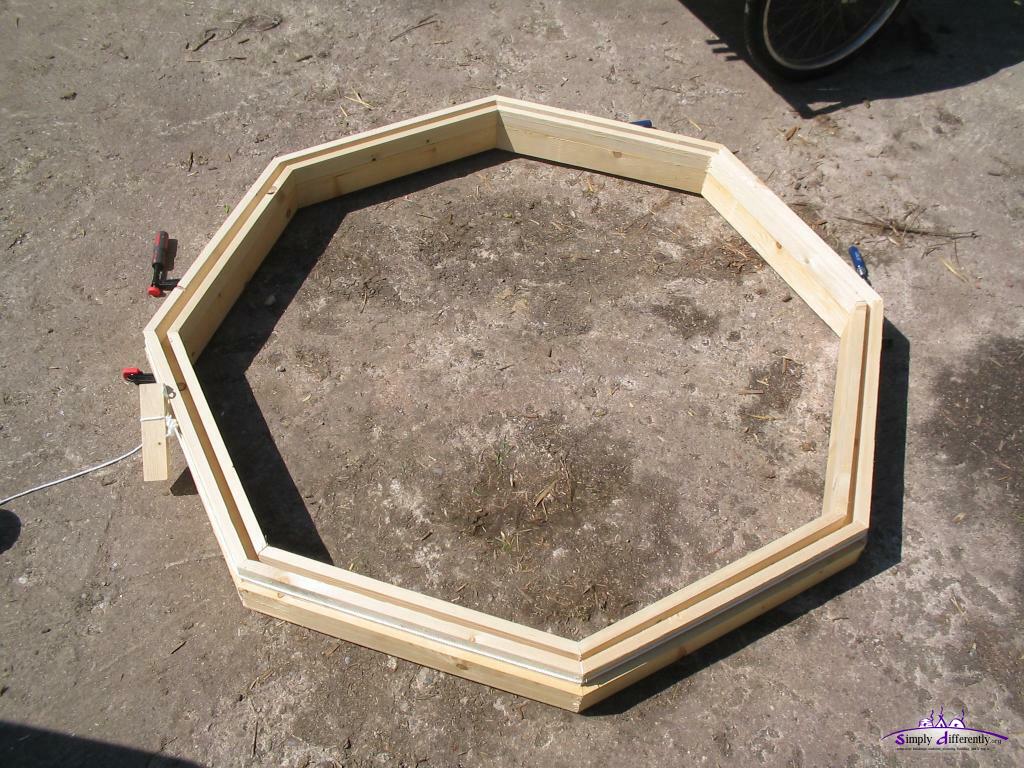 Inserting to the crown wheel to make sure the angles are ok 2006/06/07 13:51 So, I also made the crown-wheel collar which holds the frame of the skylight. 1.92m Wheel, 12 Segments for 9.45m Yurt The large wheel, 1.92m diameter, I do with 12 segments, 15° per segments - I did saw the 3 * 12 segments (50cm long, 2.5cm thick), total 36 segments, but I haven't had the space (flat enough area) to assemble. So I used my working procedure using 6cm x 6cm timber to form also the 1.92m wheel.
 Preparing the 12 segment 1.92m crown wheel, with 6cm x 6cm 2006/06/07 14:22  Starting to layout the 12 segments 2006/06/07 15:00  Layed out all 12 segments 2006/06/07 15:04  All segments glued (rather quickly) and tightened with a rope 2006/06/07 15:26 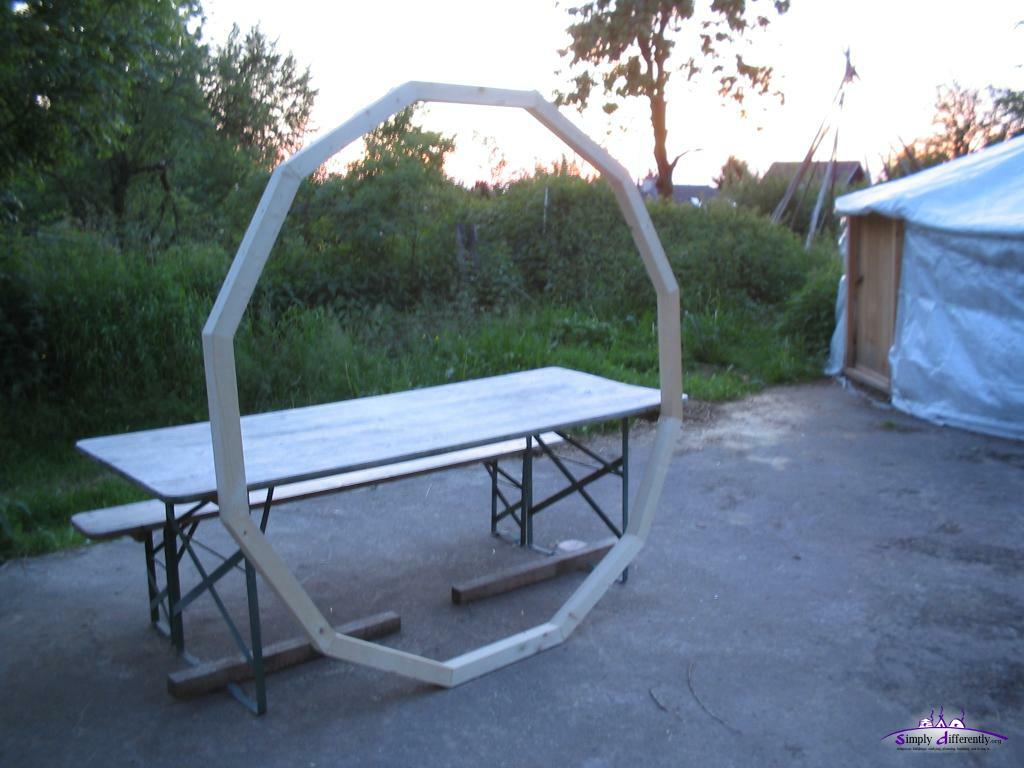 After 4-5 hours we are done, 12 segments, 1.92m diameter crown wheel 2006/06/07 19:18 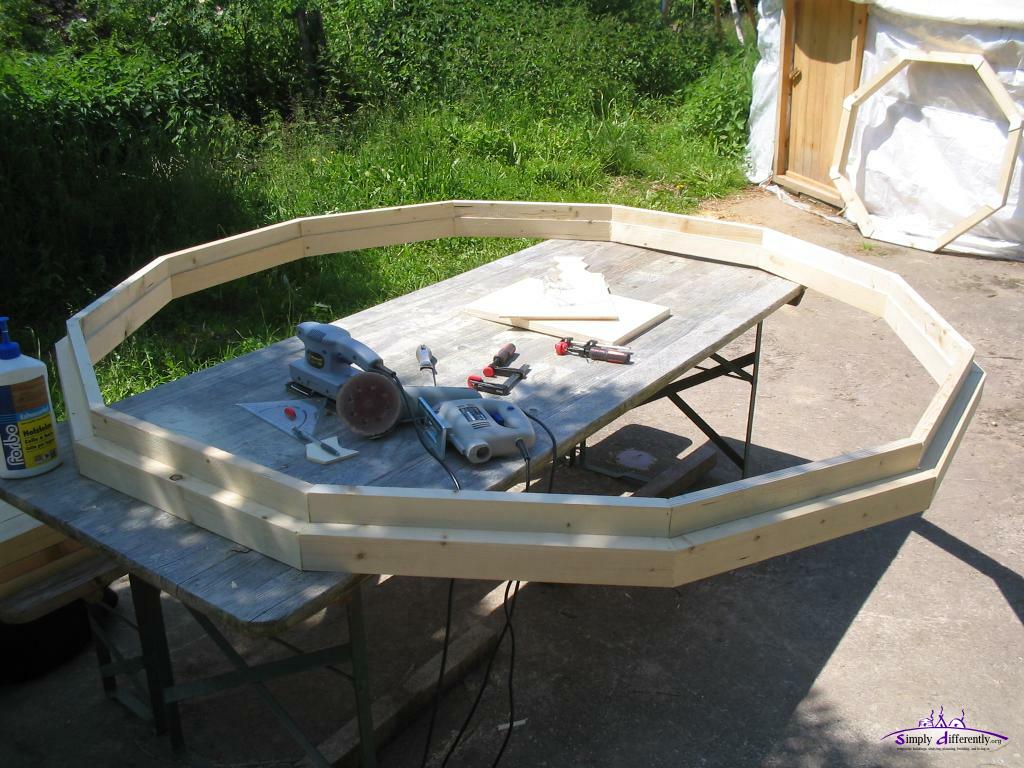 Inner frame glued ... 2006/06/09 12:47 Maybe later I reuse the 36 flat segments when I figured out a good procedure to assemble it with limited space, e.g. making quarters first and glue them and as 2nd step assemble the 4 quarters in a whole wheel. 22. 5. 2006: New Beginnings
The last weeks I have been working on more dome models, started a small web-site for an interest group for temporary buildings here in Switzerland called EinfachAnders.ch 30. 4. 2006: Cold Night, Warm Day
Today I expect a full range of temperature, starting at 0°C at 8:30 rising to 35°C at noon with open skylight and open door (slight draft and whirl inside the yurt). 21. 4. 2006: Skipped Spring, Summer is Here & Repairs
Well, it feels at least that way. We have 18-22°C the last days, no clouds, inside the jurt 37°C with open door and open crown-wheel cover (skylight). I also took the time to check the skylight in detail, and saw the tape I used as dried out, and had to be replaced, it lasted 6 months (11/2005 - 04/2006) The clear PVC ist still ok, but the tape I used I encapsulated too much of the wooden frame so water collected there, when I removed the tape the frame was wet - now I taped it only on the side but not underneath the frame anymore.
 Dried tape of the skylight 2006/04/20 12:38 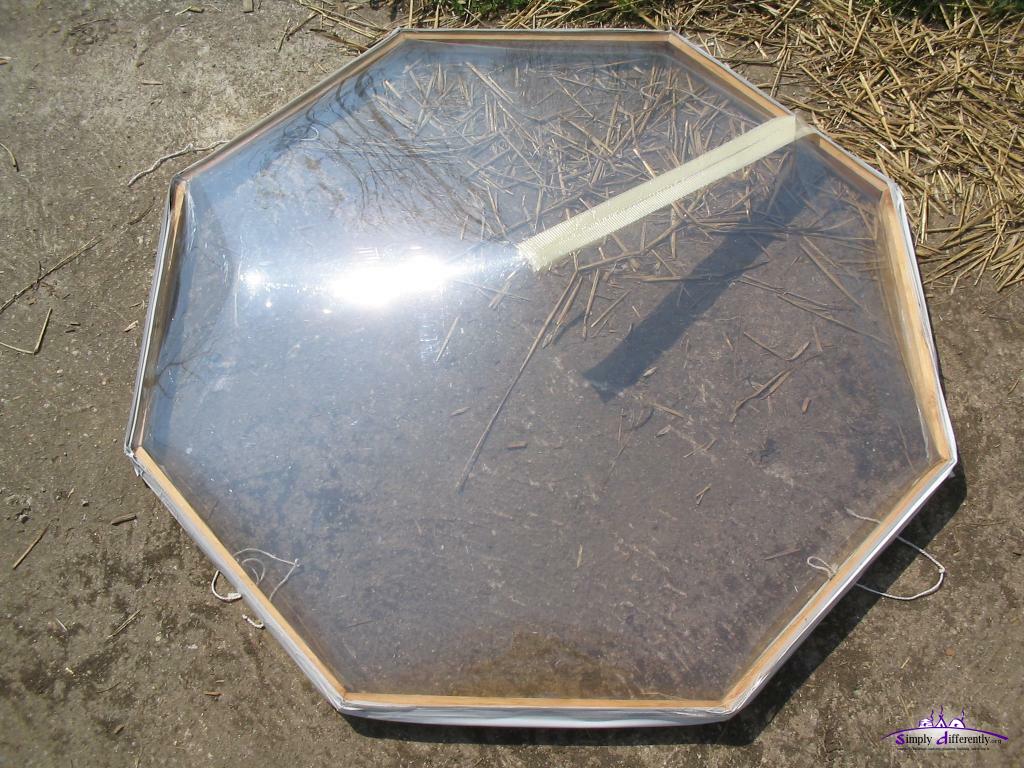 2006/04/20 12:38 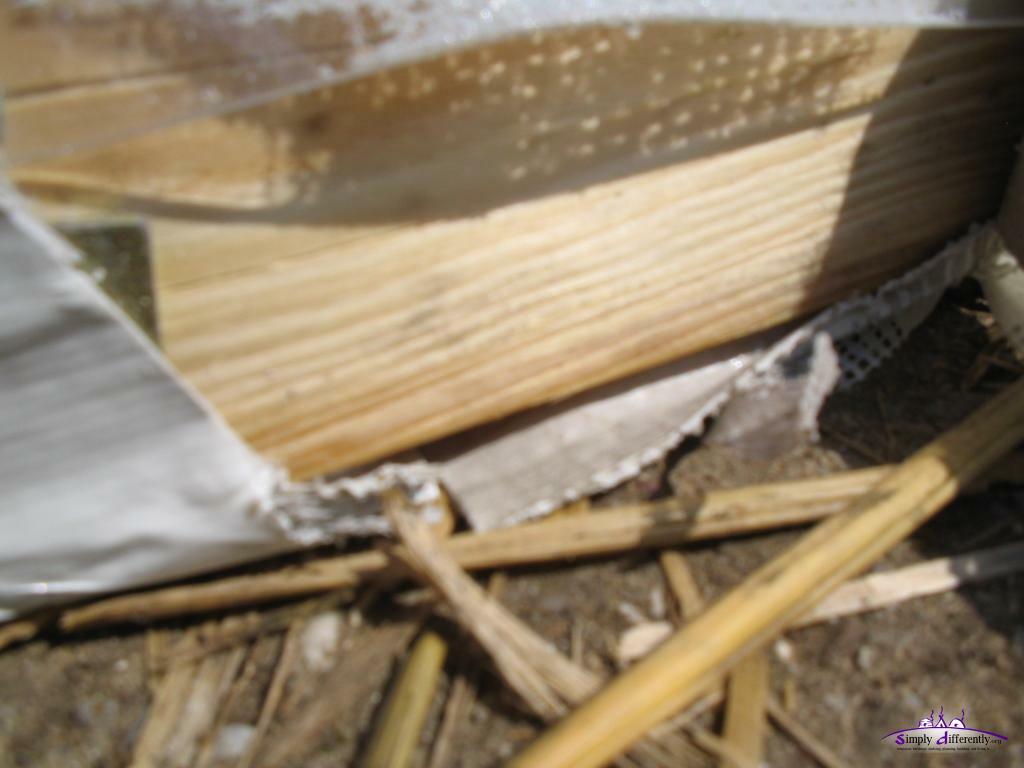 Water soaked wood frame (1) 2006/04/20 12:40 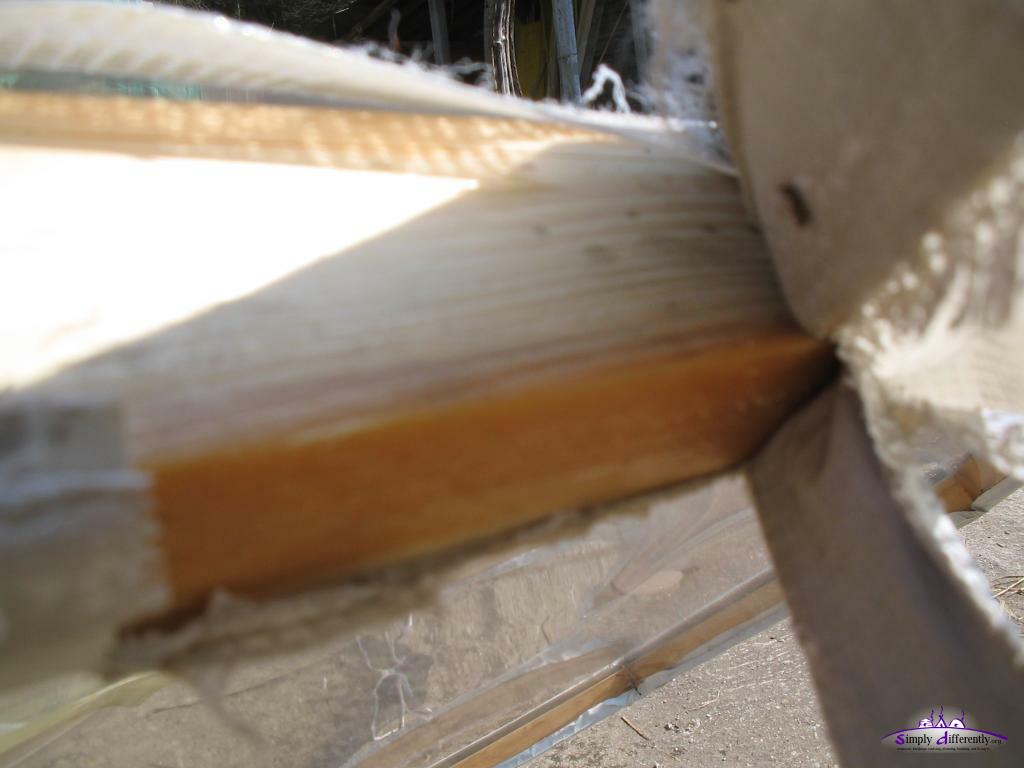 Water soaked wood frame (2) 2006/04/20 12:41 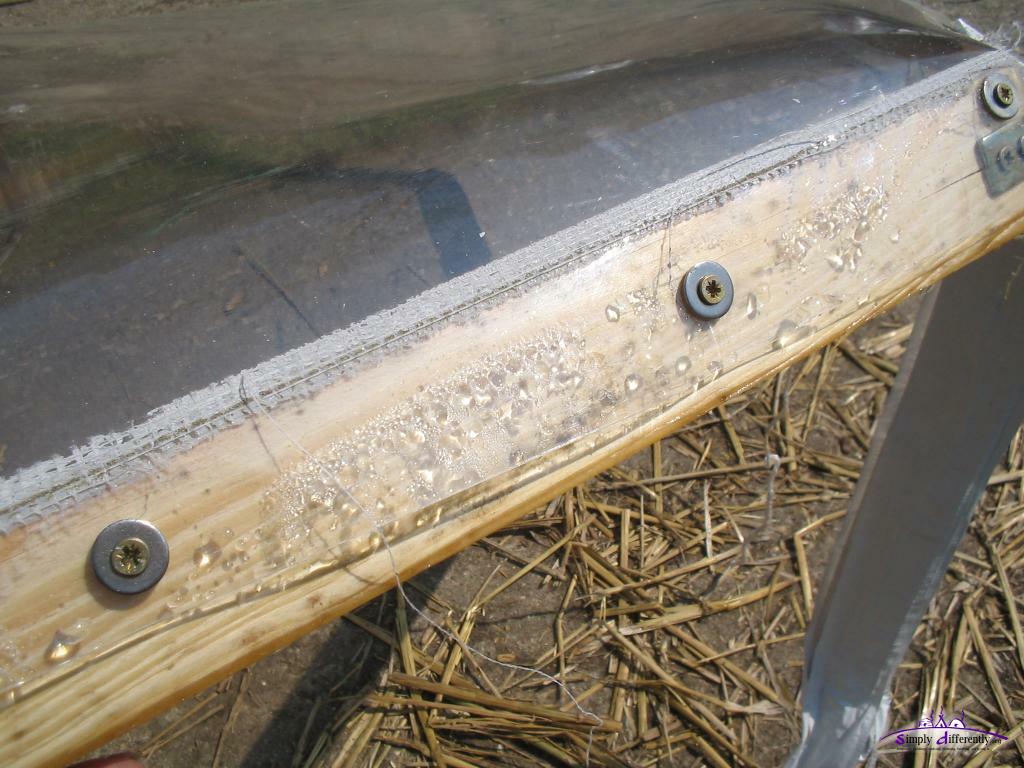 Lots of water 2006/04/20 12:41 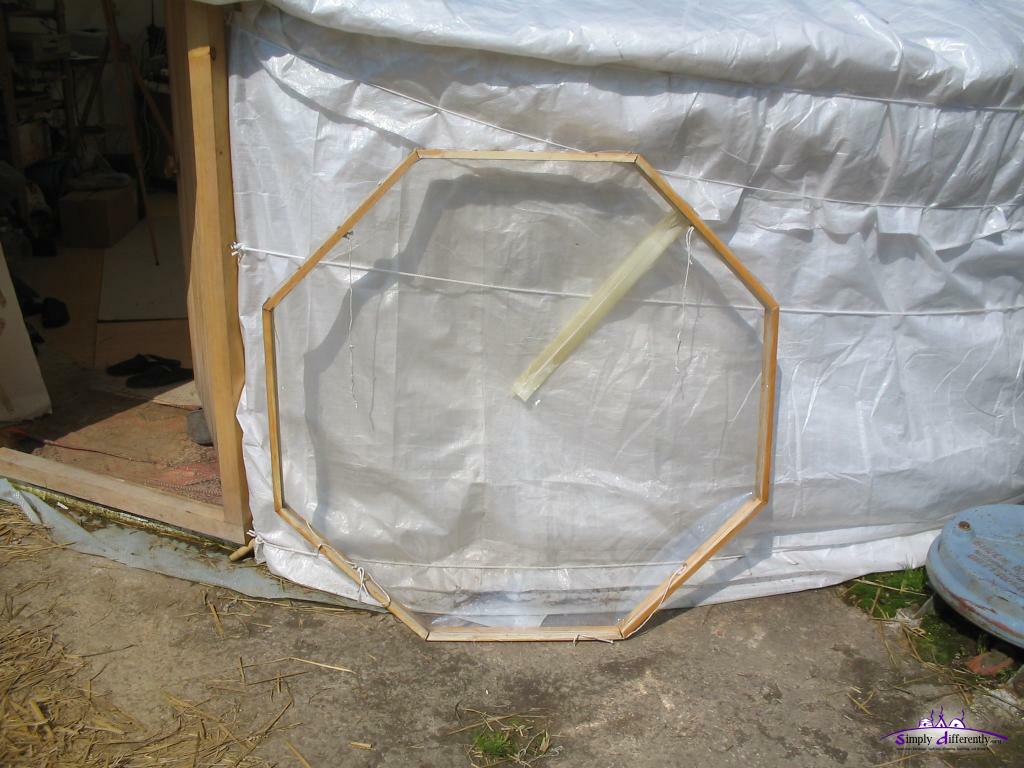 Drying the frame 2006/04/20 12:44 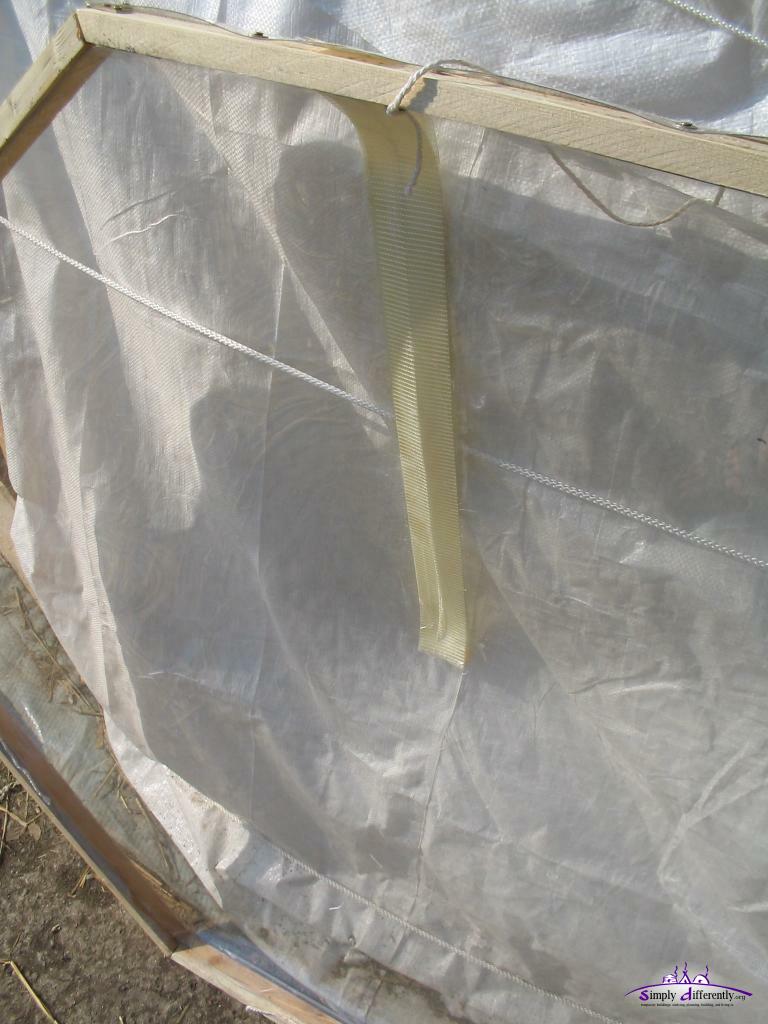 Replaced clear tape connecting the clear PVC cone 2006/04/20 15:14 11. 4. 2006: Winter is Back (Again)After days of heavy rain the temperature dropped again, and we had 15-20cm snow again:
 11th April 2006: winter is back (1) 2006/04/11 06:05 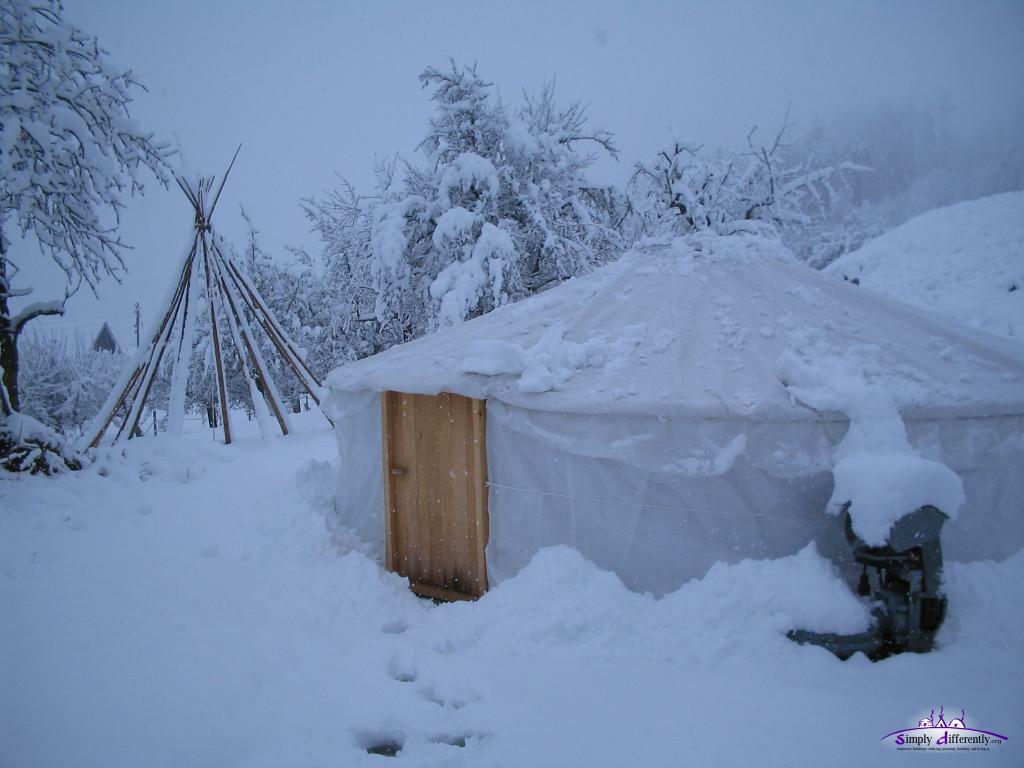 11th April 2006: winter is back (2) 2006/04/11 06:06 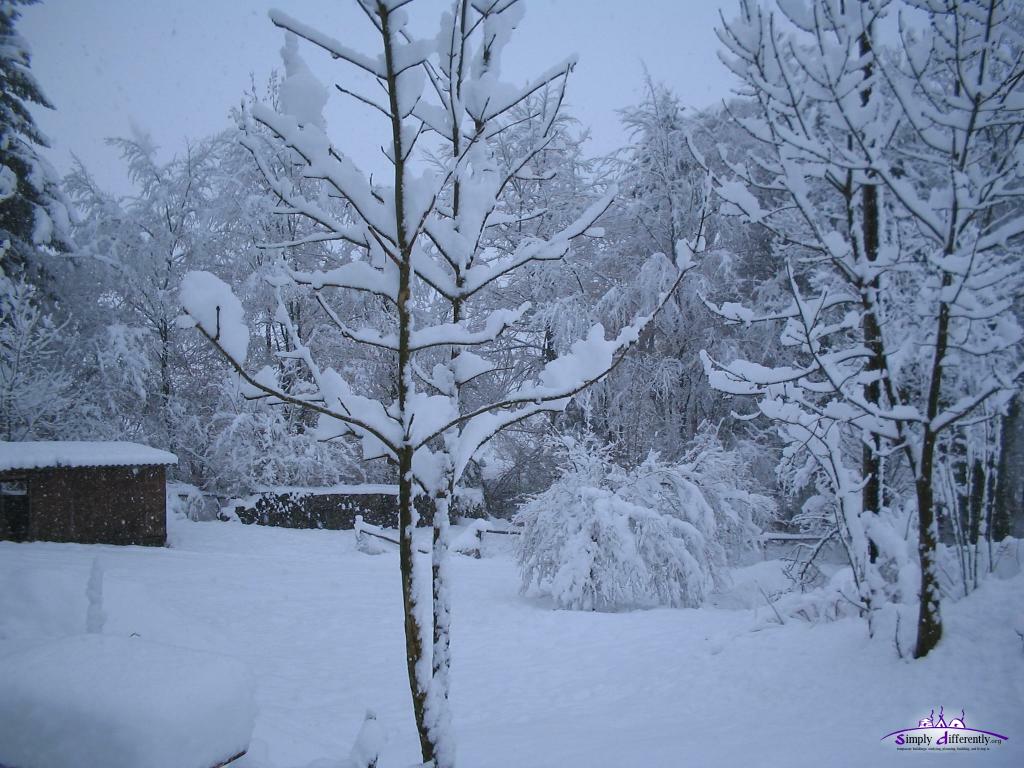 11th April 2006: winter is back (3) 2006/04/11 06:07 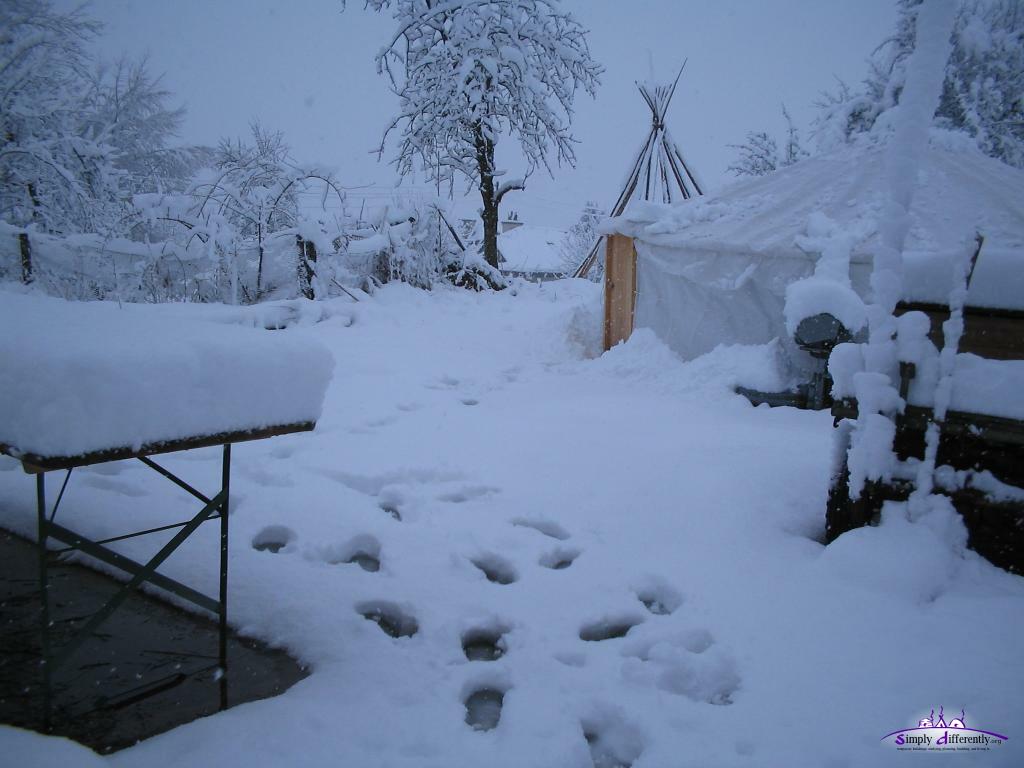 11th April 2006: winter is back (4) 2006/04/11 06:07 Additionally I started to work on the new yurts, and began with one crown wheel, will document this in a later entry here. 7. 4. 2006: Reflection on the YurtNow that I made it through the winter 2005/2006, which was very cold and long, in my own self-built yurt, and truly became to appreciate and turned into a passion for the yurt. I truly love and loved every moment being in the yurt, with its (semi-)translucent materials I used the yurt is daylight bright inside. The simplicity of the yurt, how the static is achieved - wonderful. I look forward to spend the first summer within it and work further and refine the details, and document my experiences further on this website. For now the yurt is my favourite temporary shelter to live the entire year in - but I also will explore dome-like shelters and see if I can insulate it for heat/cold as good with the yurt. 19. 3. 2006: Cleaning Stove PipeToday I cleared and cleaned the stove pipe, its parts. They were full of coal dust as I had problems yesterday night to heat the stove as the smoke didn't pull up through the pipe anymore and I assumed it was filled with too much coal dust. While dismantling the pipe parts, I saw the main rain cover (PE, polyethylen) had a hole along the main cord pushing unto the heat insulator - unfortunatly it seemed the pipe heat insulator wasn't good enough. I have to fix that hole, e.g. sewing a patch on it, and increase the insulator. The last days with sunshine gave again plenty heat, over 35°C inside - while I cleaned the stove pipe I experienced the hot air leaving the yurt. It is expected to get cooler again the next days, the spring time is once again delayed. I await warmer weather in order to have the rest snow melted and able to work outside on the crown wheel of the next yurts I planned. 6. 3. 2006: Interior Photos & Video ClipI realized I had very few photos of the final interior, so here some: 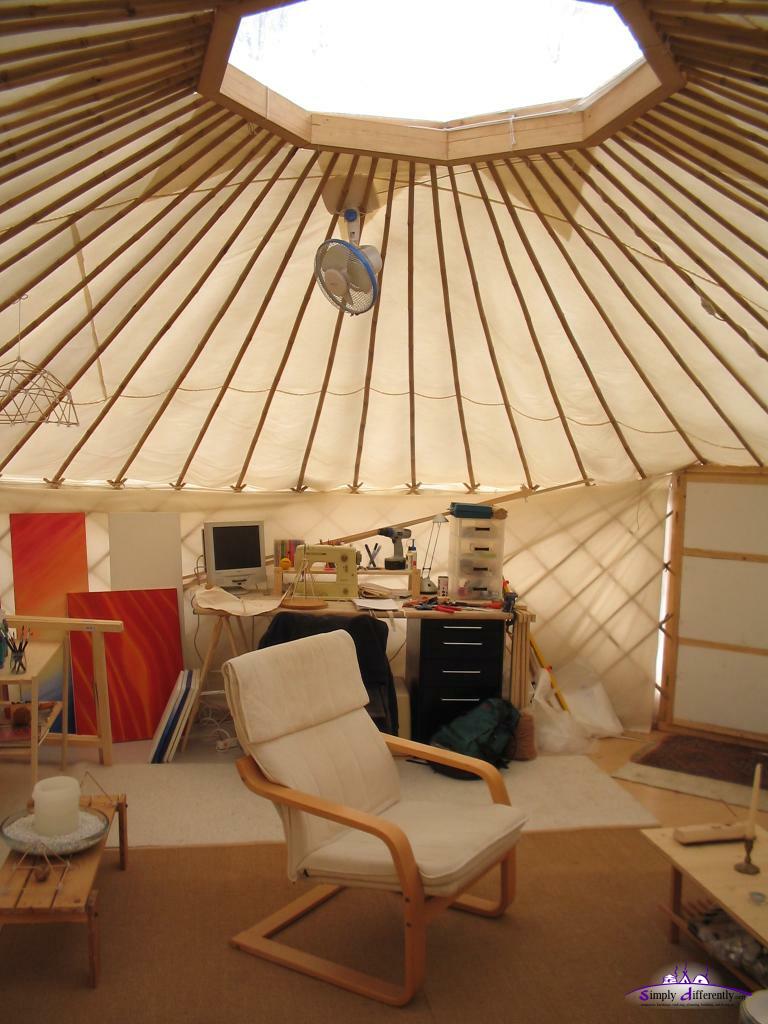 Yurt interior: overview 2006/03/06 12:20  Yurt interior: bed & stove 2006/03/06 12:21  Yurt interior: cloth shelf & paintings 2006/03/06 12:21 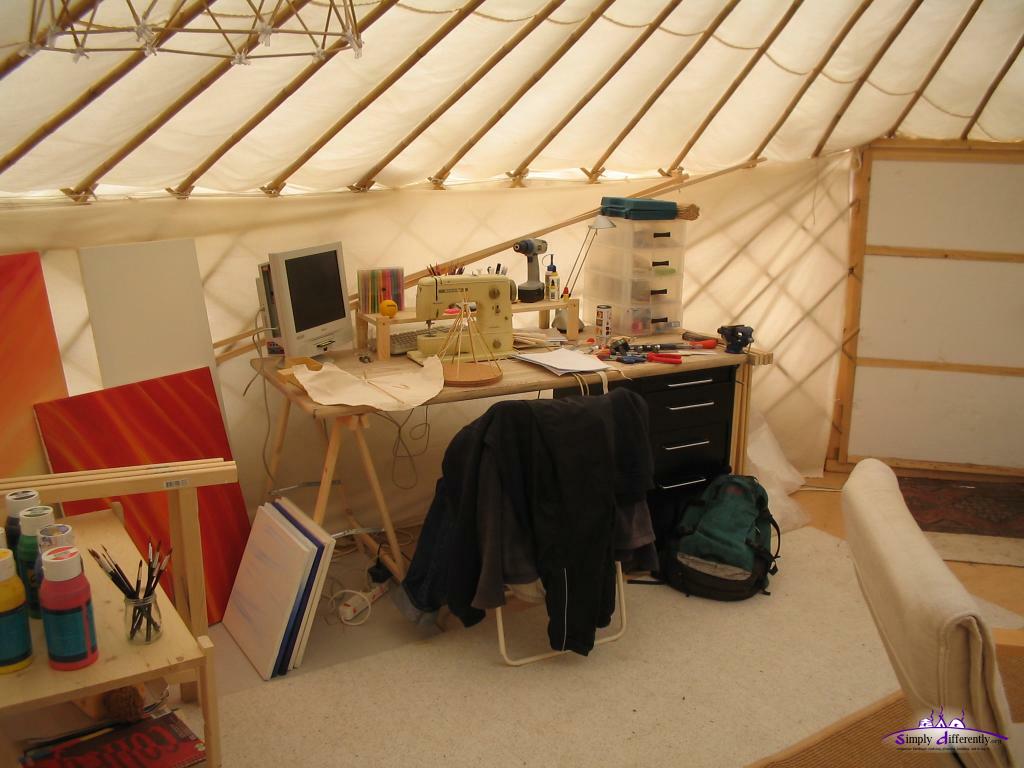 Yurt interior: small desk with sewing machine, misc. tools 2006/03/06 12:21 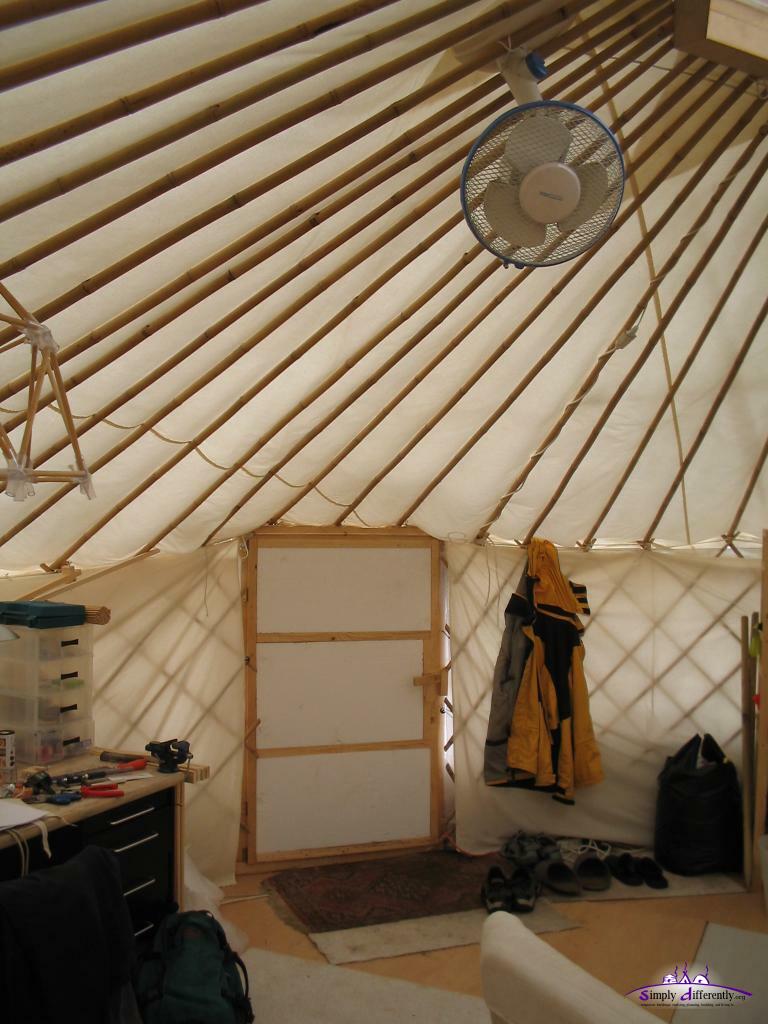 Yurt interior: door & fan 2006/03/06 12:21 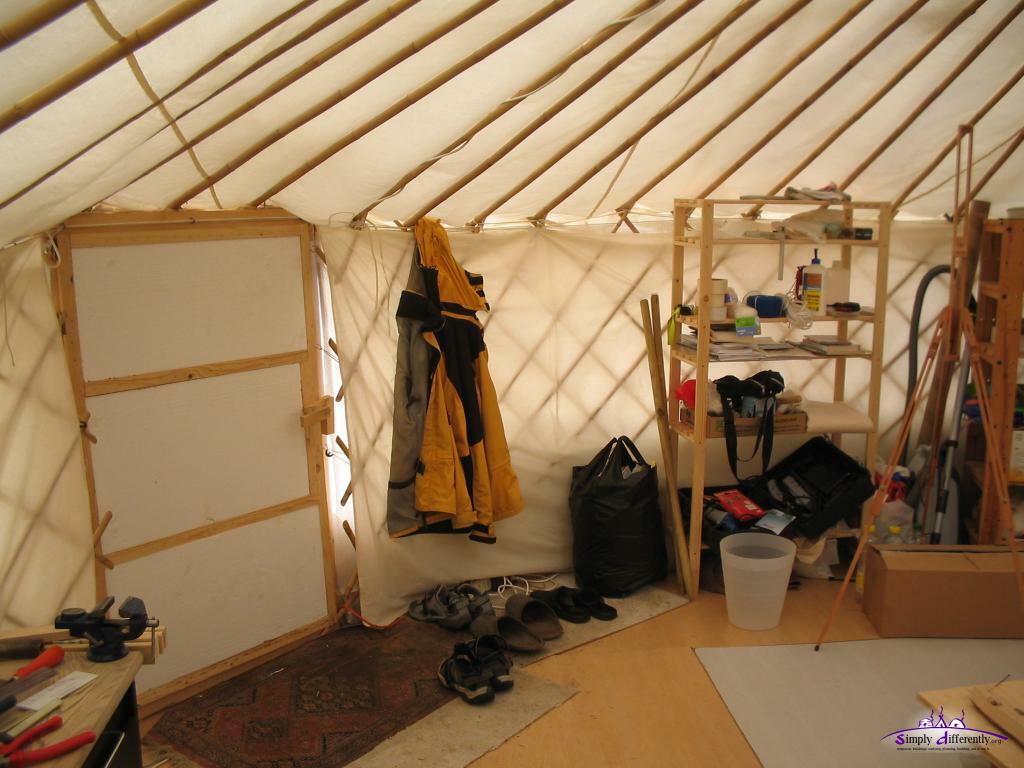 Yurt interior: door, entry carpet, shelfs 2006/03/06 12:21 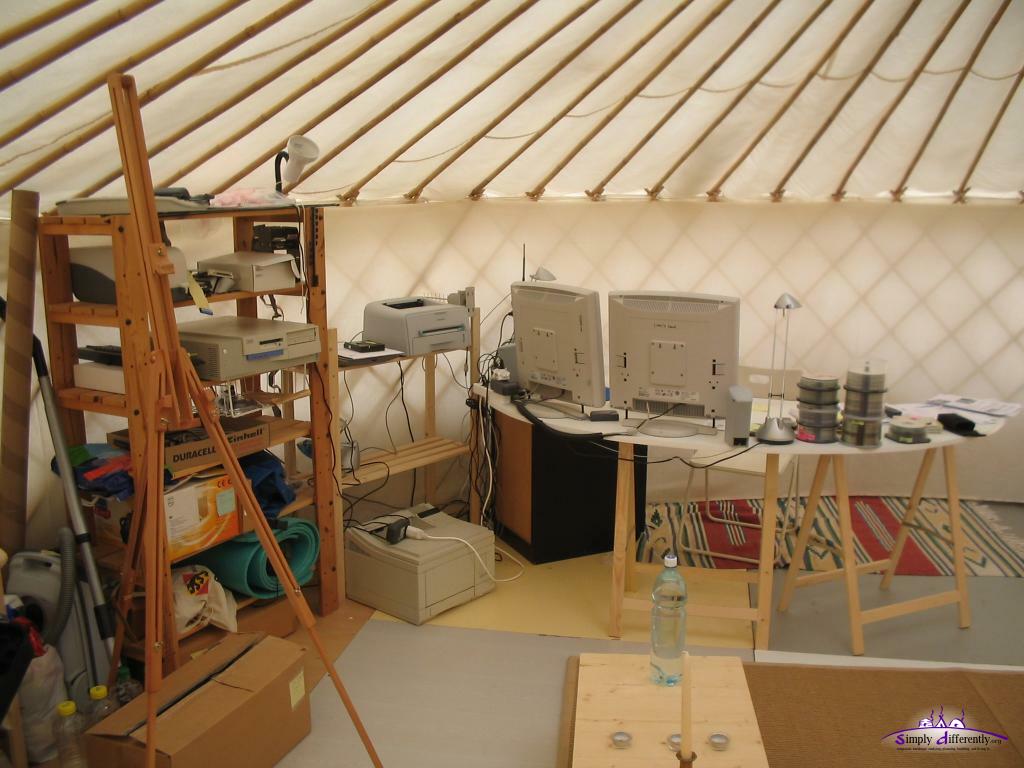 Yurt interior: server, printer, main desk with monitors 2006/03/06 12:21 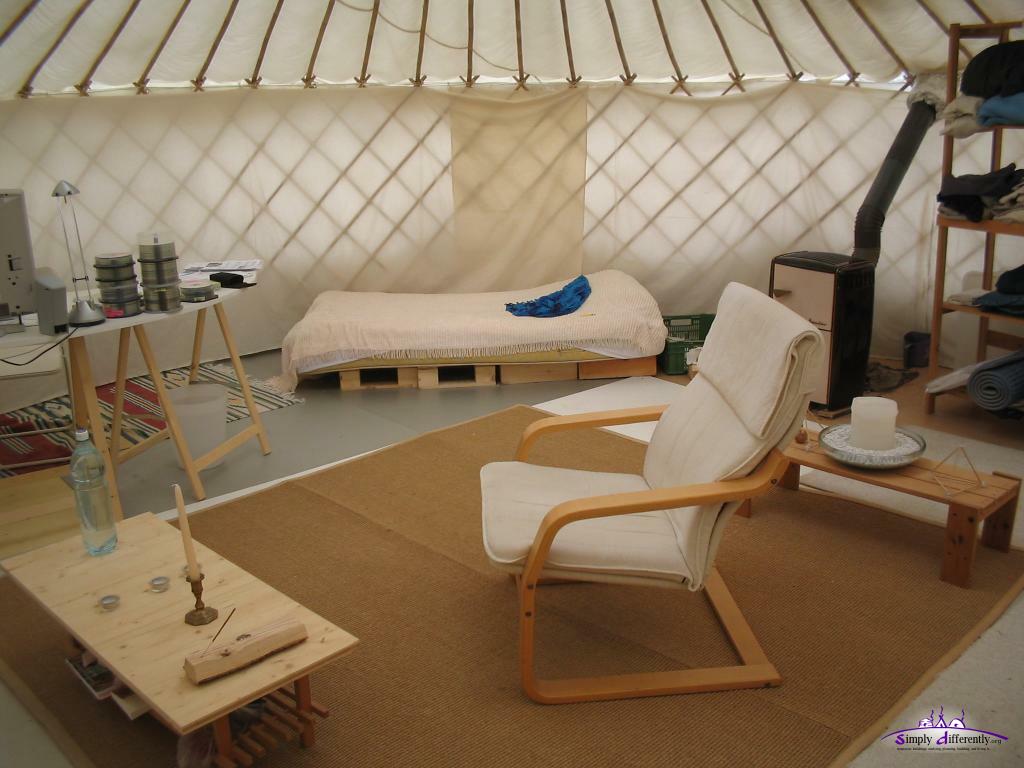 Yurt interior: overview from entry 2006/03/06 12:22 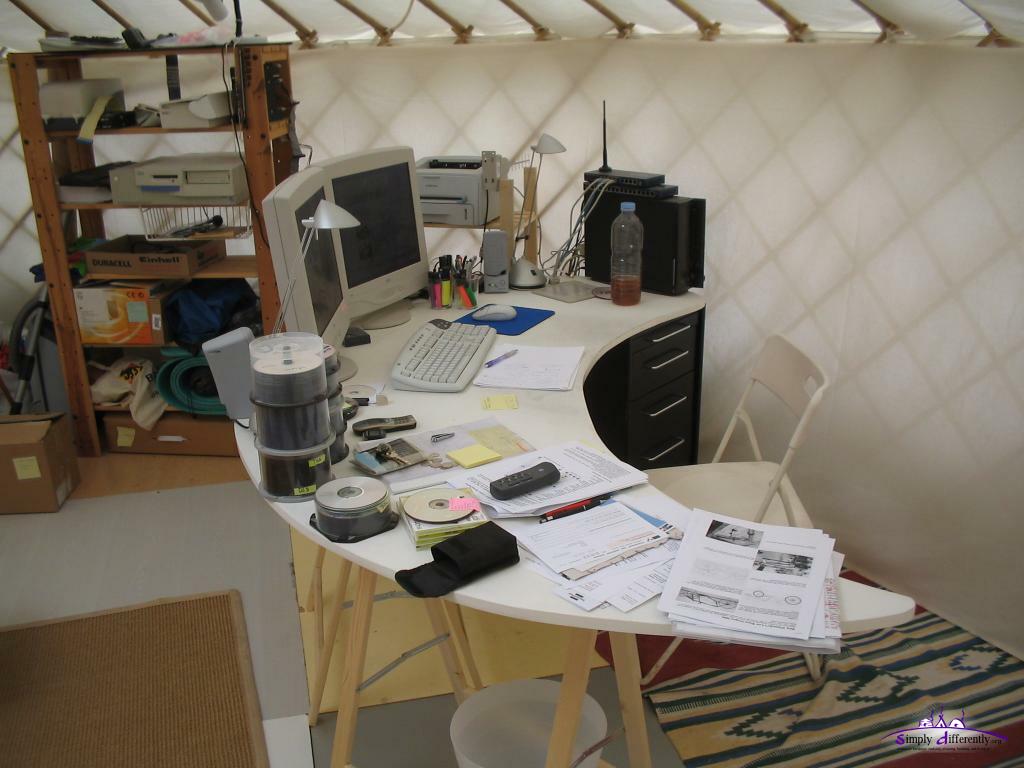 Yurt interior: main desk 2006/03/06 12:24 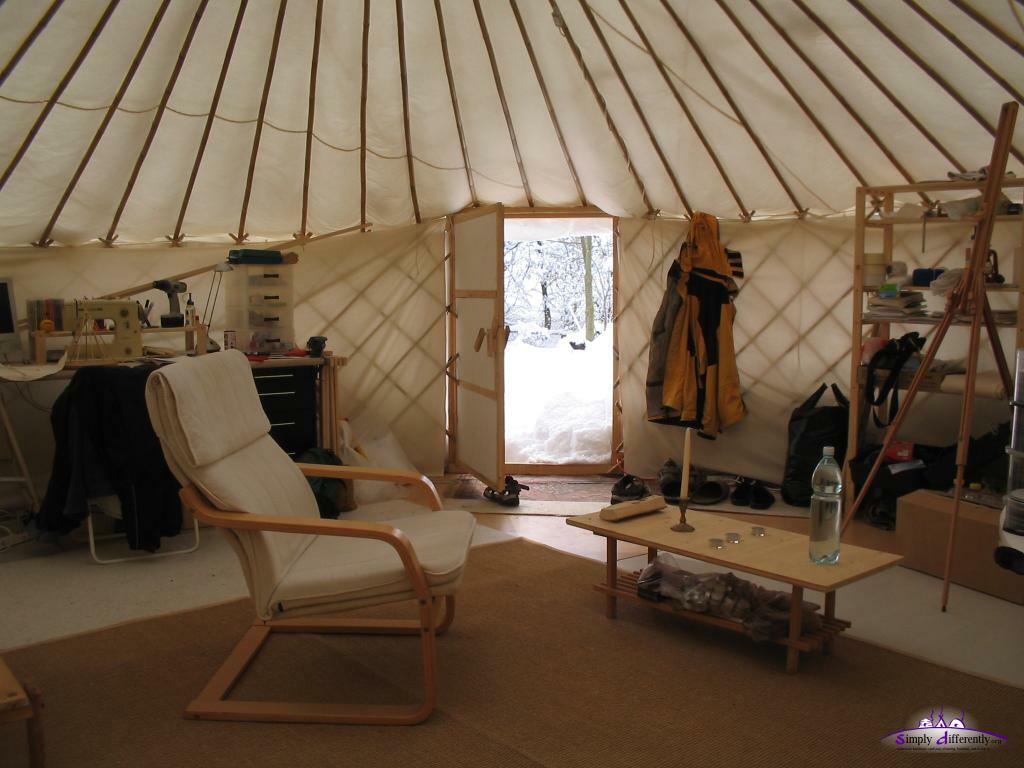 Yurt interior: door opened 2006/03/06 12:22 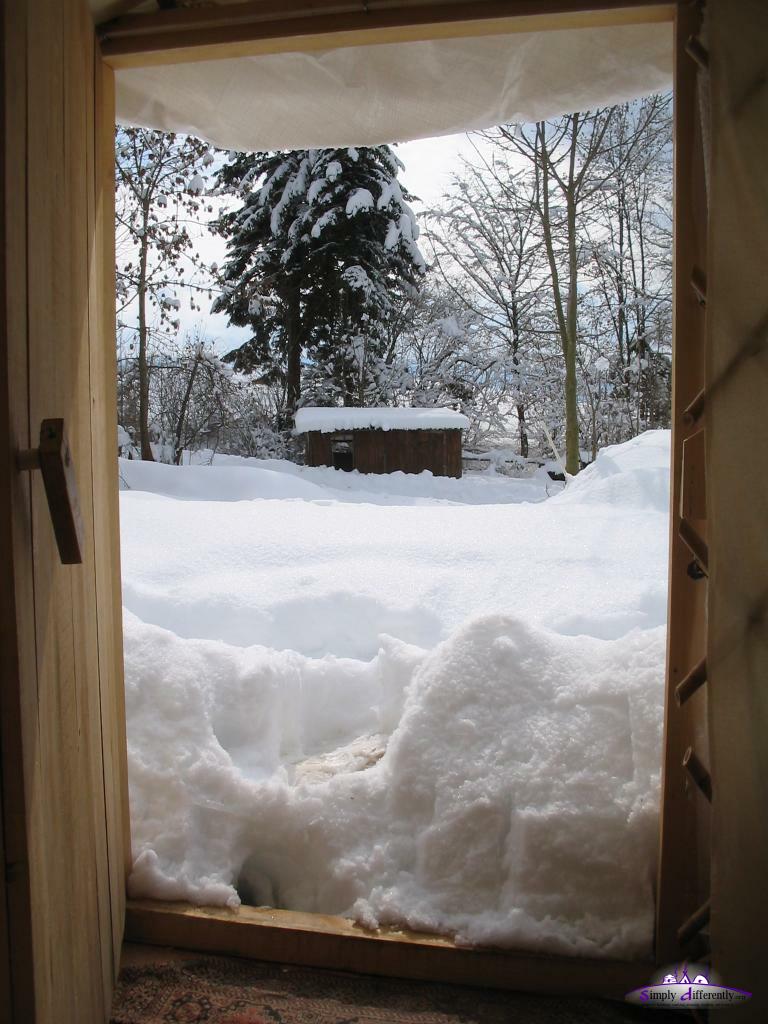 Yurt interior: view to outside 2006/03/06 12:23
Sun is stronger, 30°C inside, whereas outside 2°C, so I left the door open for a few mins to have fresh and cooler air. Still lots of snow, and a bit more snow to be expected.
Page << Prev | 1 | 2 | 3 | 4 | 5 | 6 | 7 | 8 | 9 | 10 | 11 | 12 | 13 | 14 | 15 | 16 | 17 | 18 | 19 | 20 | 21 | Next >> Content:
|


| Home | · | About | · |  Tipi | · |  Yurt | · |  Dome | · | Features | · | Gallery |


Creative Commons (CC) BY-SA-NC 2005-2017, developed, designed and written by René K. Müller
Graphics & illustrations made with Inkscape, Tgif, Gimp, PovRay, GD.pm
Web-Site powered by FreeBSD & Debian/Linux - 100% Open Source