
|
Page << Prev | 1 | 2 | 3 | 4 | 5 | 6 | 7 | 8 | 9 | 10 | 11 | 12 | 13 | 14 | 15 | 16 | 17 | 18 | 19 | 20 | 21 | Next >> Yurt / Ger Diarywritten by Rene K. Mueller, Copyright (c) 2005, 2006, 2007, 2008, 2009, last updated Sat, January 3, 2015 10. 11. 2005: More PhotosSome more photos: 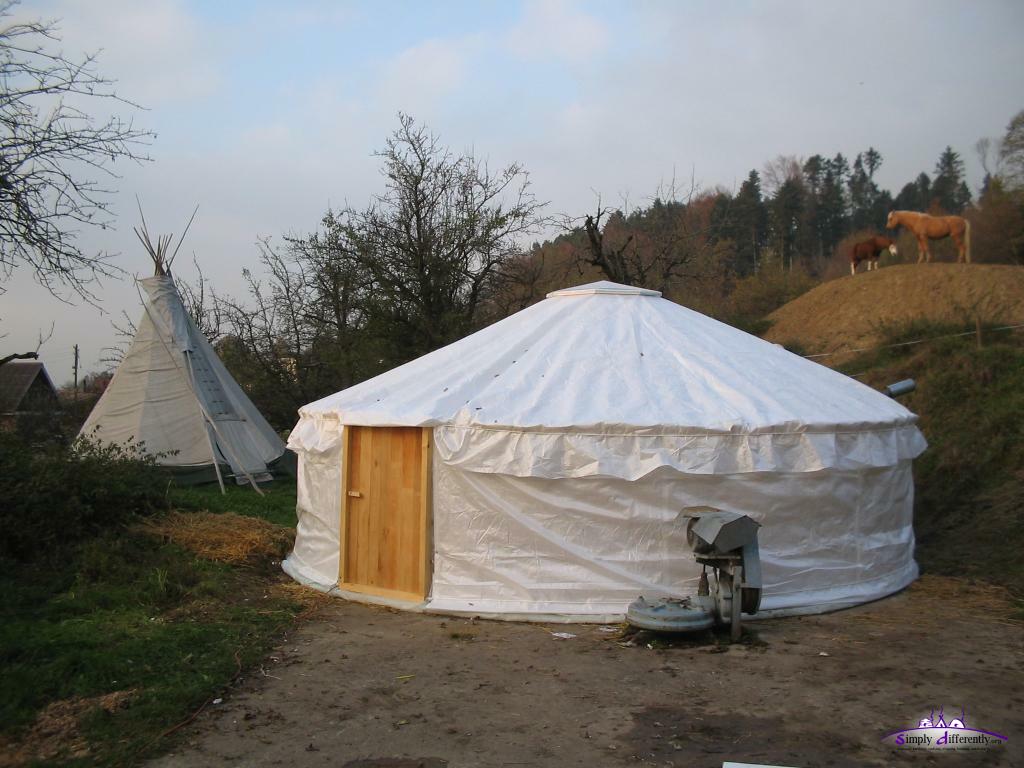 Complete Setup 2005/11/10 15:48 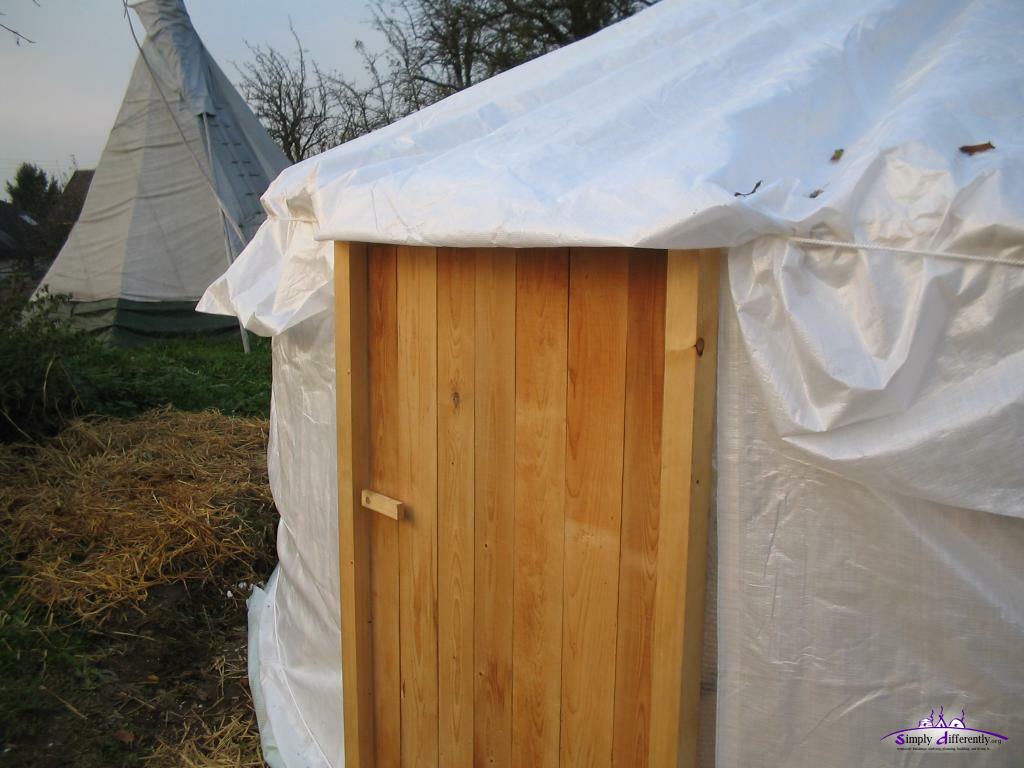 2005/11/10 15:48 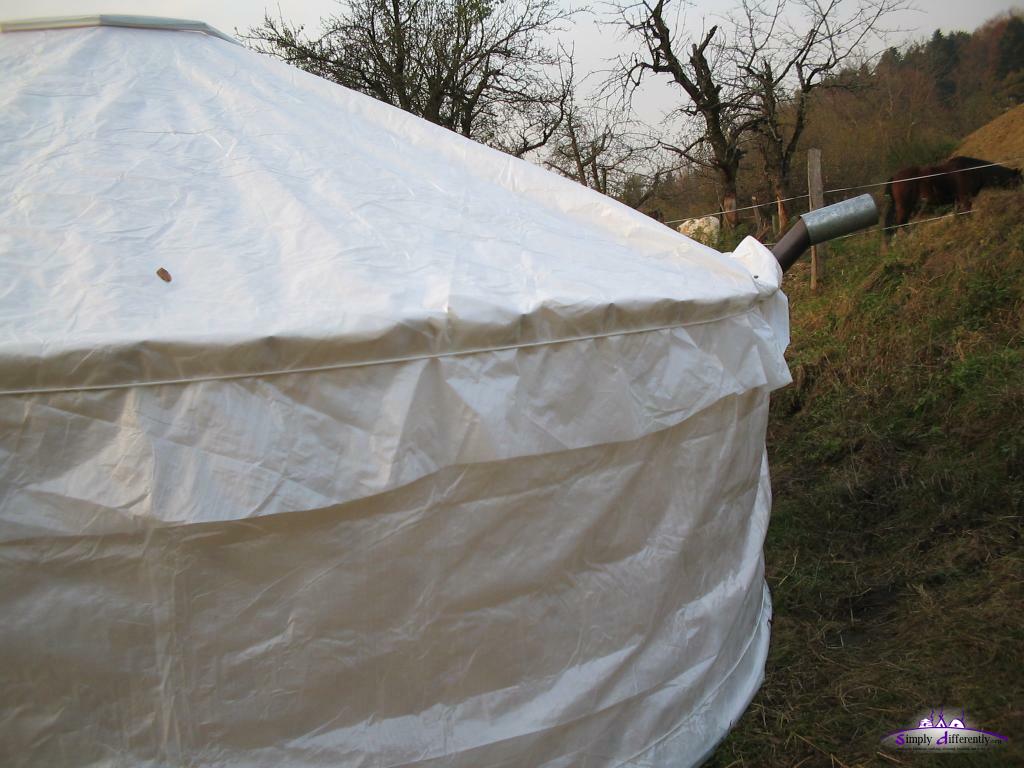 2005/11/10 15:49 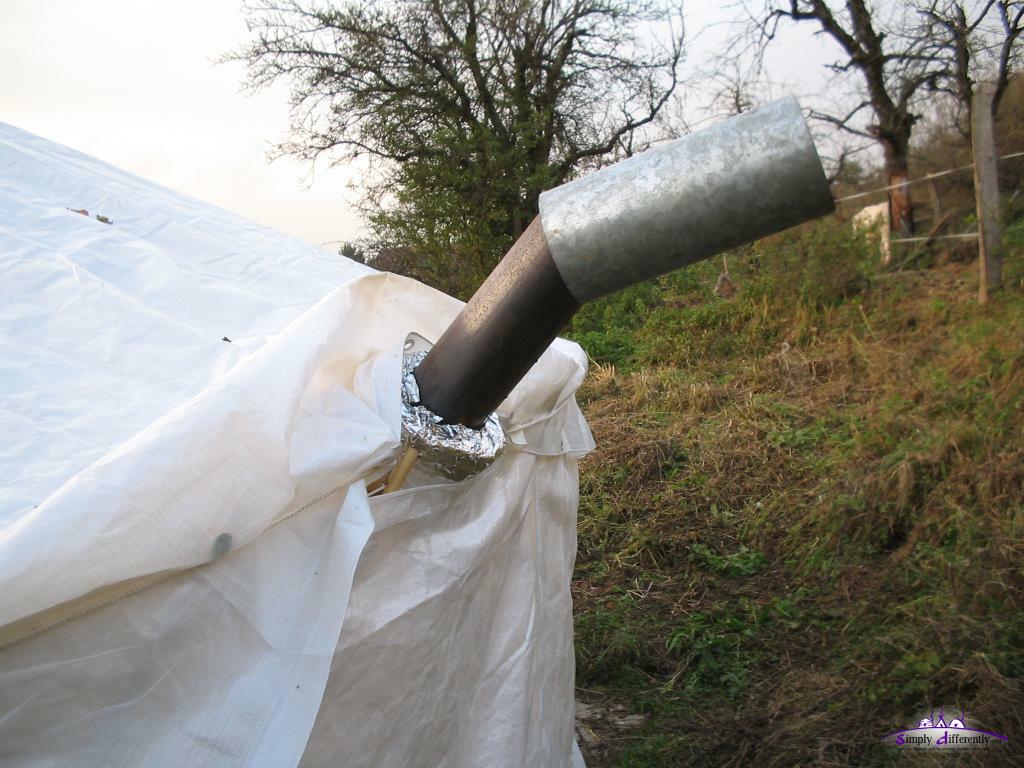 2005/11/10 15:49 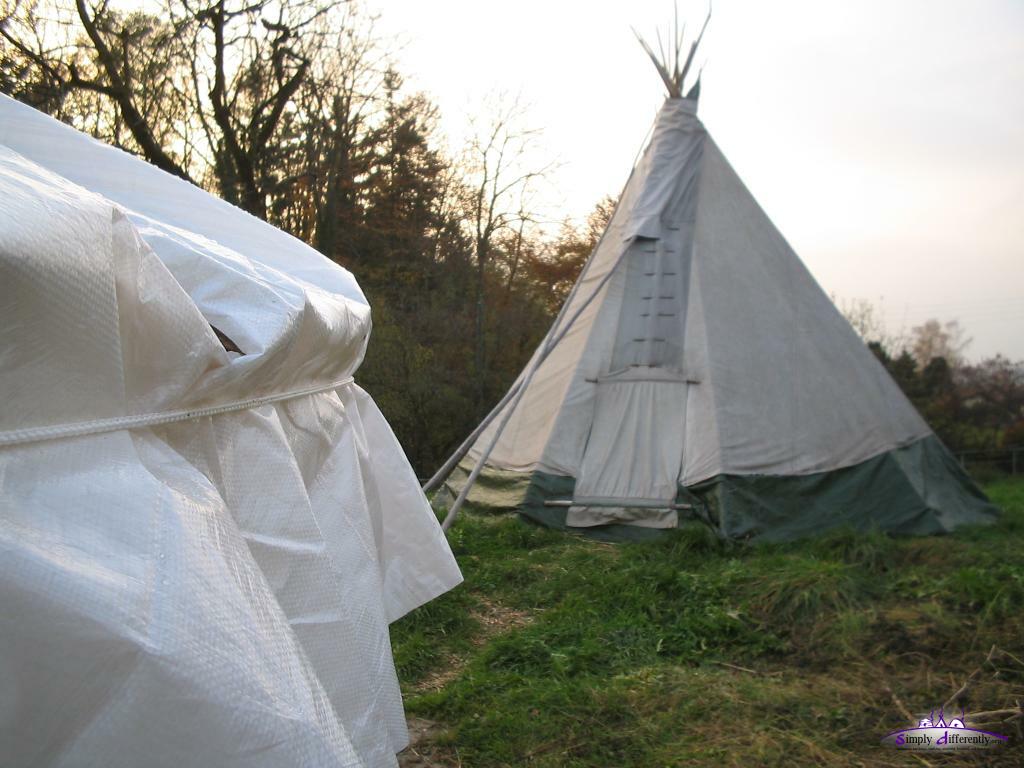 2005/11/10 15:49 7. 11. 2005: Minor Adjustments
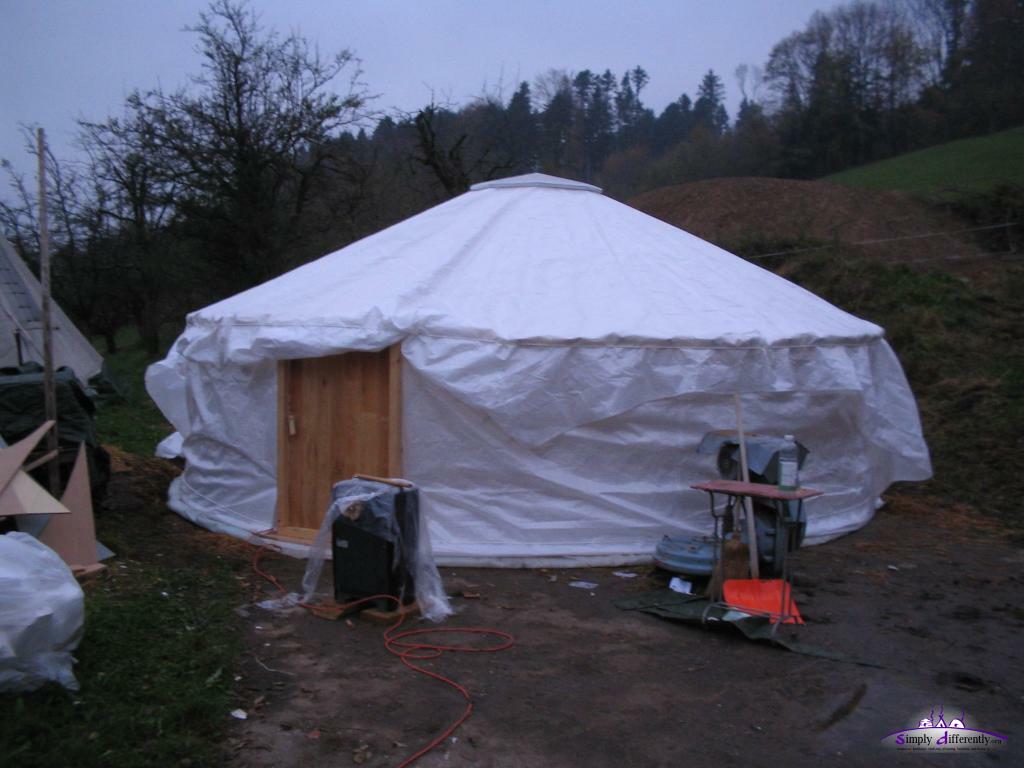
I cut away the square raincover of the roof to a circle; which makes it look more a yurt than before now. The sun came out briefly and it got warm immediatly, also in the yurt - at the current setup it warms up quickly, good at winter time, but for summer time not preferd and additional draft is required to have the heat leave the yurt.
6. 11. 2005: First Night
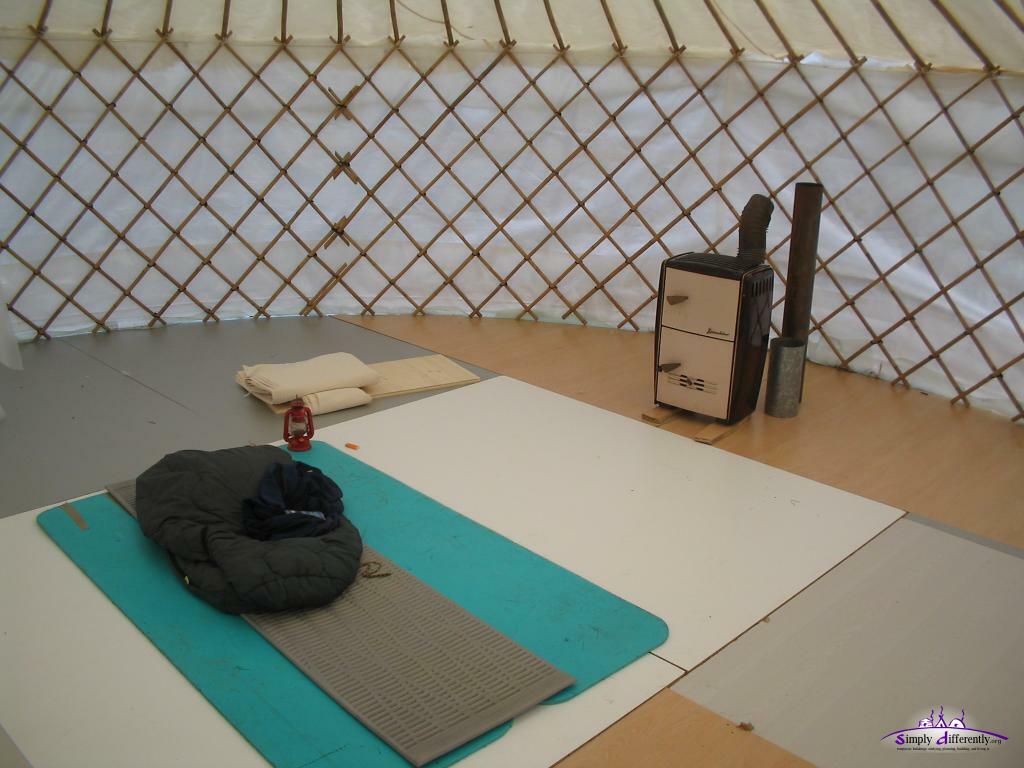
I start now to fixate the khana (wall) to the floor as I realized it just moves too easy when you push the walls, also the door needs to be fixated to the floor. What I still need to do is adding thermal insulation to the roof. Next steps is to fill the interior of the yurt with my daily stuff, a desk, install the stove, etc and also the computer I will install.
3. 11. 2005: Errected AgainAfter delays to get the floor and its insulation, I'm finally able to erect the yurt again, adding the cotton interior roof canvas, its raincover, thermal insulation for the wall - unfortunately it begins to rain and the surrounding gets muddy, so I have to wait for the next steps. My floor setup looks like this: lanes of PVC, apprx. 7m diameter, then Sagex, then the wooden planks (1.30-1.42m and 2.00-2.05m in size) on top, I let 5-10cm extra to the 6.40m, just in case.
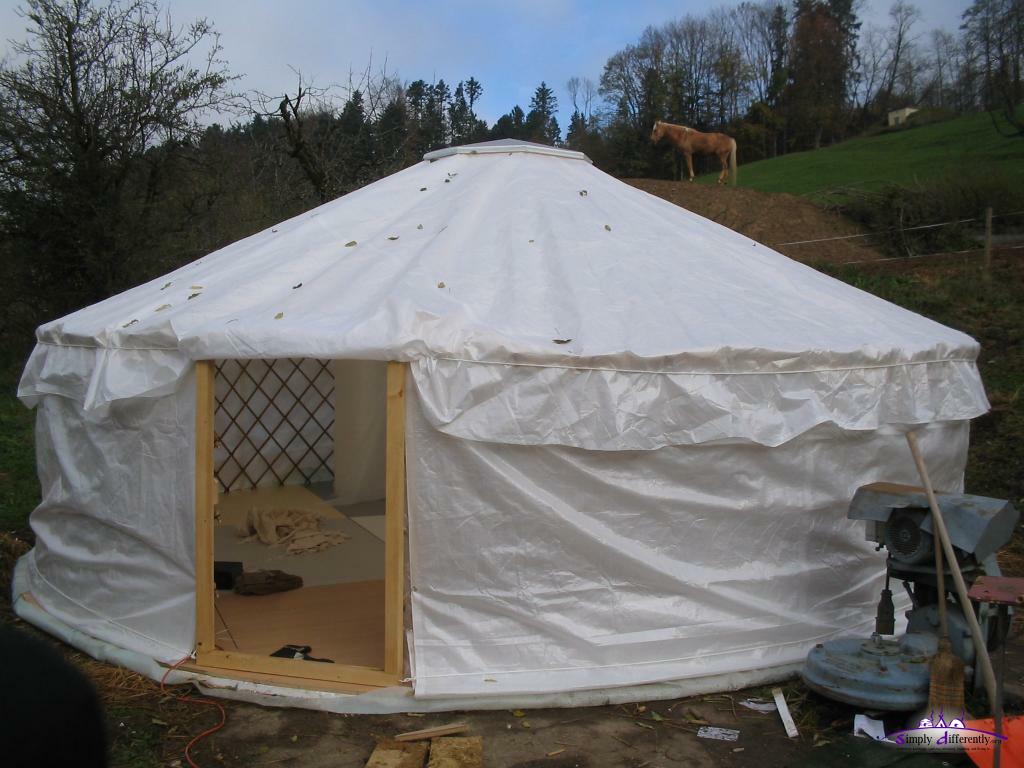
 Preparing the ground 2005/11/03 14:19  PVC lanes 1st ground layer 2005/11/03 14:36 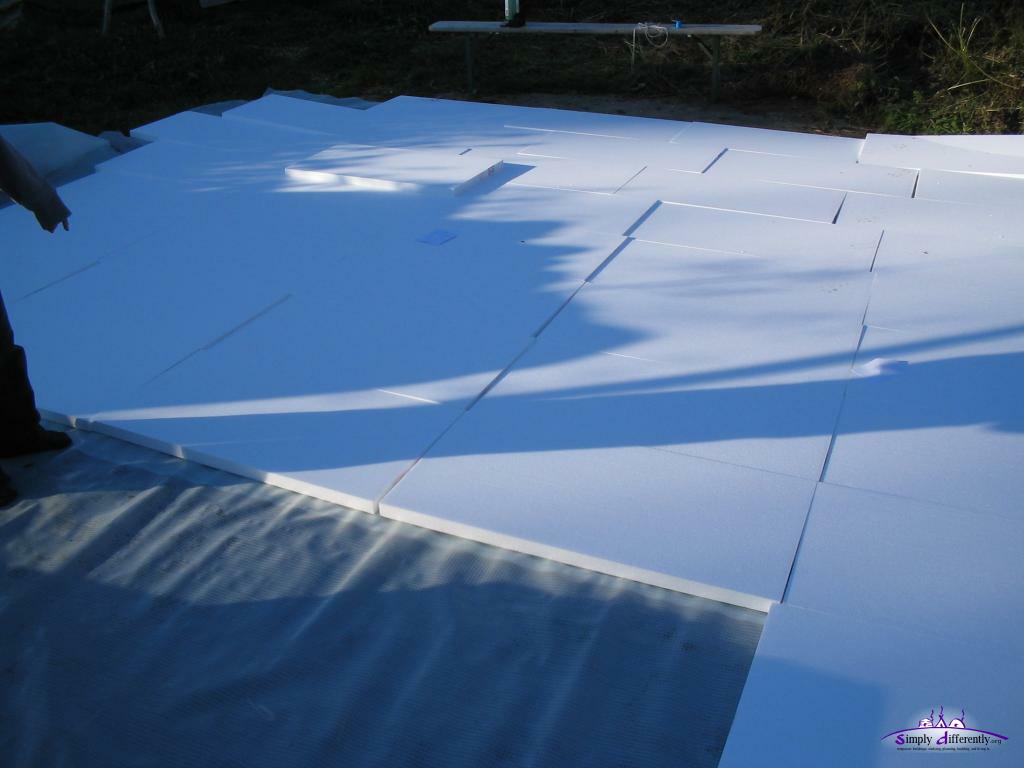 Sagex as 2nd ground layer 2005/11/03 15:07 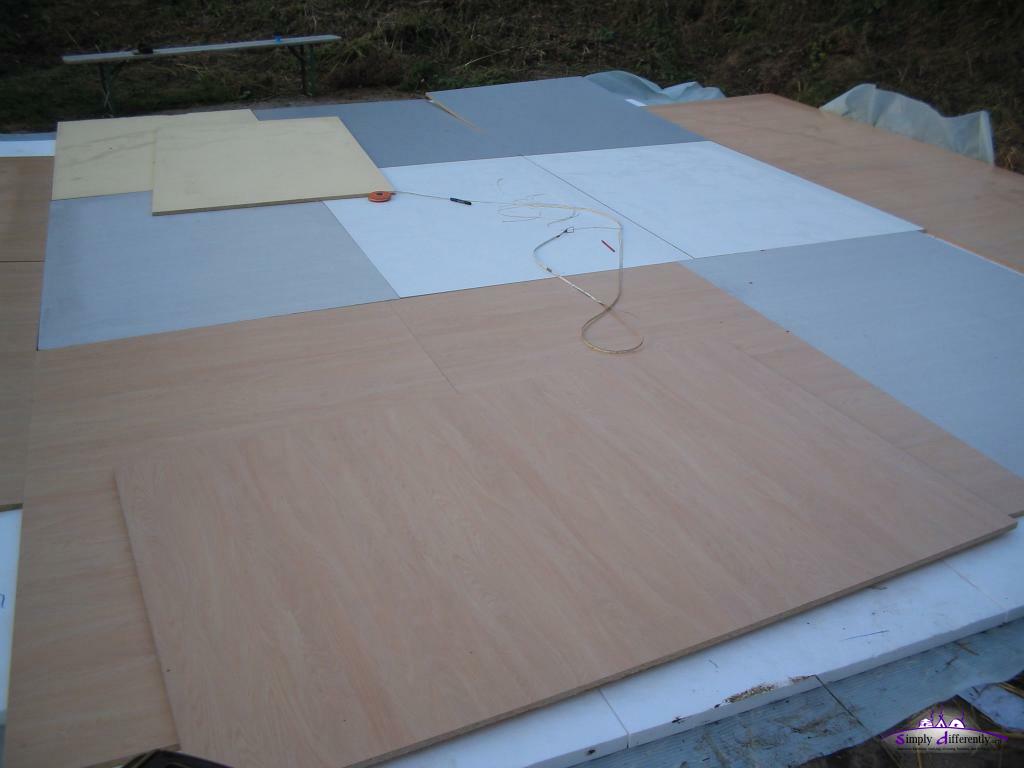 Wood planks as 3rd ground layer 2005/11/03 16:42 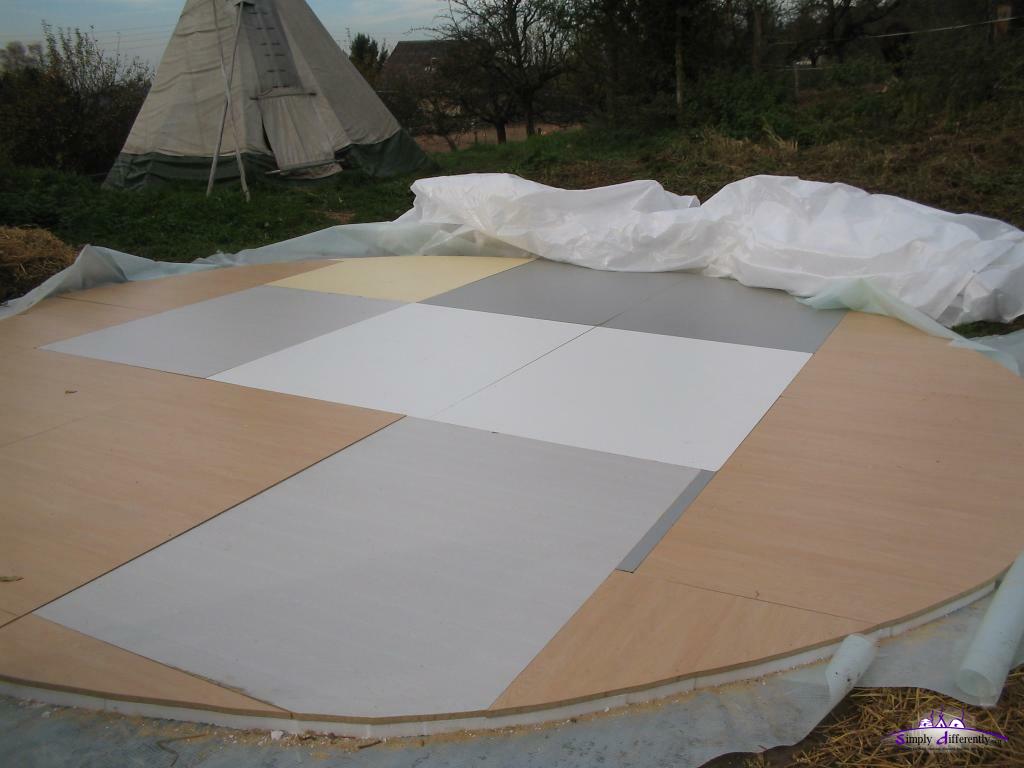 Round wooden planks build floor 2005/11/04 13:19 I put up the wall, with door - which turned out to be more difficult than expected because I considered to attach the main wall rope not on the doorframe to be a good idea to remove any stress unto the doorframe - yet, where else? I attached the ends on one or two of the wall junctions, and those stretched quite away. I was cautious to pull and adjust the previous fastened wall rope; but my roof and bamboo roof poles seemed light enough so I was able to tighten the wall rope further and pull the diameter to its 6.40m - as I had 6.50m or even more and the outer wall raincover didn't fit by 10cm, so the diameter was too large, the roof pressed the walls outside, and the rope needed to be tighten.
 Putting up the wall 2005/11/04 13:33 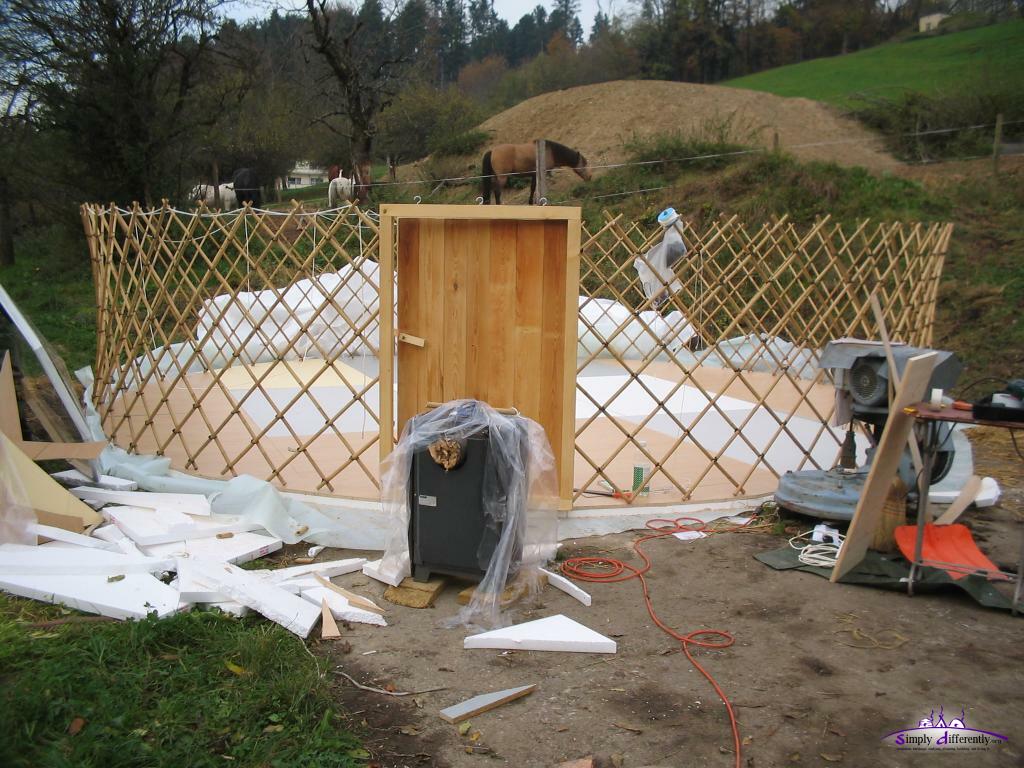 Integrating the door 2005/11/04 14:32 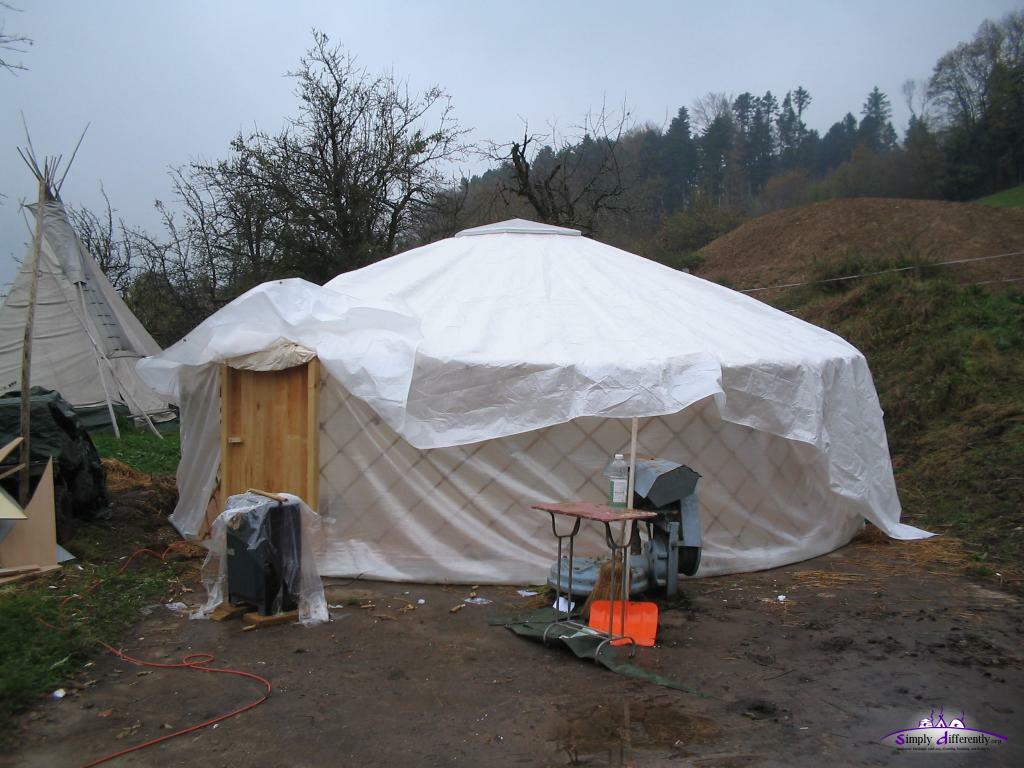 Roof cover, and wall heat insulation 2005/11/06 13:20  Inside with preliminary covers, not yet cut in shape 2005/11/06 13:20 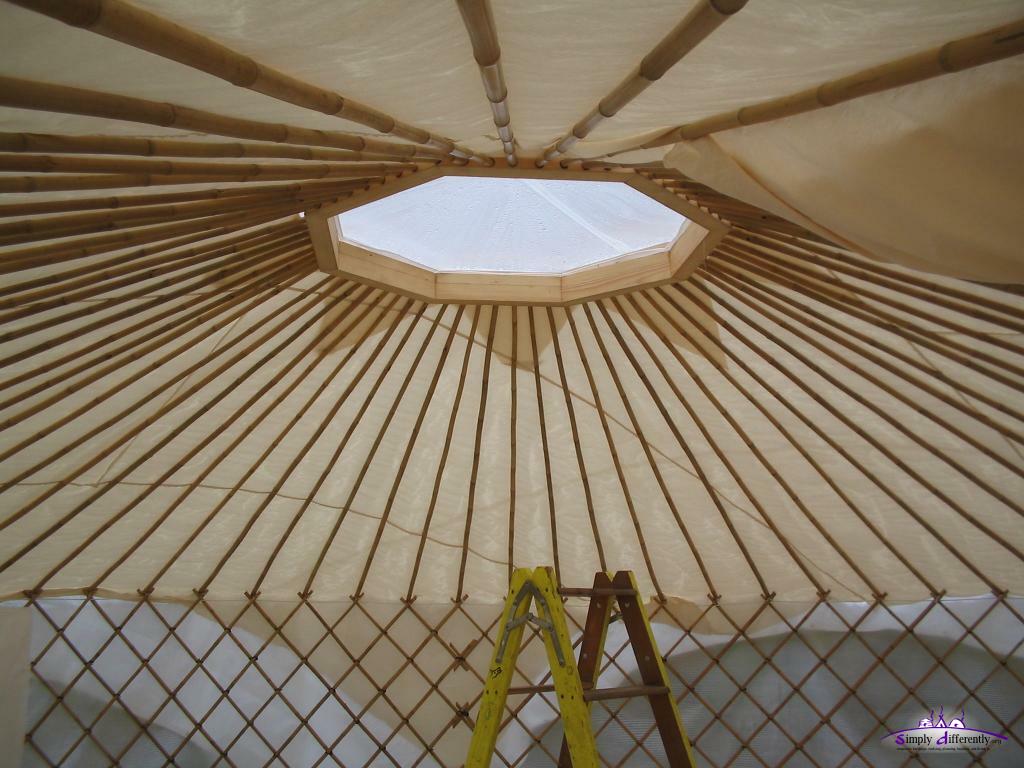 2005/11/06 13:20 The toono (crown-wheel) and roof poles I put up as before, worked fine now that I knew what I had to pay close attention for. The cotton canvas for the roof we pulled through the toono, and unwrapped it on the top of the roof with a ladder. The rain canvas for the roof we pulled over from the side, and moved the hole to the toono, and then put on the clear PVC cover, which fixated the rain cover further. Page << Prev | 1 | 2 | 3 | 4 | 5 | 6 | 7 | 8 | 9 | 10 | 11 | 12 | 13 | 14 | 15 | 16 | 17 | 18 | 19 | 20 | 21 | Next >> Content:
|


| Home | · | About | · |  Tipi | · |  Yurt | · |  Dome | · | Features | · | Gallery |


Creative Commons (CC) BY-SA-NC 2005-2017, developed, designed and written by René K. Müller
Graphics & illustrations made with Inkscape, Tgif, Gimp, PovRay, GD.pm
Web-Site powered by FreeBSD & Debian/Linux - 100% Open Source