
|
Strawbale Cabinwritten by Rene K. Mueller, Creative Commons CC BY NC 2014, 2015, 2020, last updated Sat, July 18, 2020
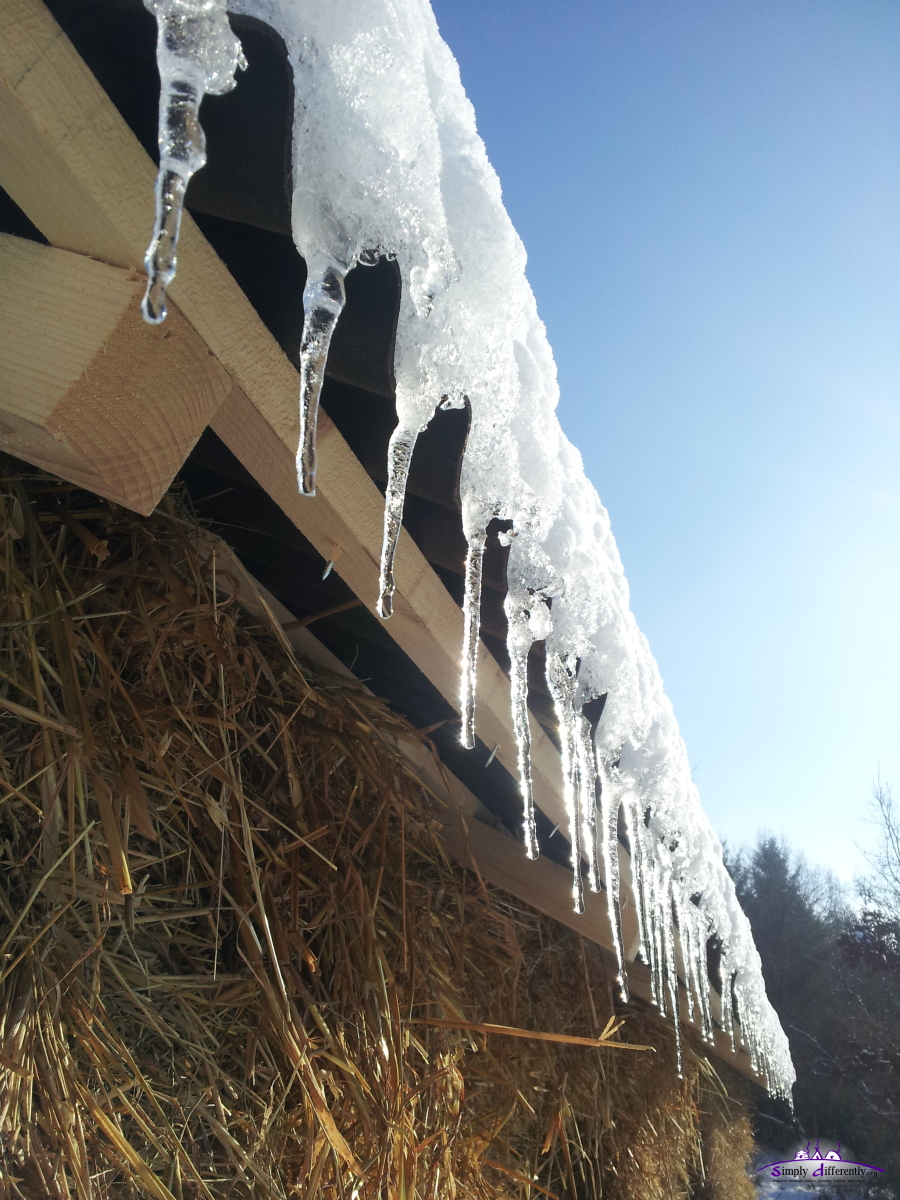
2015/01/03: Snow Slide Down
2015/01/01: New Year
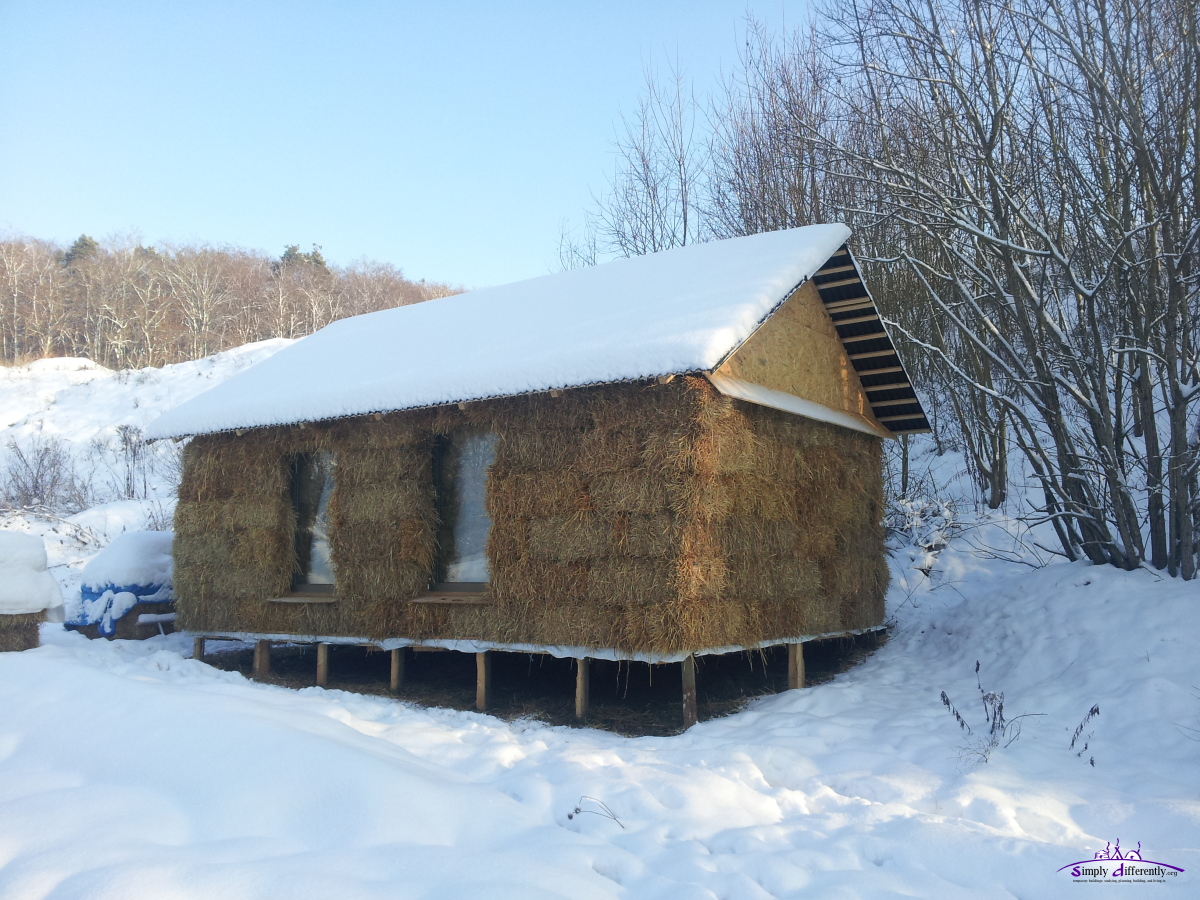
2014/12/31: Week with Snow
The next weeks I gonna try to fix the weak points of the insulation. One night was -15C, and inside the temperature dropped to approx. -5C and liquids froze in the bottles, definitely something I did not expect to happen.
The next days positive Celsius degrees are expected, with rain - it will be important for me to observe how the melting and slide down of the snow ice combo of the roof occurs, e.g. the weight will first increase of the snow, until the ice underneath detached of the roof and perhaps ice and snow in one go slides down.
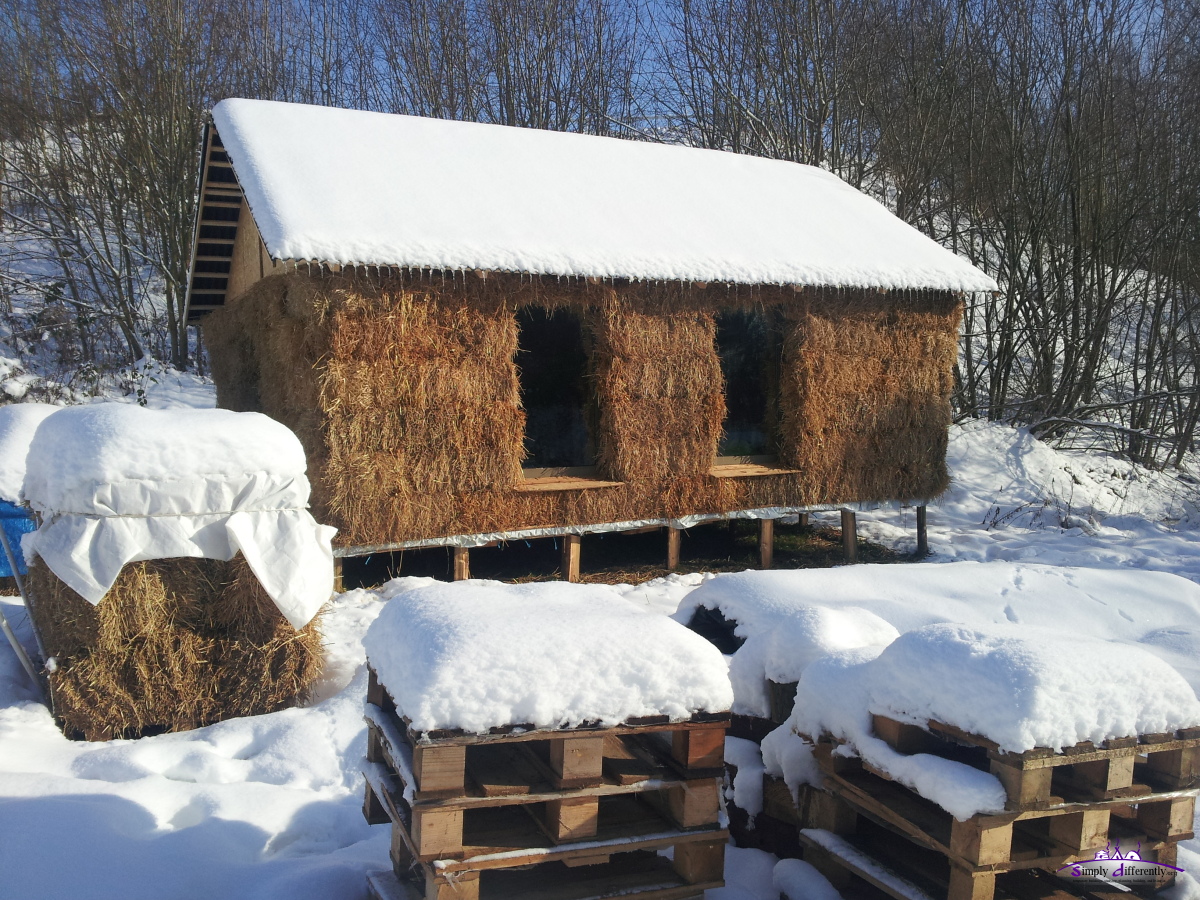
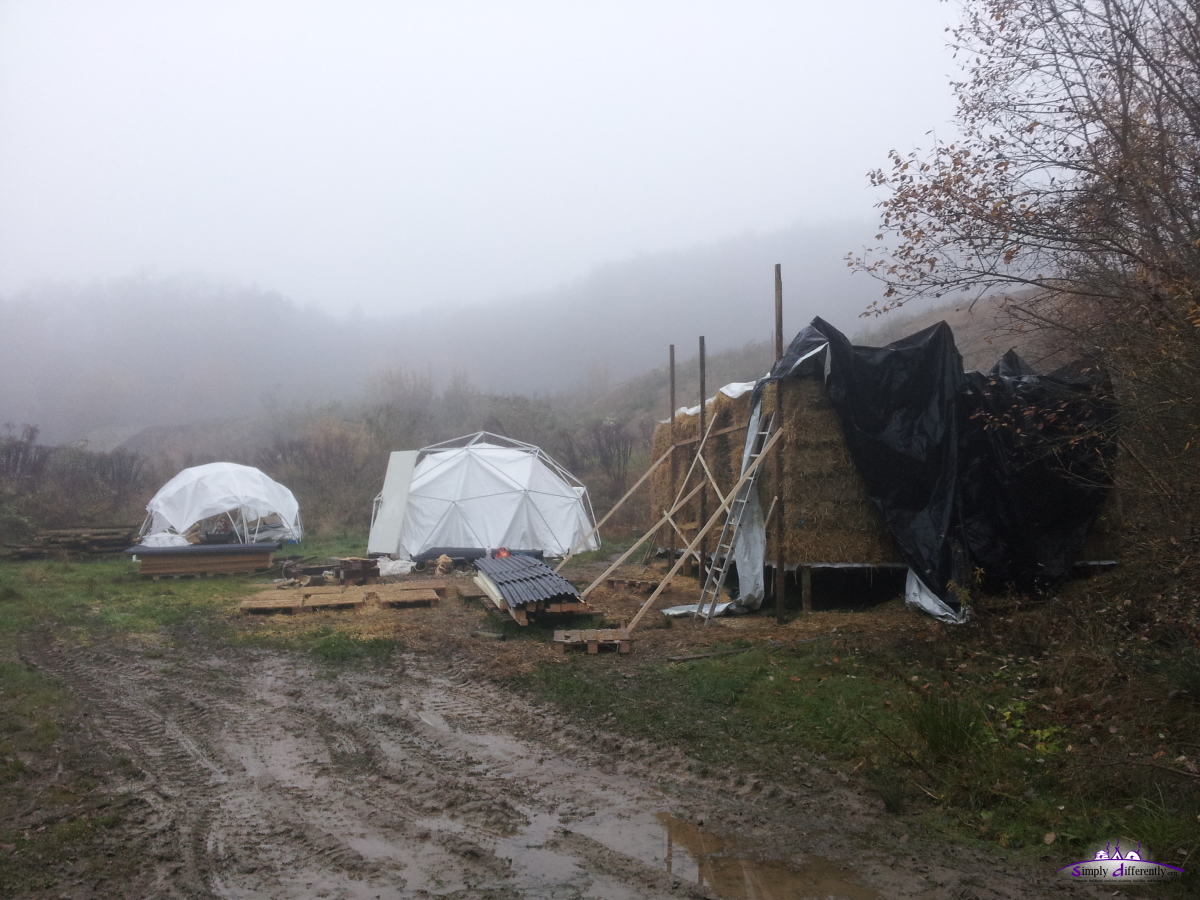
2014/12/27: First Snow
I was away a few days and when I came back today and the two PVC domes (LC 3:3:2 and 2V geodesic) nearby crashed due the weight of the snow; I gonna fix them tomorrow or so.
Temporary buildings need on-site presence to take care of them for severe weather conditions, the strawbale cabin definitely is more solid and requires less "care" on-site.
2014/12/23: Walk AroundA brief 3min walk around, no spoken comments, getting a sense of the size of the cabin, texture and feel of the bare strawbales, a brief view of the inside etc. 2014/12/19: Fine Tuning
I bought a gas heater (EUR 60) as I didn't want to install a wood stove / oven; but since it was rather mild the last days (5-12C) and partially sunny, there was no need to heat yet. The gas heater is for exterior use mainly so I have to be carefully to use inside (carbon monoxide poisoning) and properly vent. Two tests I did of heating the room within 10-15min from 5C to nearly 18C, so I assume with lower temperatures the period of running the gas heater will be around 30min or so per day at sub zero (Celsius) days outside, to reach 15C interior; will document this later. Last week I had the first mouse entering the cabin, from the top, where loose straw was used to patch the gap from the wodden beams under the ceiling - so I added more straw and compressed it further. It was a compromise I made, it increased the ceiling stability, but introduced a gap where loose straw was required to be used (8cm thick portions of a bale).
A few days ago some brief windy rain occured and did wet the south-west side of the cabin, after a few hours it dried off again.
It will be interesting to observe change of the color and material (straw) over the period of weeks and months - one of the main aims of this project to observe long(er) term use of bare strawbales in construction.
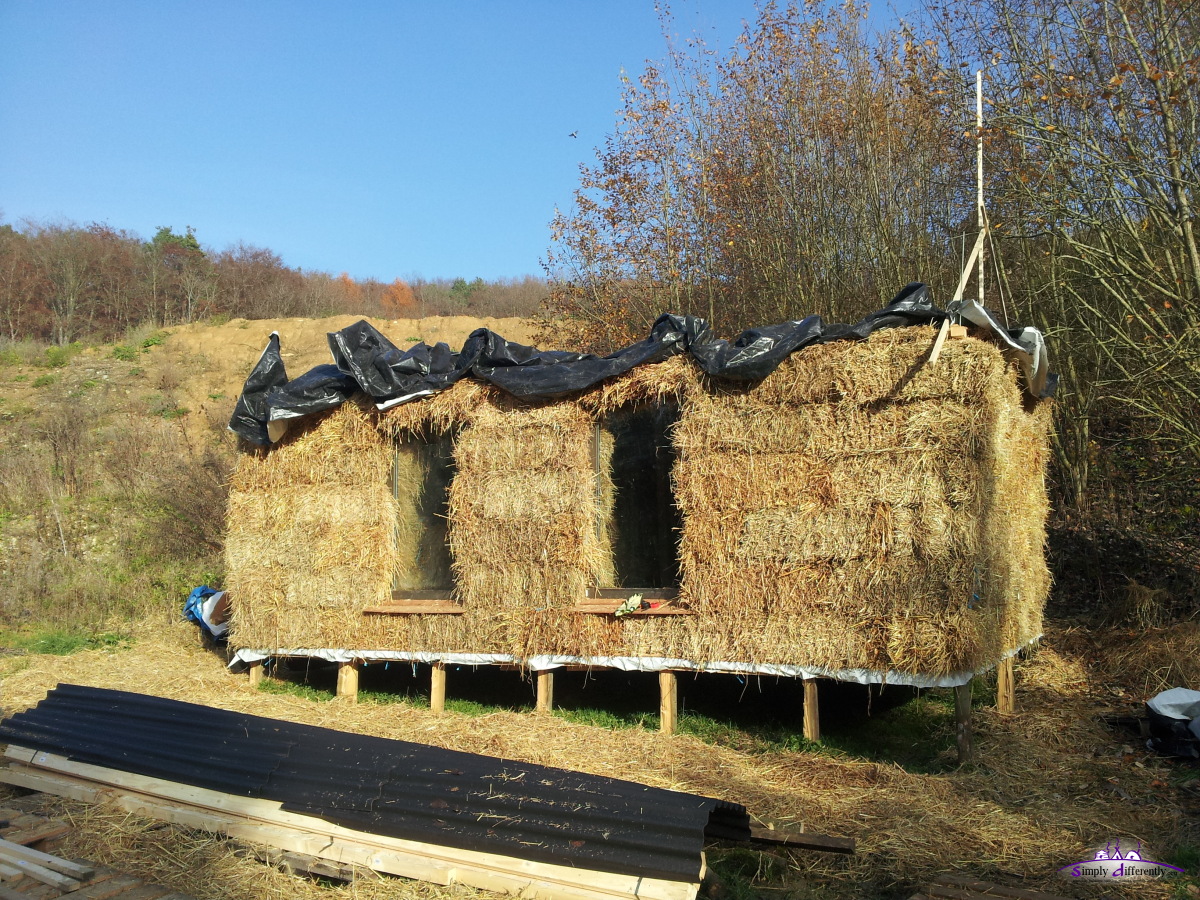
2014/11/28: Sunny AfternoonToday the sky cleared in the afternoon:
 2014/11/28 12:26 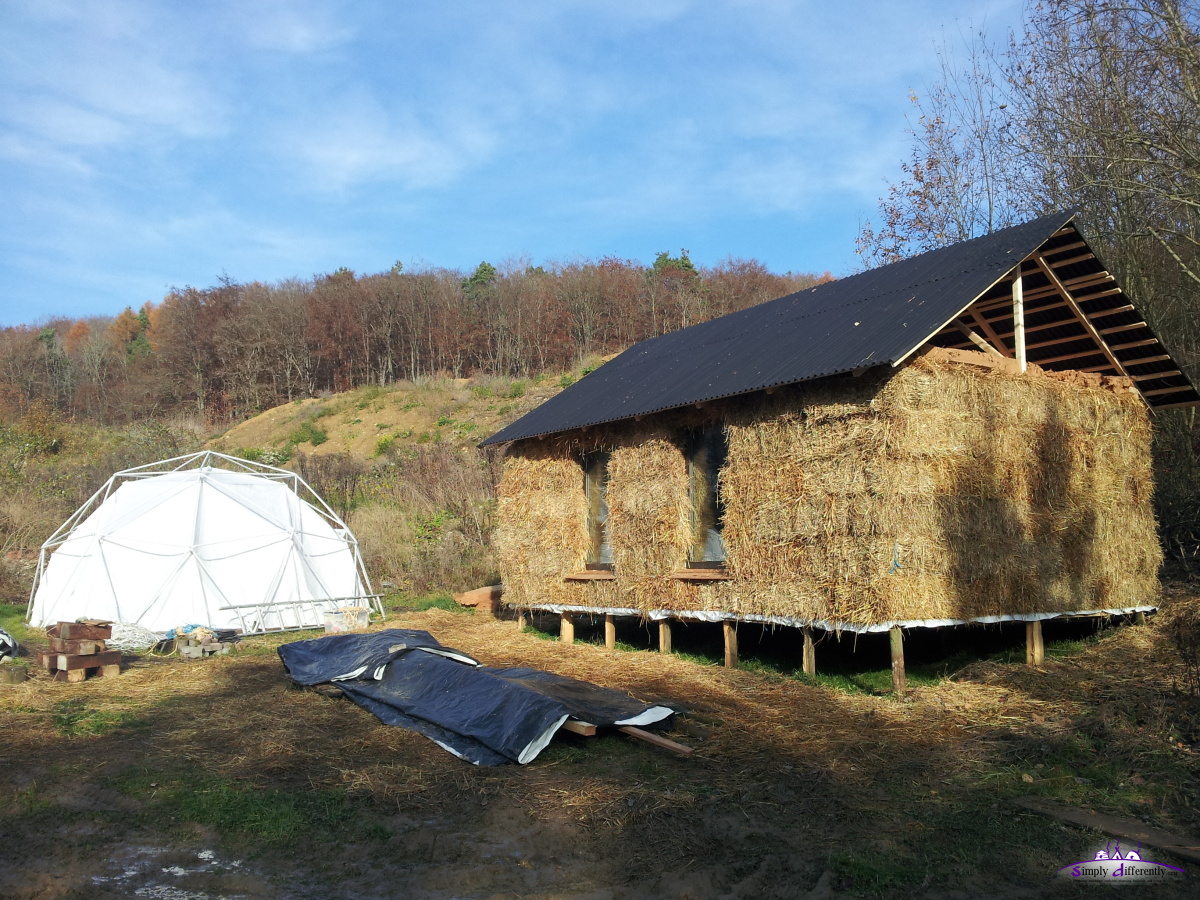 2014/11/28 12:26 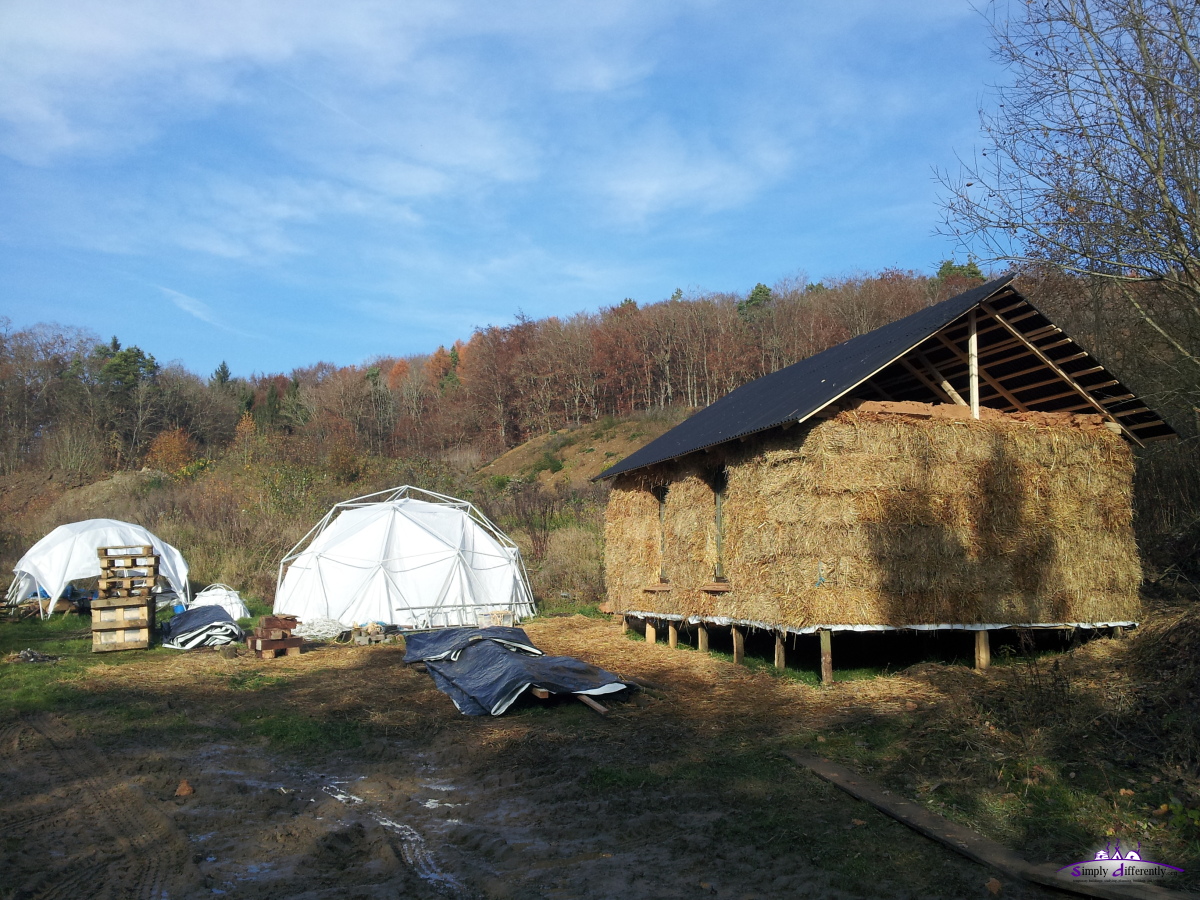 2014/11/28 12:27 And I continued to close the ceiling / roof gap with OSBs, here the south side: 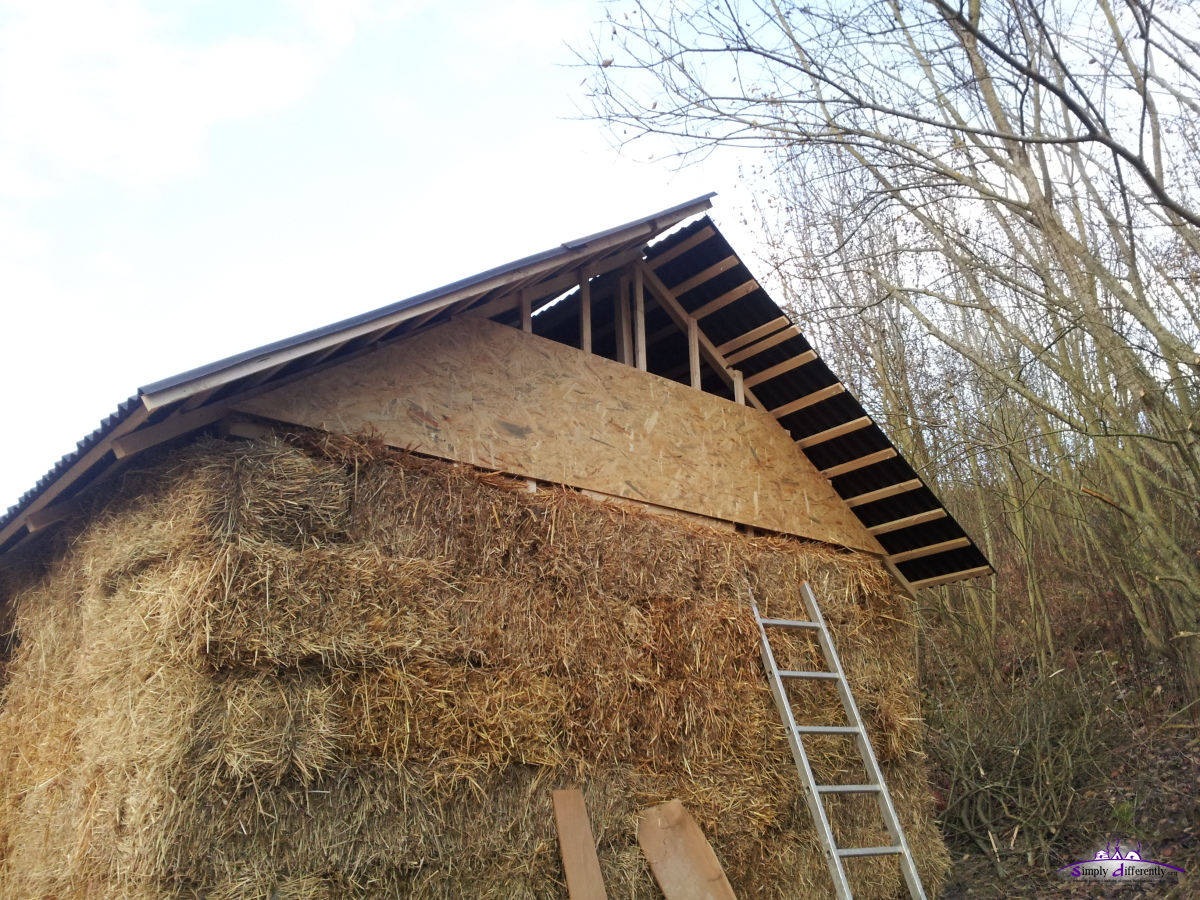 2014/11/28 15:57 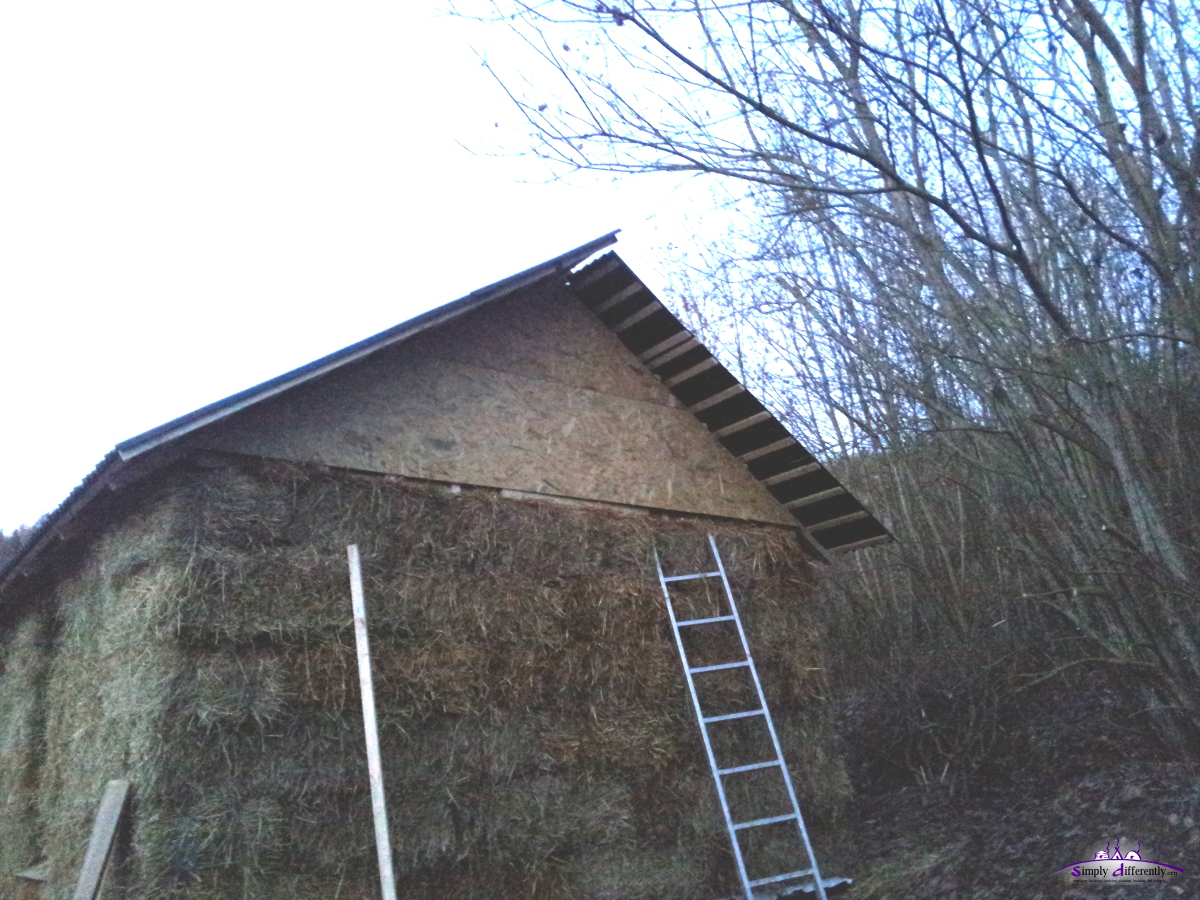 2014/11/28 16:27 By chance, without planning actually, the height of the triangle is 1.30m or ~ 2x 0.675m so two lanes of OSB fit nicely - the left over I reuse for the north side. The details of the rain runway below the OSB triangle I will do tomorrow - it's very important that rainfall reaching the triangle flows down, and then over the strawbale and not into them. 2014/11/27: Cleaning UpAfternoon I spent cleaning up the surrounding and collect left overs of the construction, patch some more holes between the bales and make some more photos: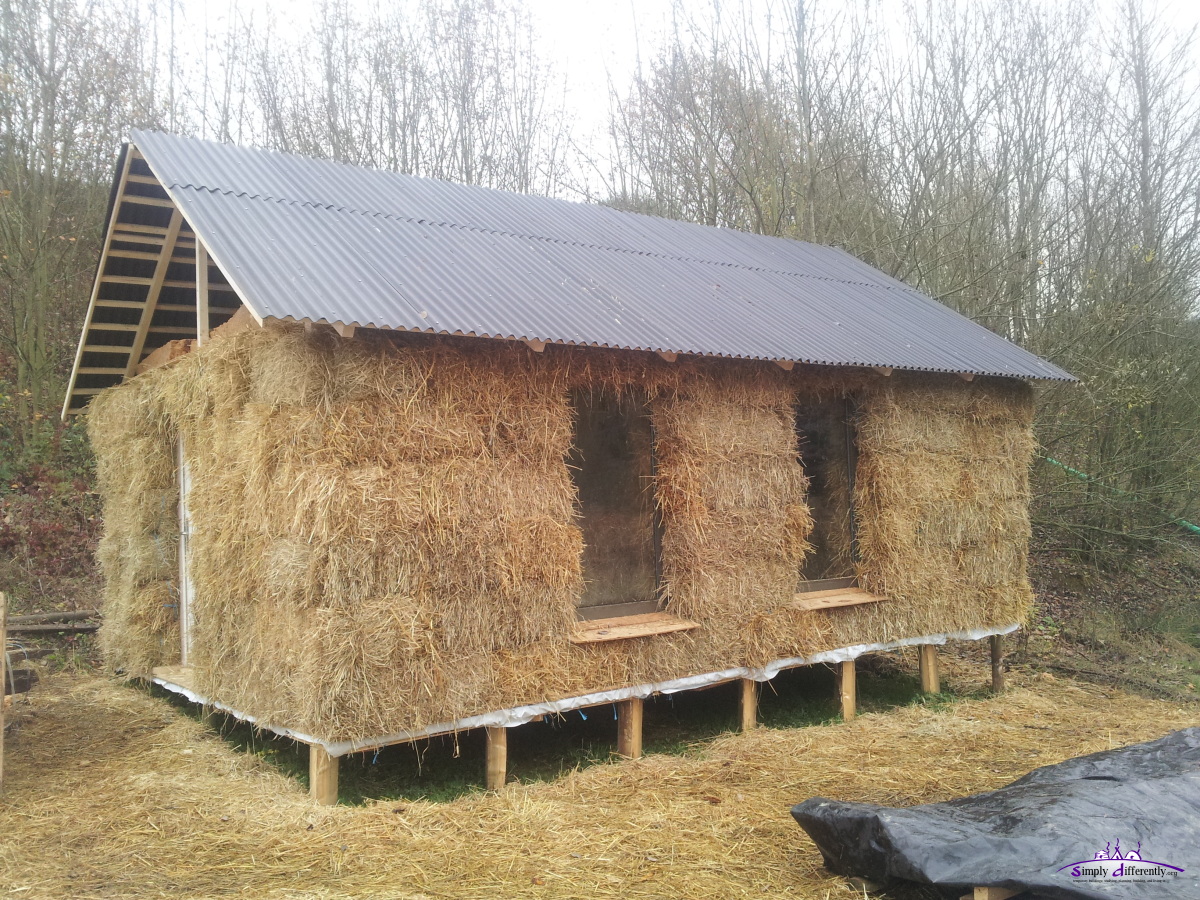 2014/11/27 14:28  2014/11/27 14:28  2014/11/27 14:28 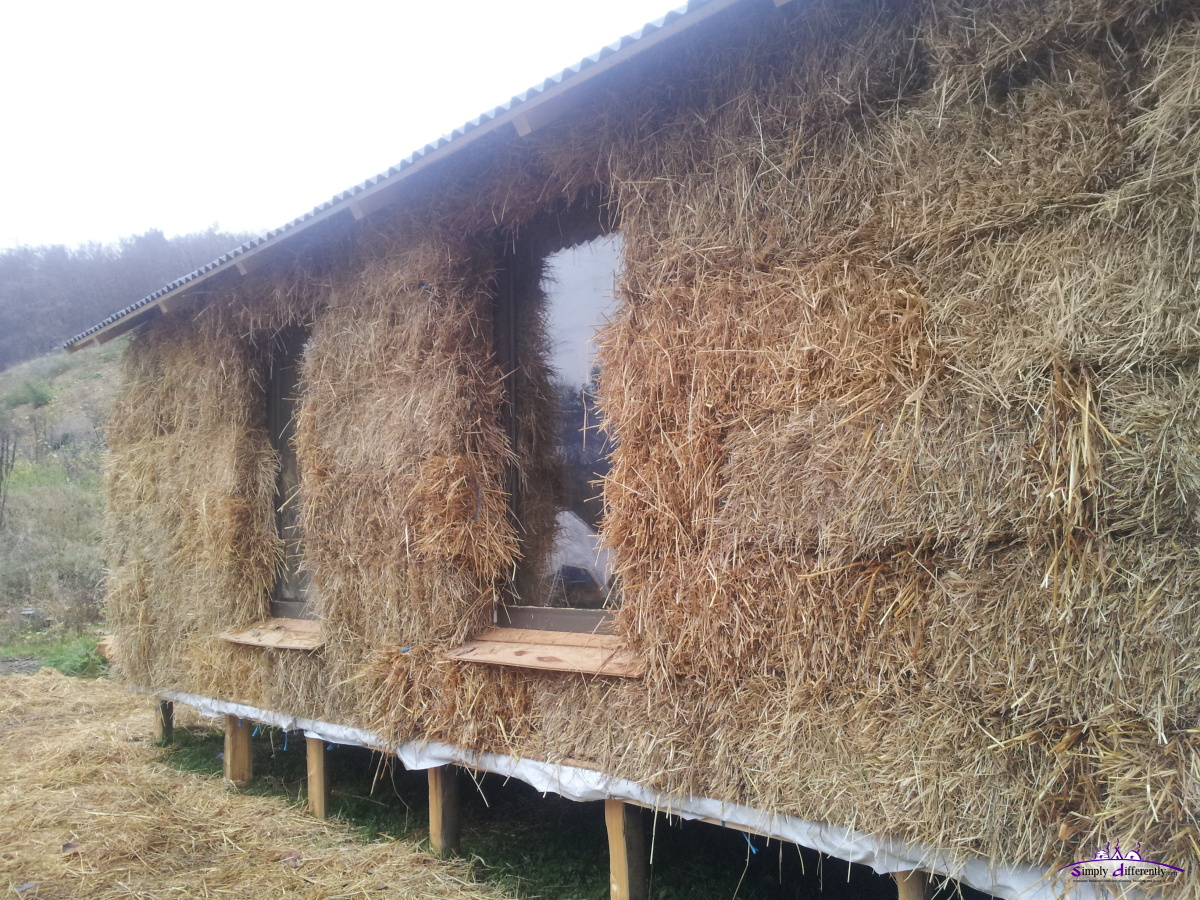 2014/11/27 14:29 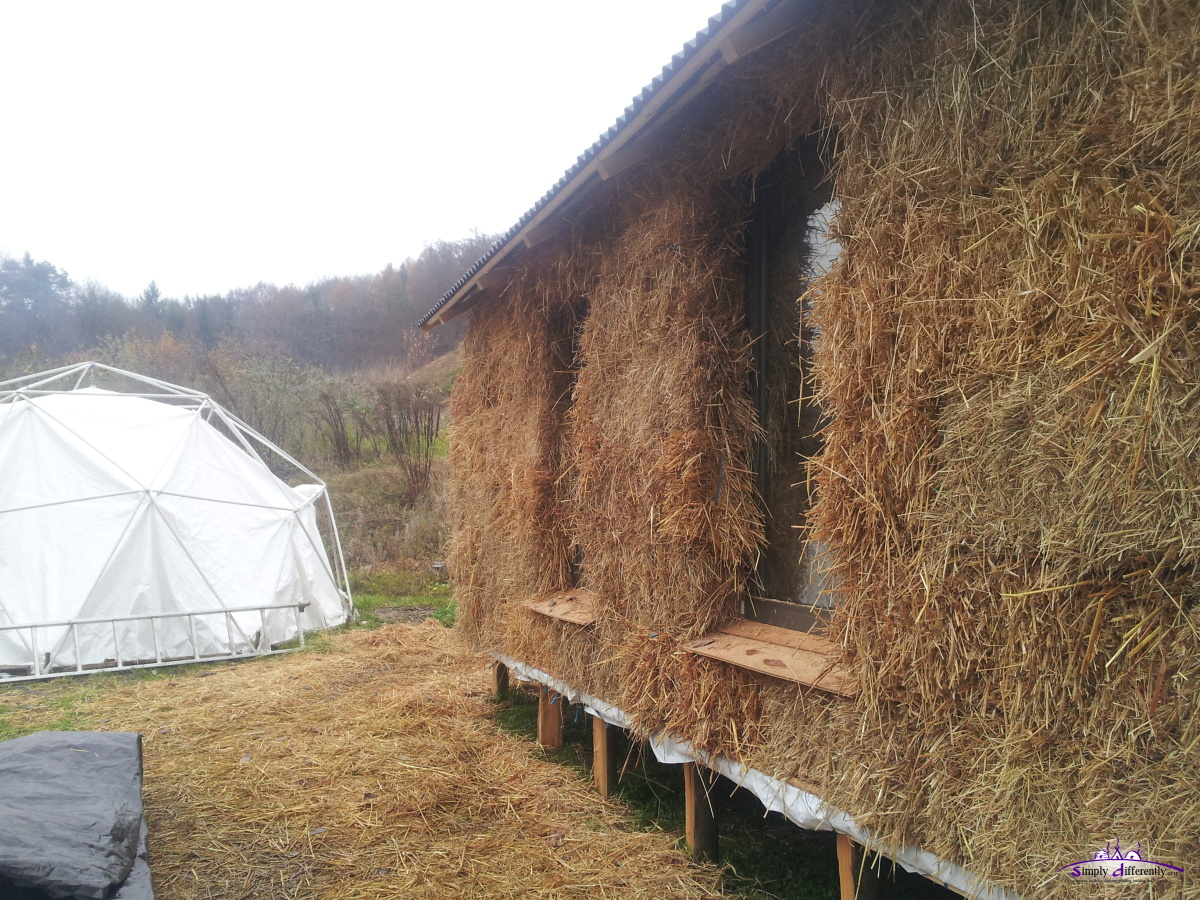 2014/11/27 14:29 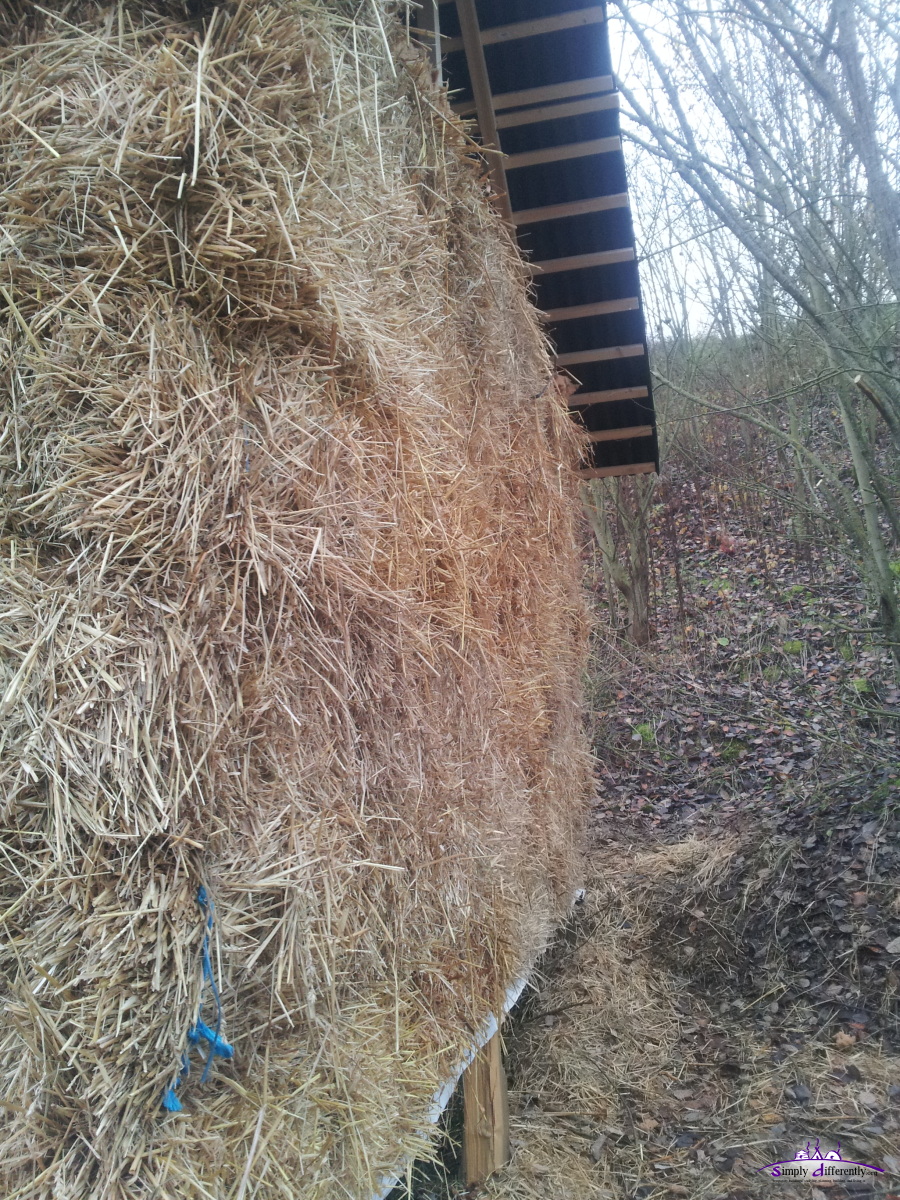 2014/11/27 14:29  2014/11/27 14:29  2014/11/27 14:29 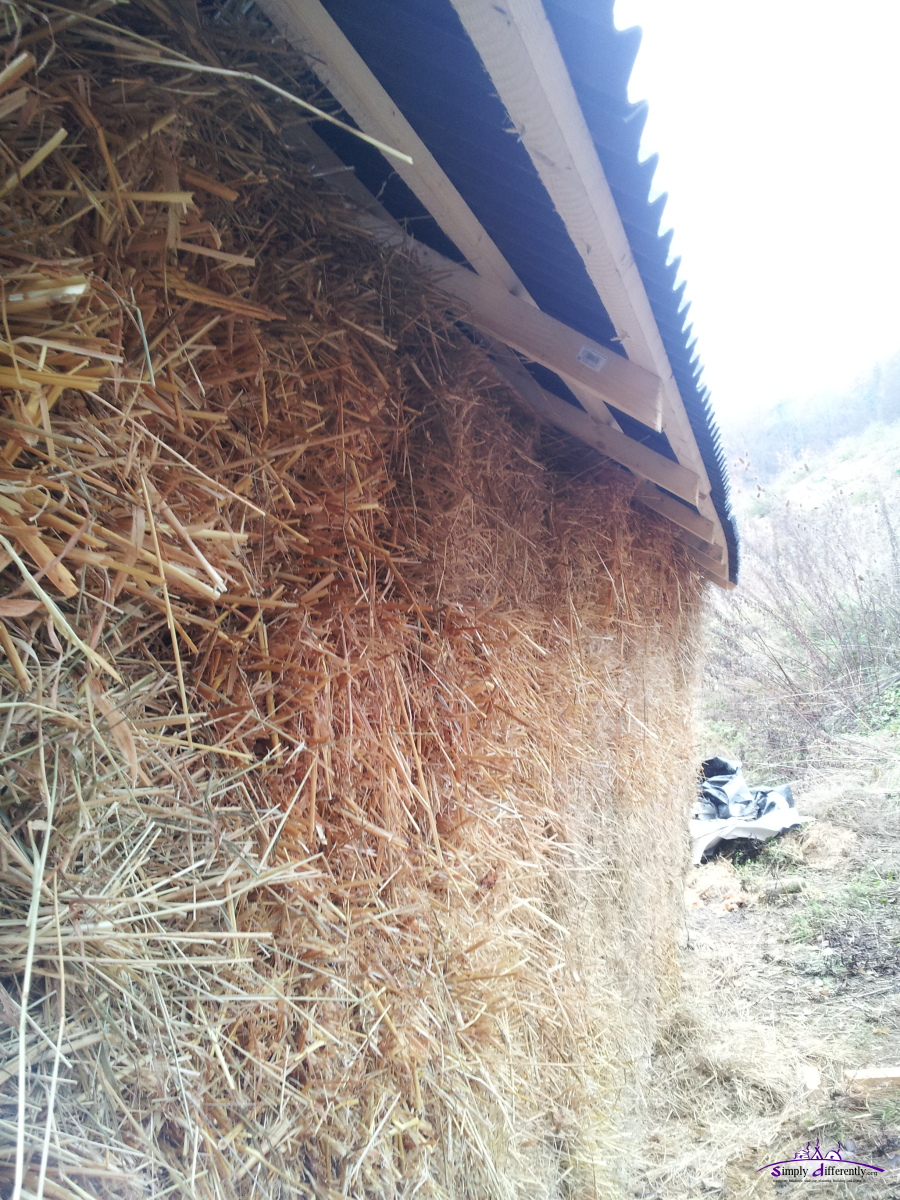 2014/11/27 14:30  2014/11/27 14:30 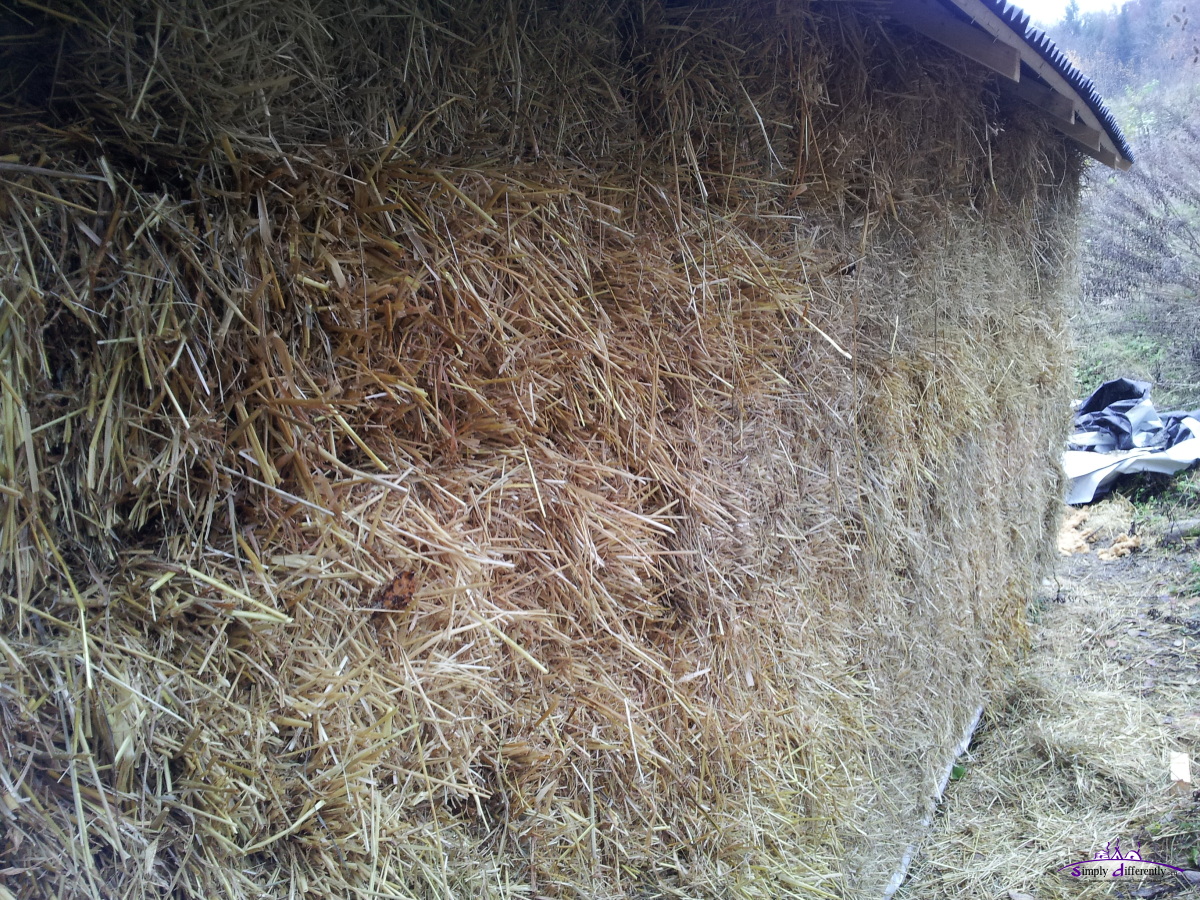 2014/11/27 14:30  2014/11/27 14:30 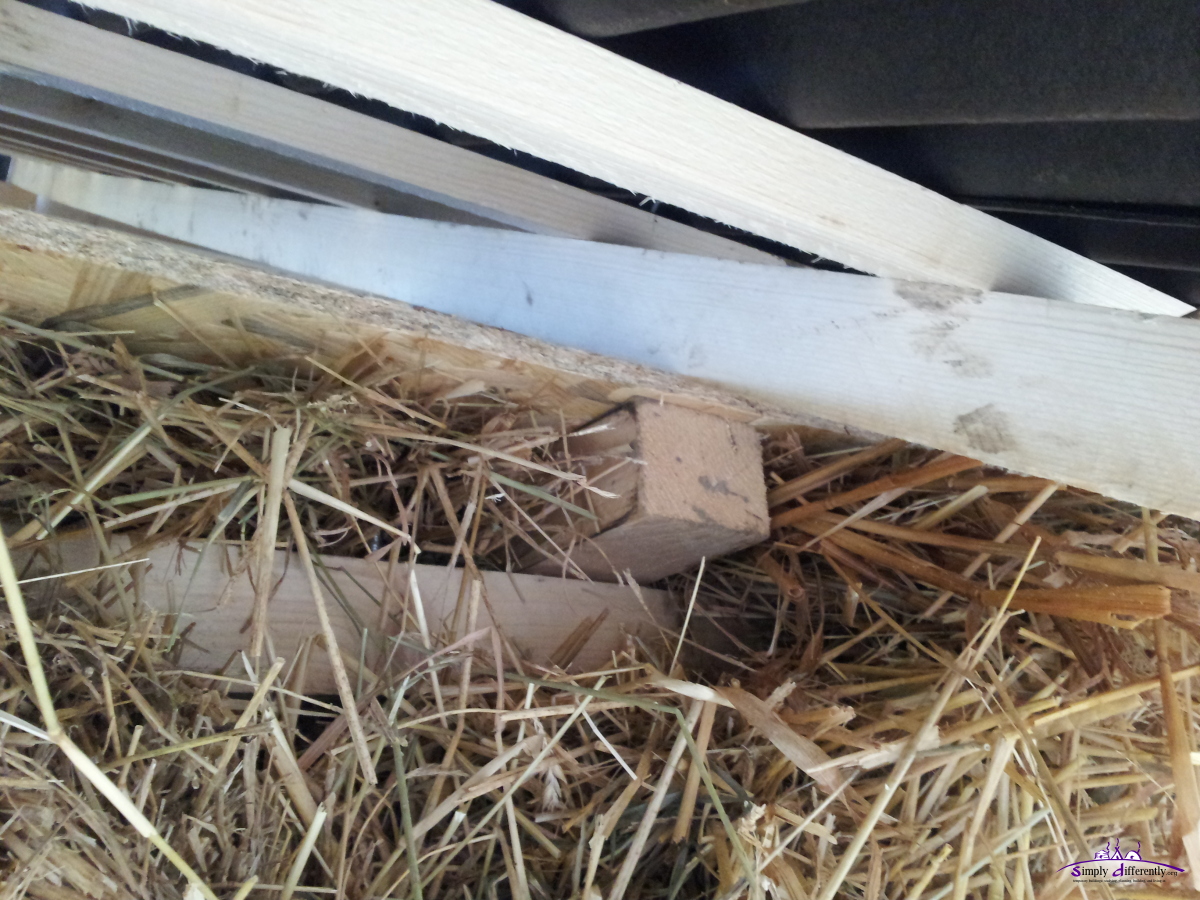 2014/11/27 14:30  2014/11/27 14:31 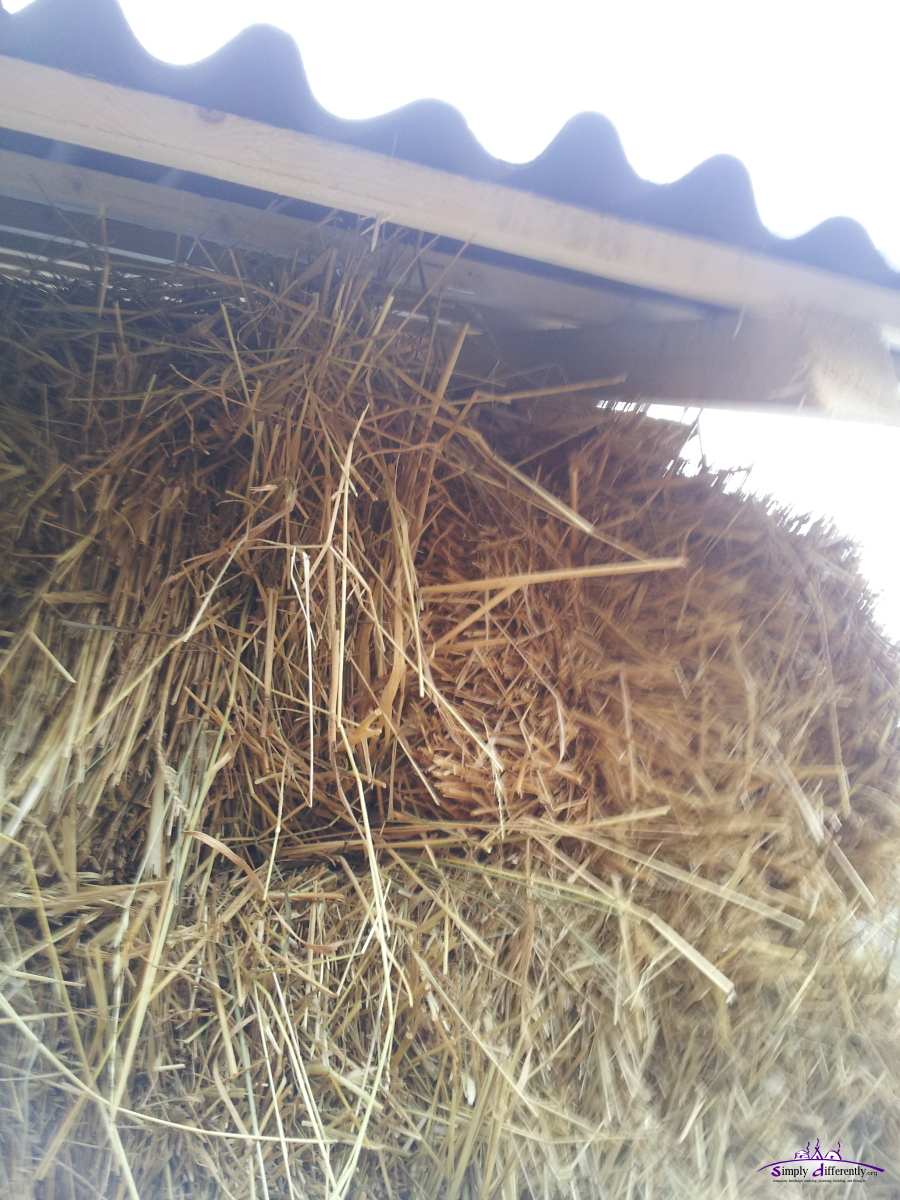 2014/11/27 14:31 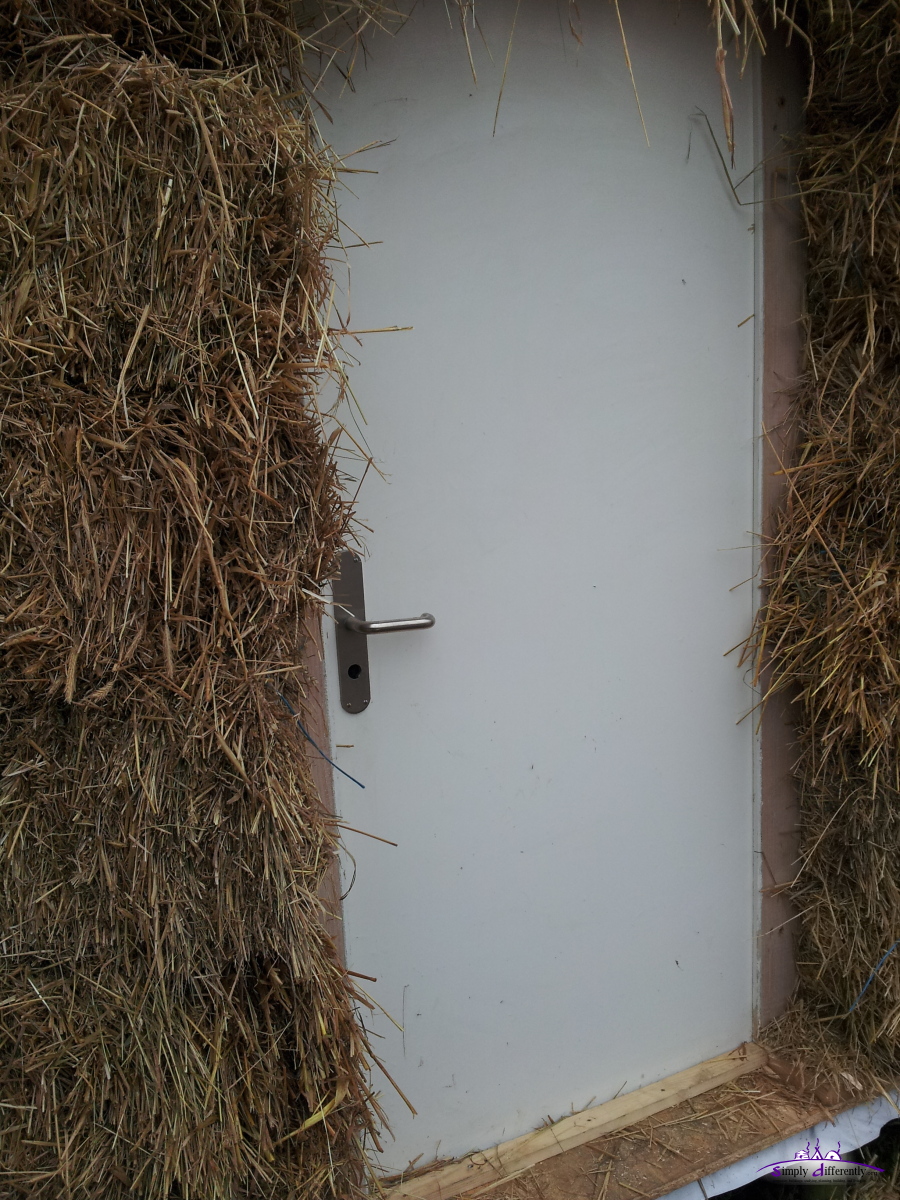 2014/11/27 14:31 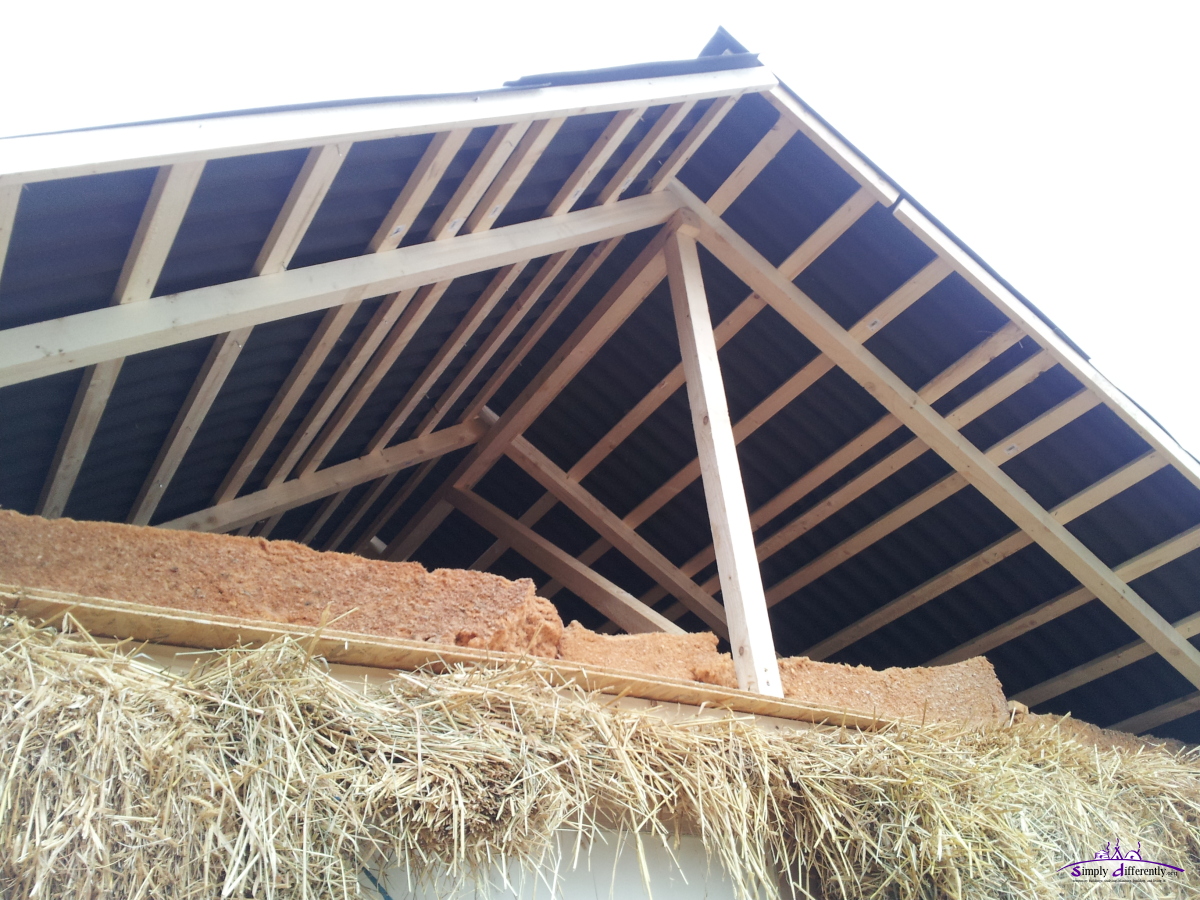 2014/11/27 14:31 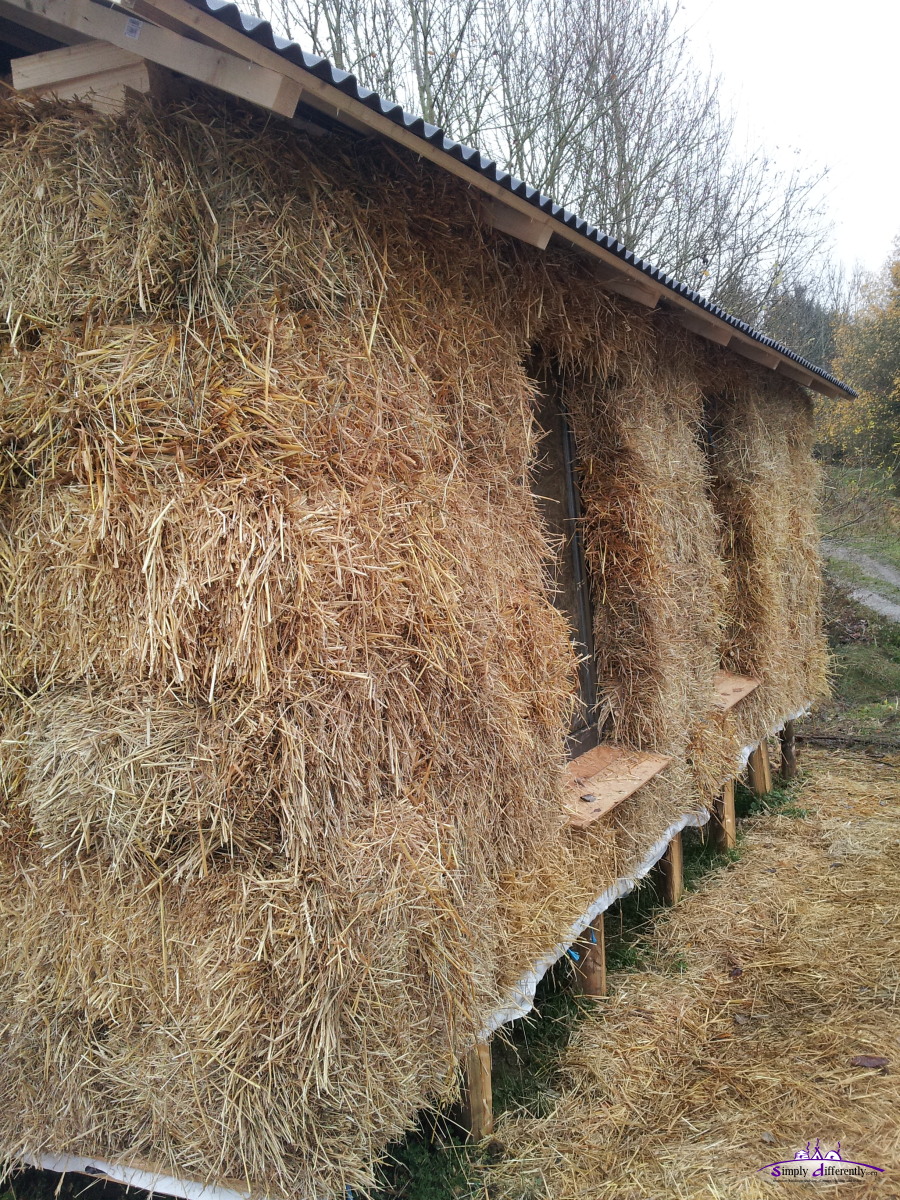 2014/11/27 14:32  2014/11/27 14:32 I spent the last night in the cabin, and it sensed some straw dust, also visible with the LED light. Also at the morning it's a bit too dark for my taste, coming from translucent PVC canvas of the geodesic dome, and hearing nature direct whereas the cabin is almost like a sound studio, completely sound proof. To light up the interior, I'm pondering on some ways to plaster the inner walls with some bright or white surface, in a manner which if the cabin is taken down, the strawbales can be still used again - so some rather natural material then. So far I haven't decided on the actual details of how to seal the air triangle under the roof, the south side might be sealed well, as it's the main "weather" (wind & rain) exposure. The north side with the door and its roof triangle I like to keep accessible, e.g. with a small door. Most storms come from south west or north west, since the slope the cabin is east to west down, so the east side is quite well protected from winds or storms. The backside of the cabin, the 6m long wall is a bit wobbly at the center, e.g. gives in apprx. 2cm with some pushing, the ends near the corners / edges do not move at all. Since the windows are at the front, where winds or storms will reach the cabin, they actually provide some stability with the threaded rods so close by (see illustrations/plans for details). 2014/11/26: Roof Complete
As next we moved the China Grass matts, which I have had available, but I could have used also layers of compressed straw evenly distributed over the OSB ceiling.
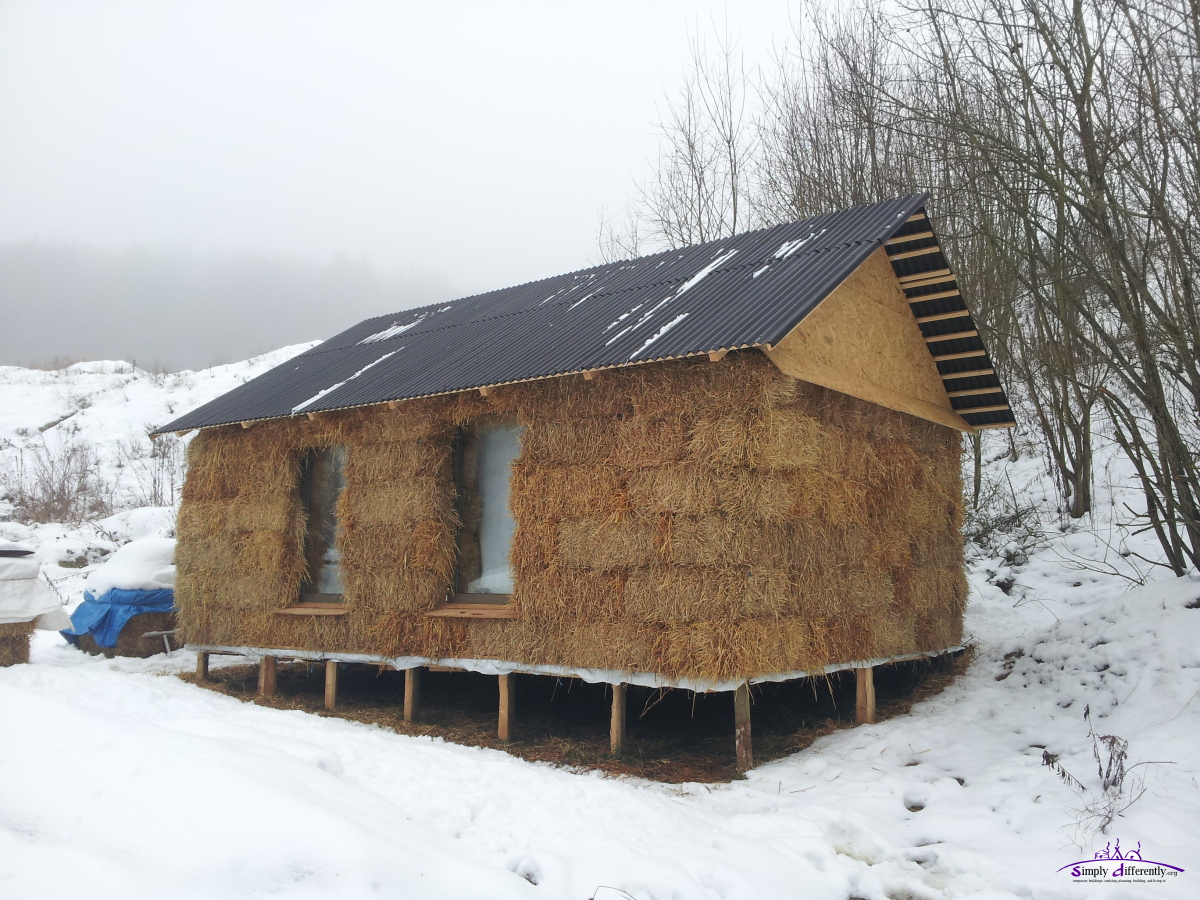
 East slide of roof continue 2014/11/26 13:42  Near finish of the roof 2014/11/26 14:49  Roof finished 2014/11/26 15:08  Arrival of the China Grass matts used for ceiling insulation 2014/11/26 15:38  China Grass matts as ceiling insulation 2014/11/26 16:16 It was a foggy day and no rain, only in the only early morning, but not while construction. What's left to do externally, which I do myself, is
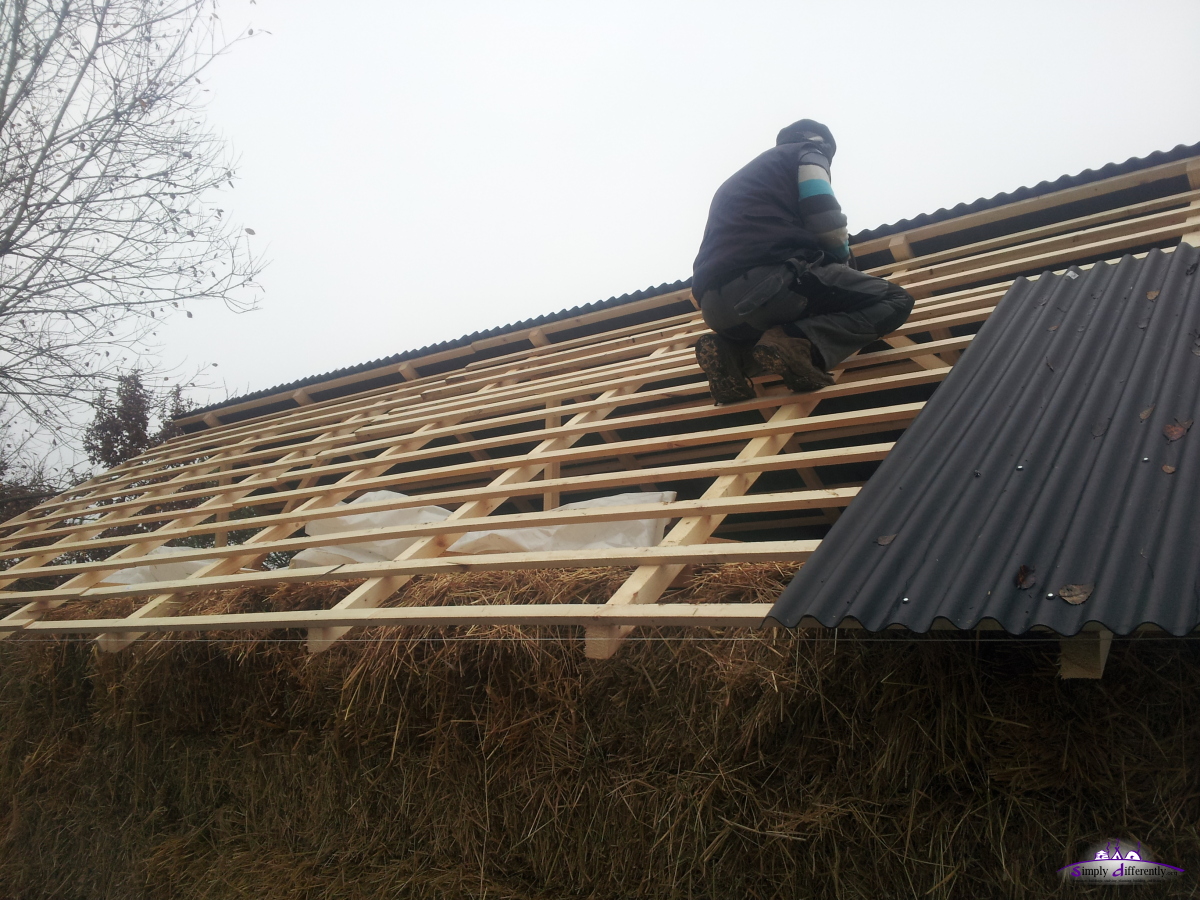
2014/11/25: Roof Almost DoneAfter some measurements the main skeleton of the roof was done, mostly using 5.8cm x 5.8cm x 3m beams. A 10cm extension was required for the horizontal support of the roof, as the walls slighly "V". The smaller 4.8cm x 2.4cm horizontal 4m + 3m supporting wood was aligned with 20cm spacing, a bit narrow for my taste, yet, one of the helpers recommended it - at the rather steep angle I thought 30cm would be sufficient, and enough space to slip through whole attaching the bitumen sheets. Once the skeleton was done, the bitumen sheets were attached, west slide: 2m + 1.2m bitumen sheet, 10cm overlap, and 5cm extension above and below => 3.0m. We just finished the west slide around 17:15, with some LED light attached the last sheet, and covered the east side with some PVC for the night.
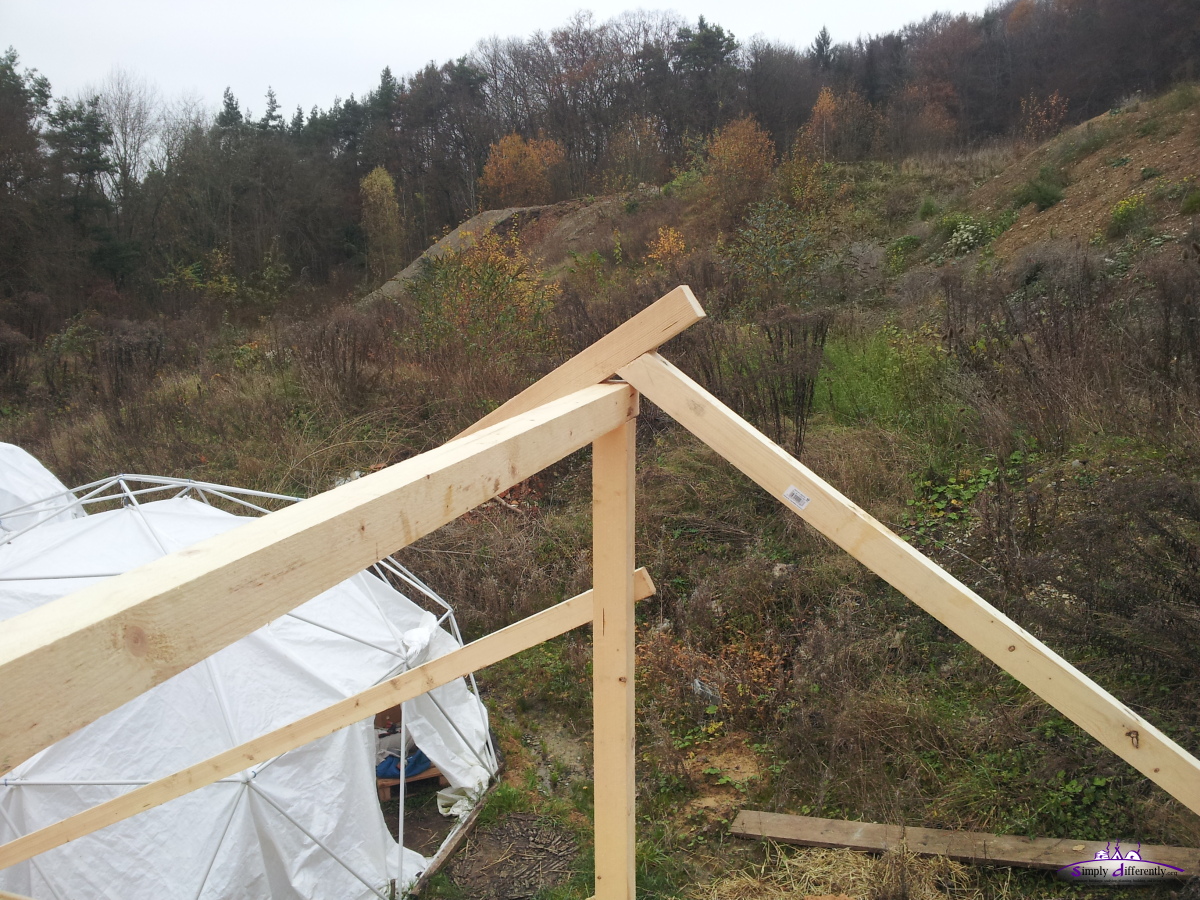 Main roof junction 2014/11/25 13:32 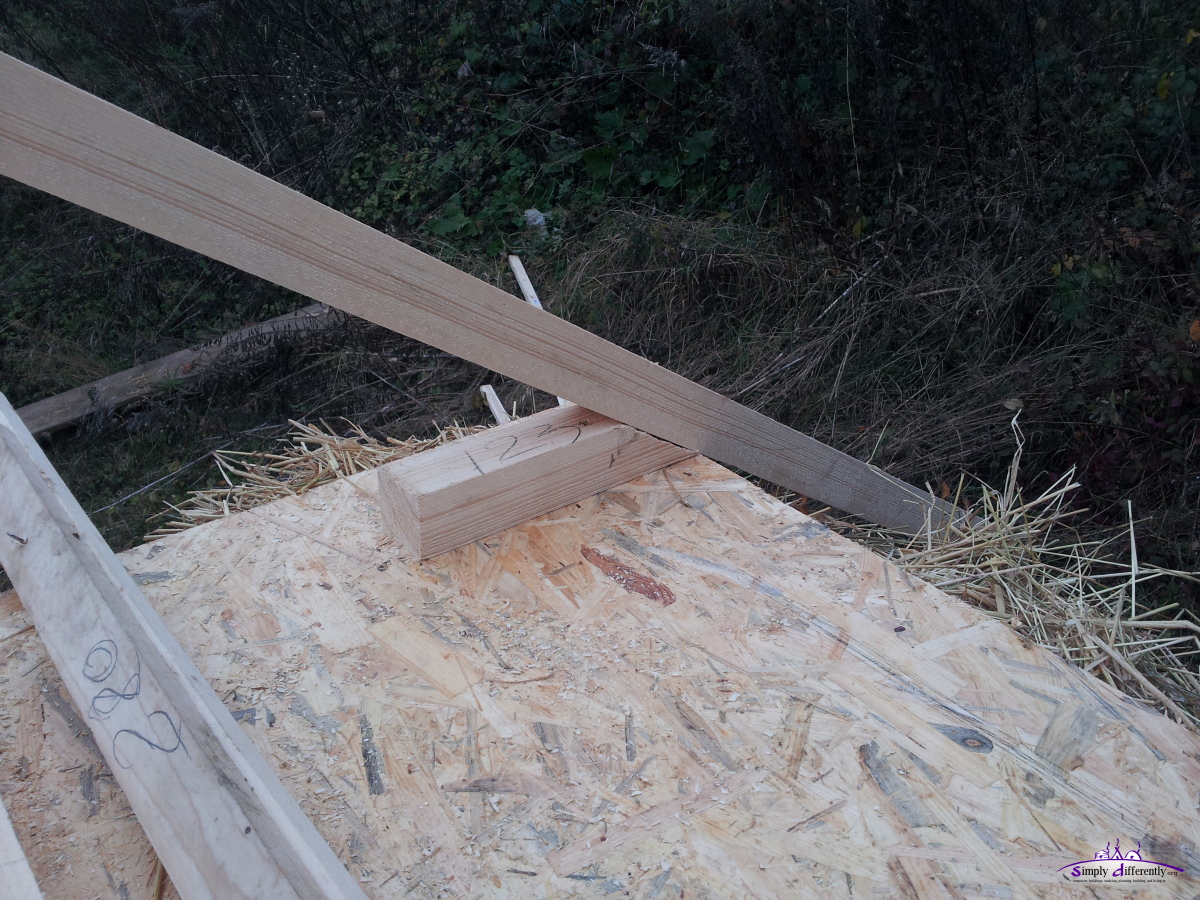 Roof beam connected with ceiling "foot" 2014/11/25 13:35  Using a cord as reference 2014/11/25 14:15 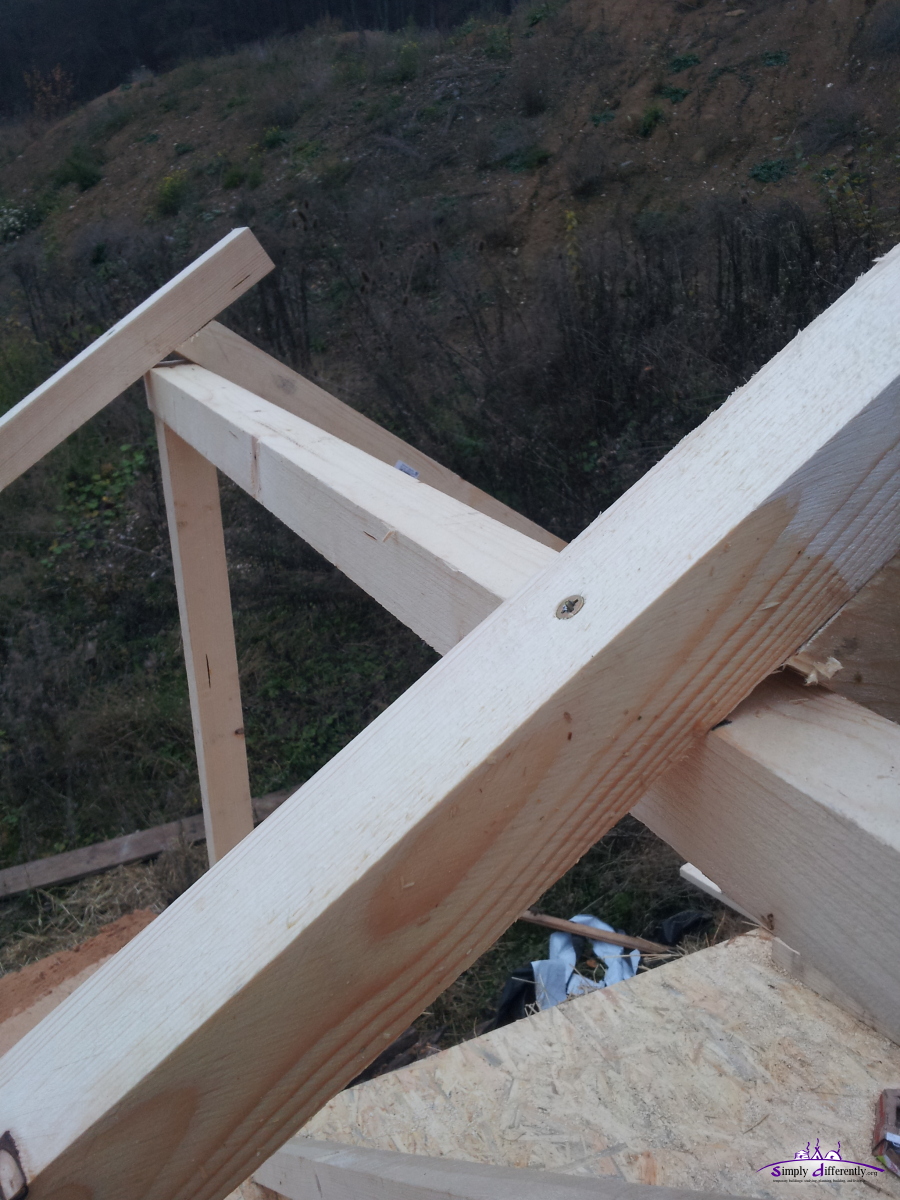 Continue with the roof beams 2014/11/25 14:19 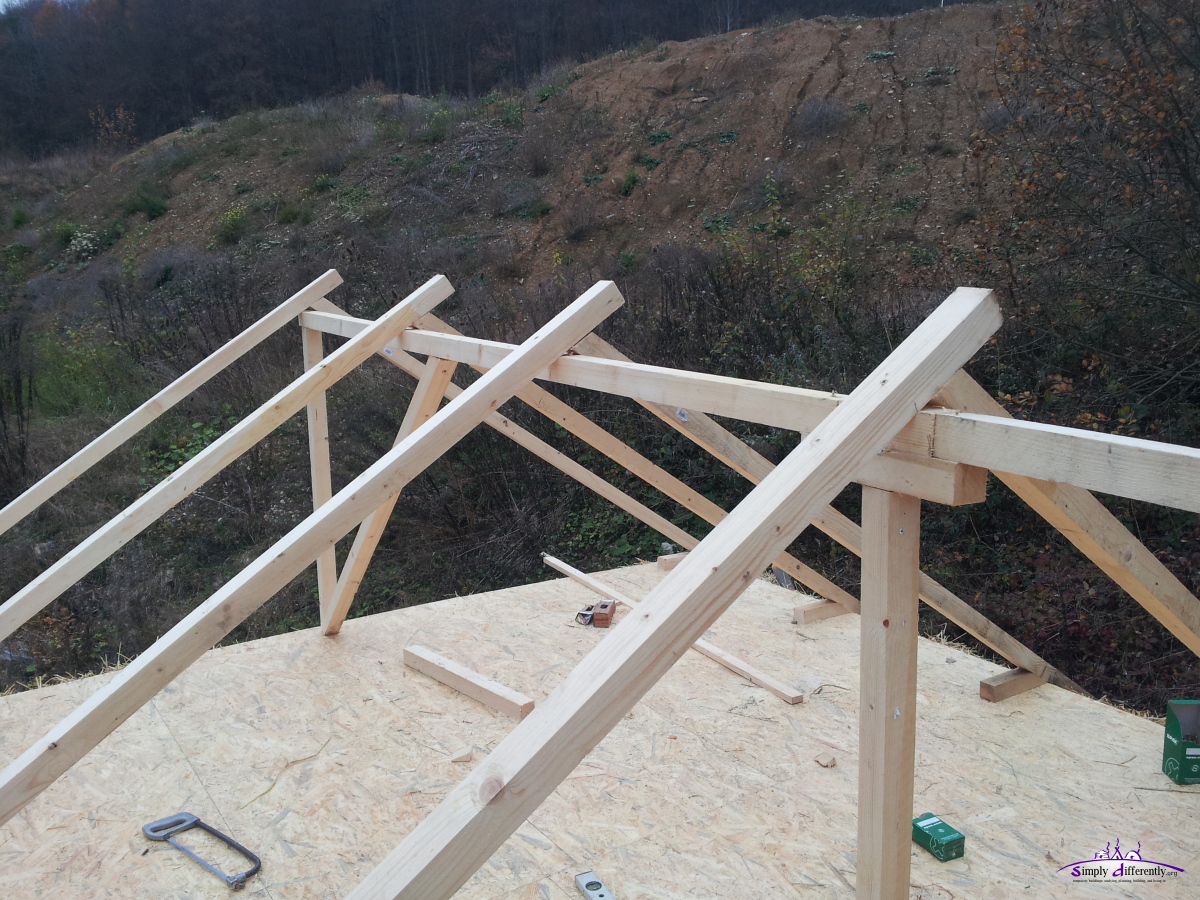 2014/11/25 14:27 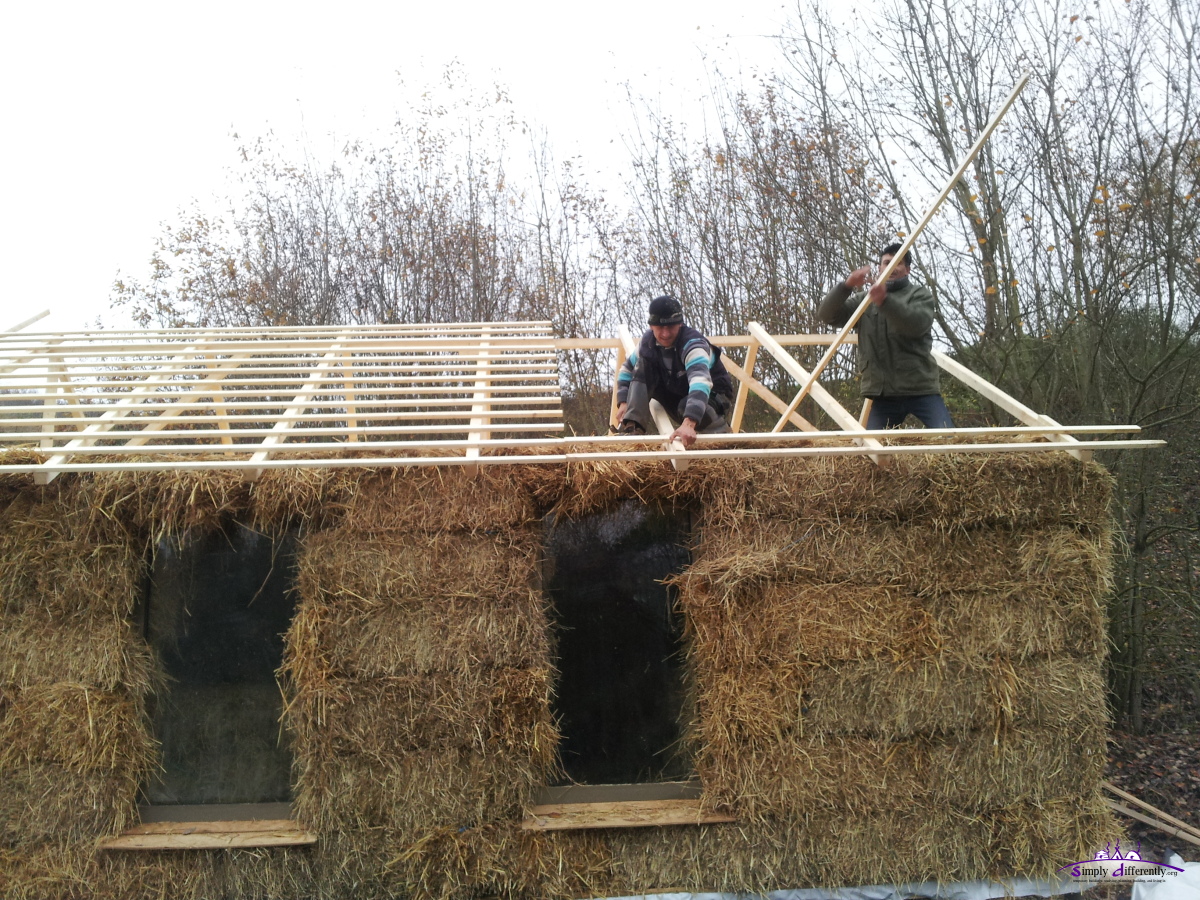 Horizontal support wood for the roof (4m + 3m = 7m total, apprx. 35cm extension on both sides) 2014/11/25 15:04 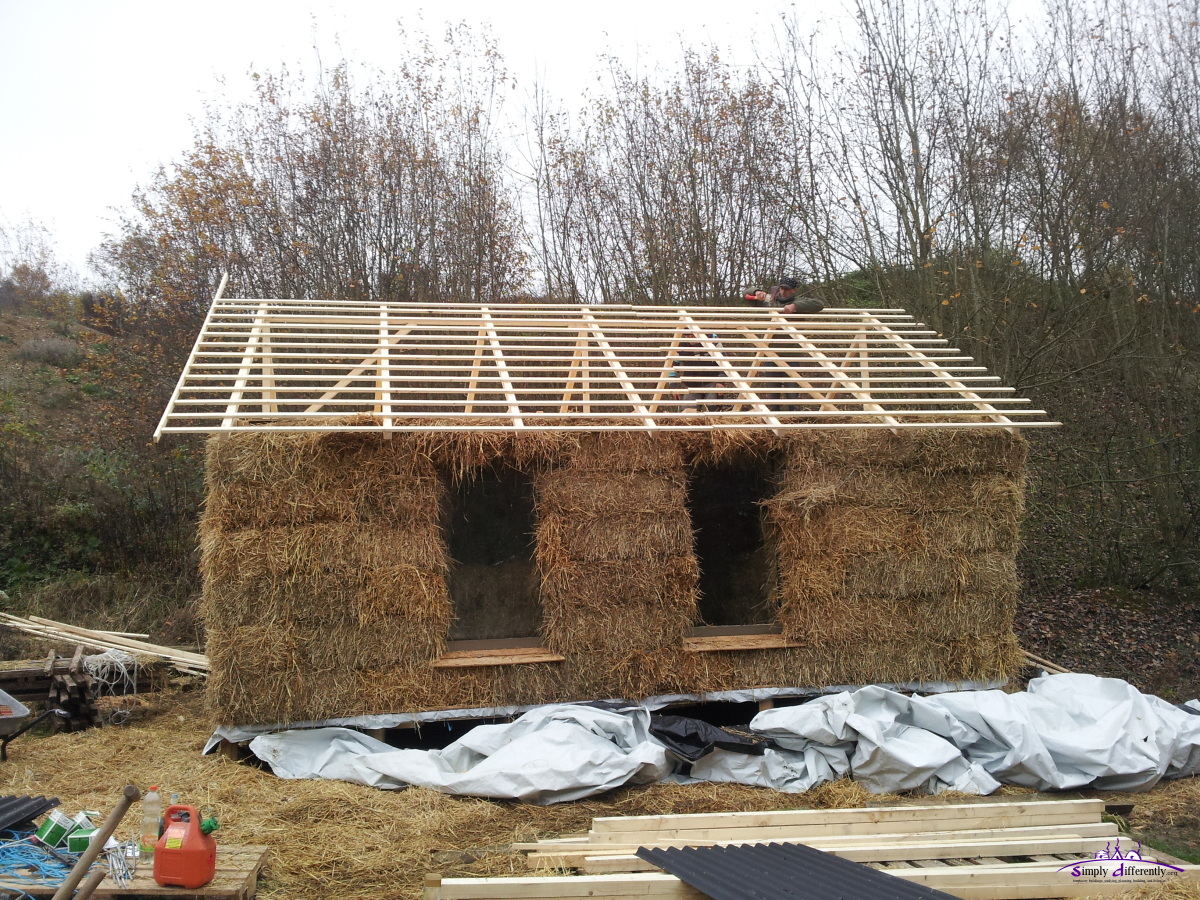 West slide of roof skeleton complete 2014/11/25 15:08 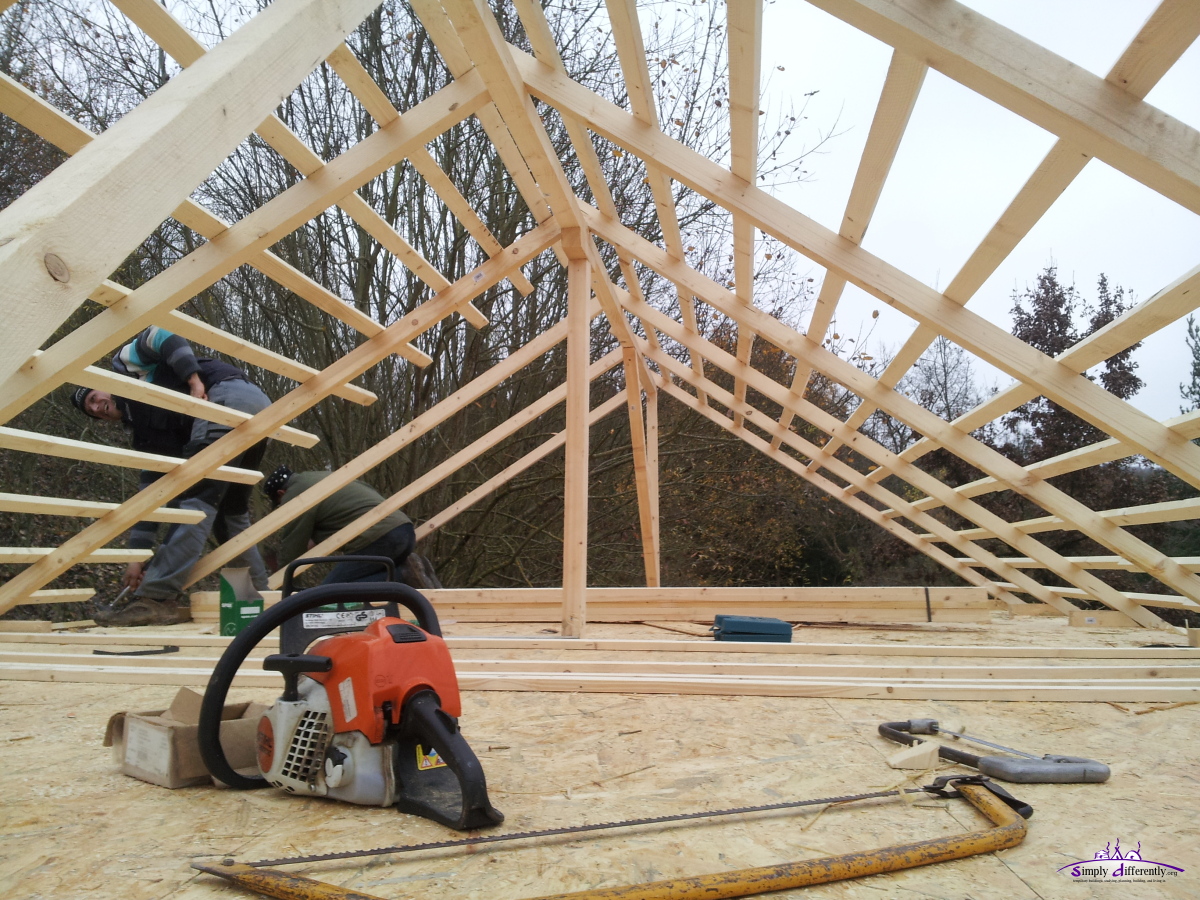 Completing roof skeleton 2014/11/25 15:20 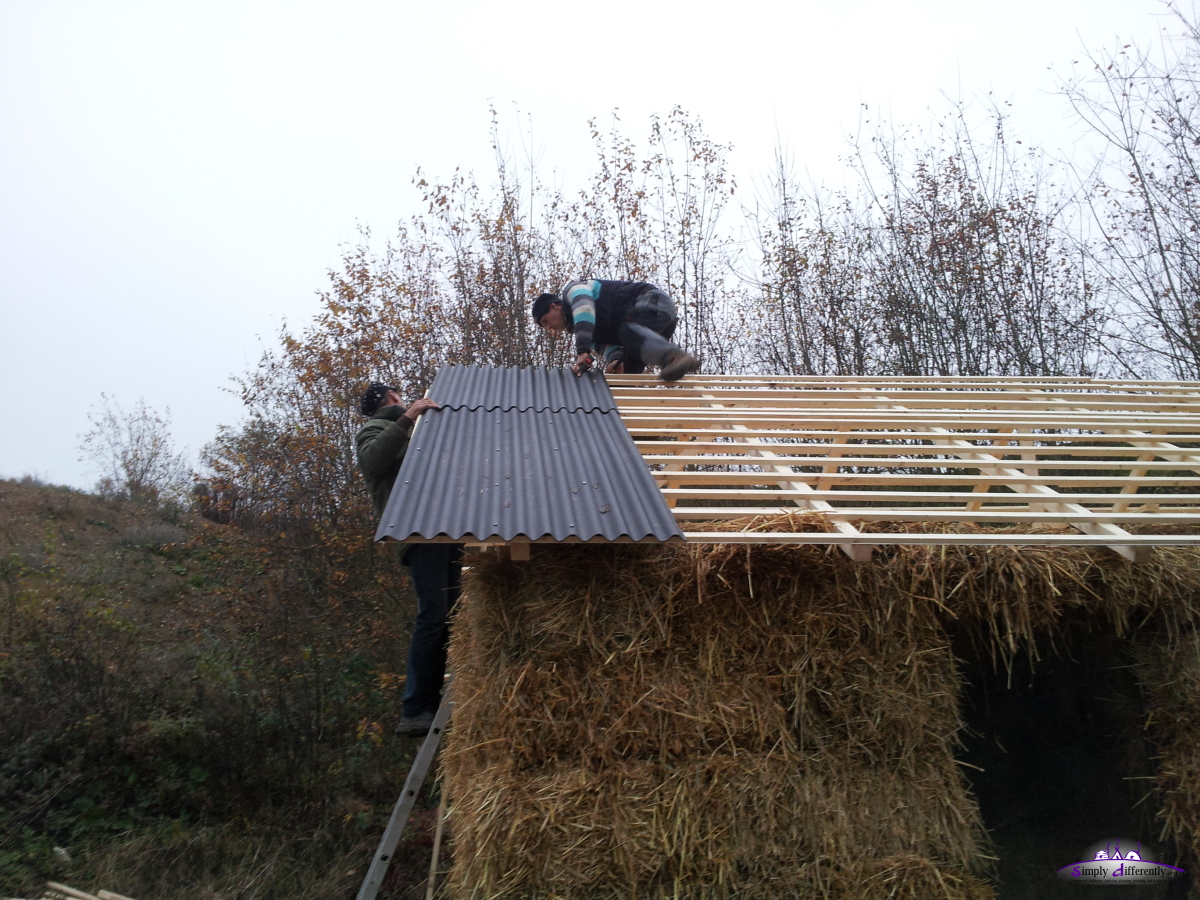 First lane of bitumen sheets put up 2014/11/25 16:13 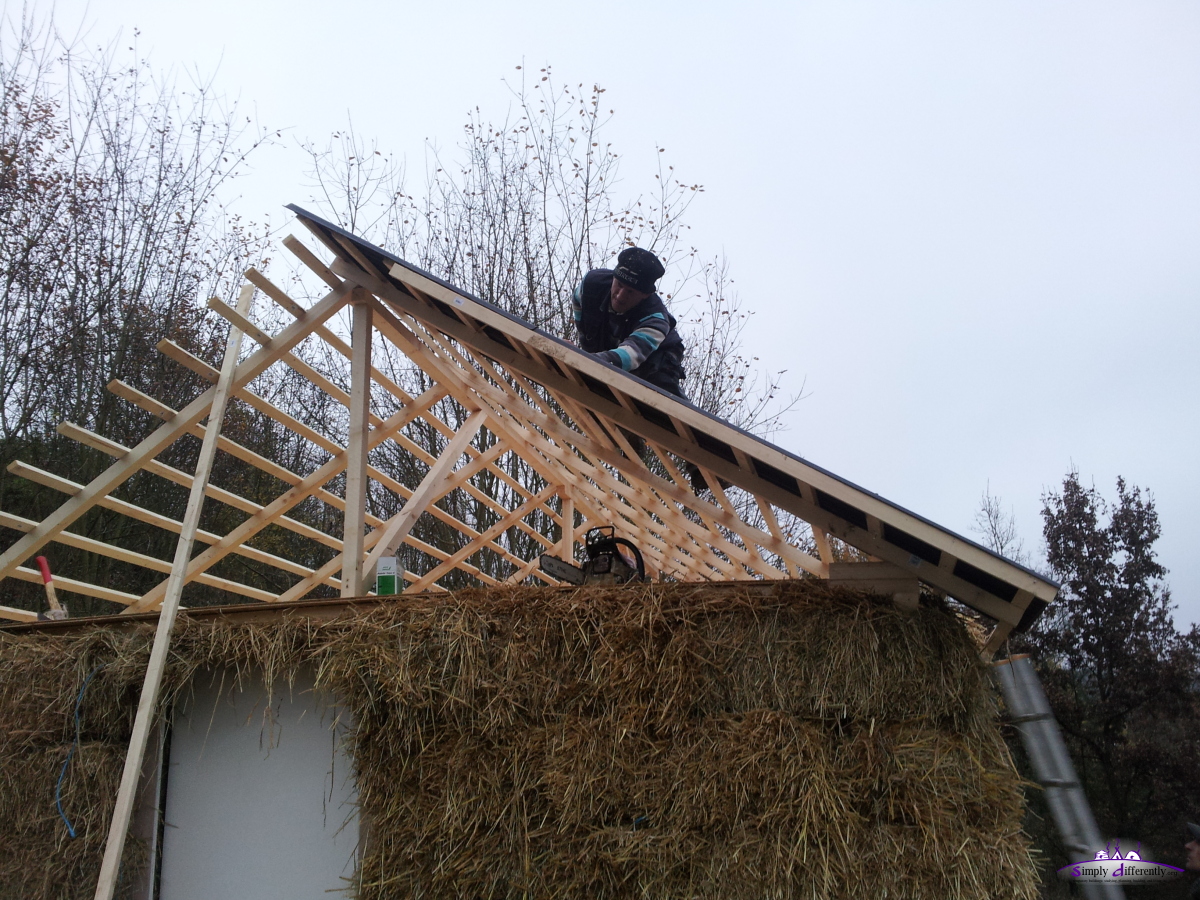 2014/11/25 16:18 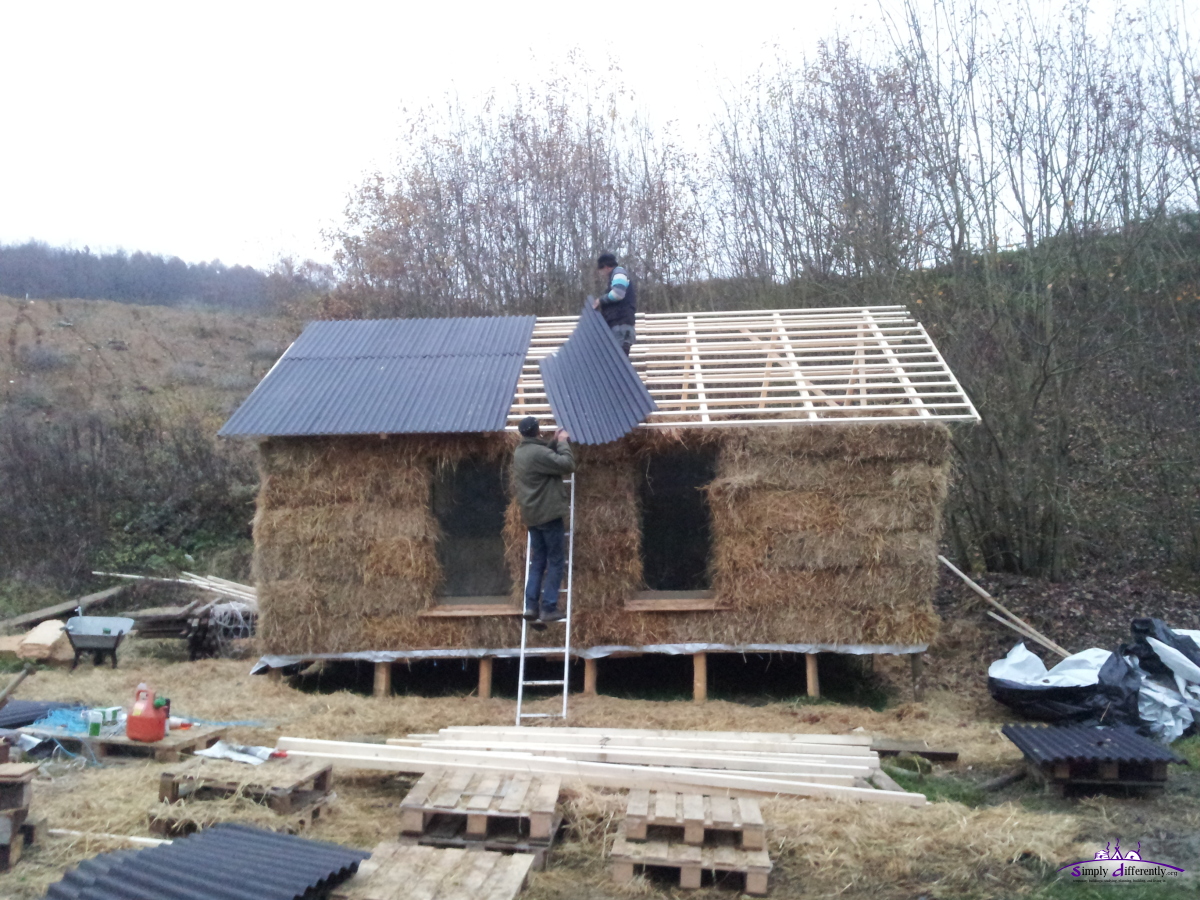 Covering the west slide of the roof 2014/11/25 16:35 It was 7-8C with high fog and some north wind, fine to work like that. Tommorrow alike weather is forecast, but then some rain is expected the day after tomorrow - definitely time to finish the roof. What's left to do: east slide of the roof finishing, and then China Grass matts for the ceiling insulation. I will eventually close the south side of the roof, and make a small door on the north side, so I potentially can reach under the roof and above the ceiling later, not that I will use it as storage space, as the China Grass matts are quite fragile and won't last when stepping on them. And then the internal setup, with a bed, a desk, perhaps part of a kitchen section. 2014/11/24: Roof Started
 Feets mounted for the roof beams 2014/11/24 16:28  2014/11/24 16:29 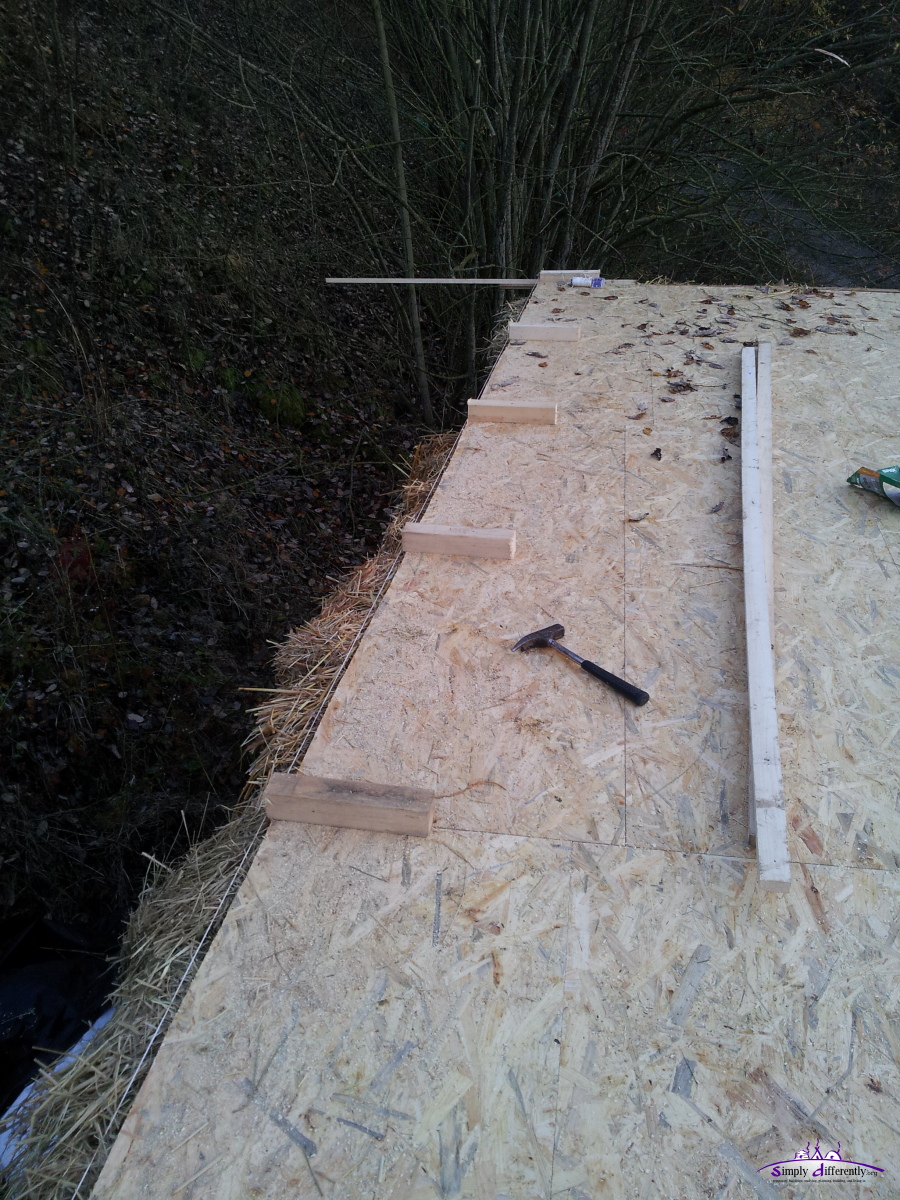 Precision at work 2014/11/24 16:29 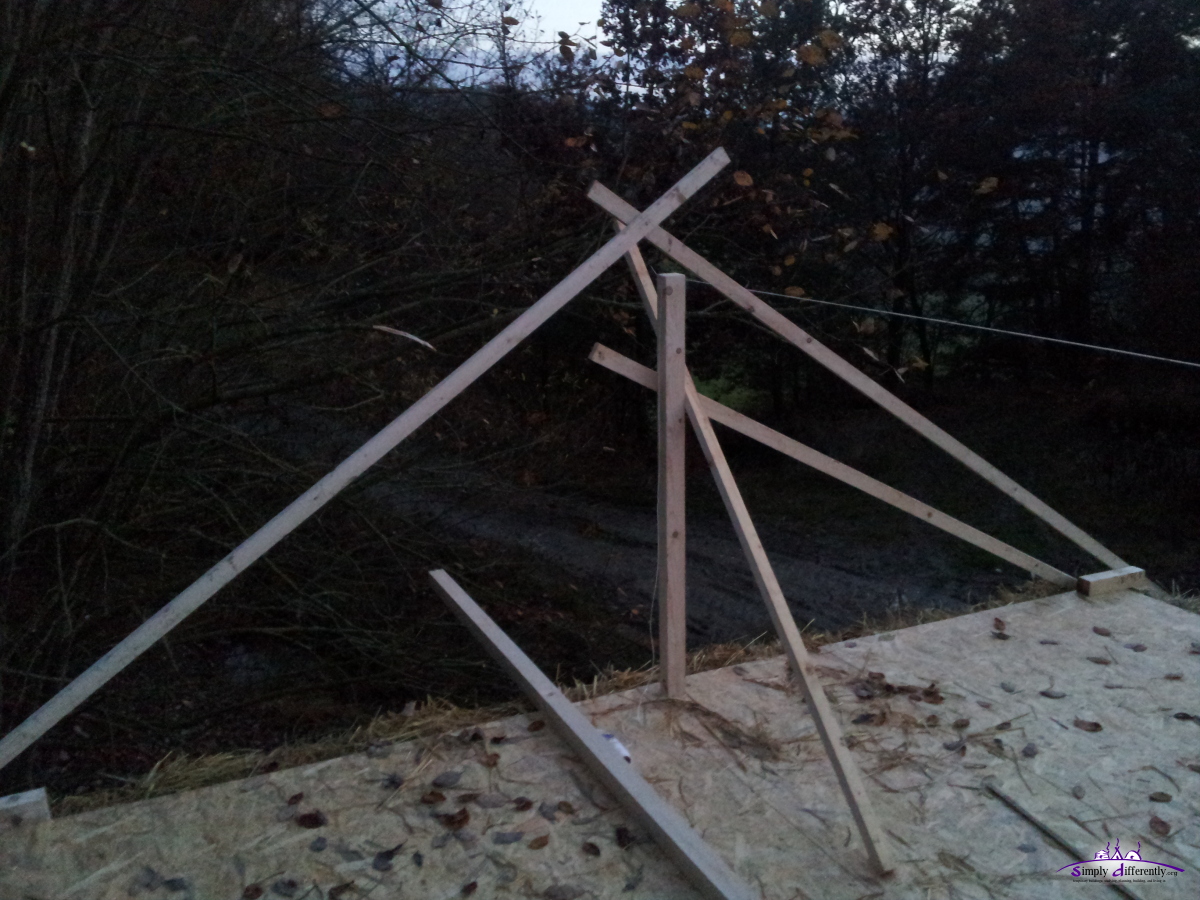 Fixating support vertical beam for horizontal support of the roof 2014/11/24 17:02 I decided on the final roof design:
Since the bitumen sheets are 200cm long, and overlapping is 10cm vertically (water running down direction), I cut 8 bitumen sheets to 8x 120cm + 8x 80cm. The roof extends about 35cm over the main beams on the top, which compress the bales, plus about 5cm over it. The roof is essential to make sure as little as direct rainfall exposed, yet, it can be fully prevent as heavy winds and rain storms - so this will be the main experiment: how does a bare strawbale cabin maintain itself in moderately humid climate like flatland of Switzerland (apprx. 700m above sea level). Yesterday was all day long fog, today sunlight most of the day, and then some clouds covered the blue sky - the brief sunlight warmed up the inside of the cabin and it was noticeable warmer inside than outside, the ceiling not yet insulated. I'm definitely curious how good the actual and final insulation works I decided:
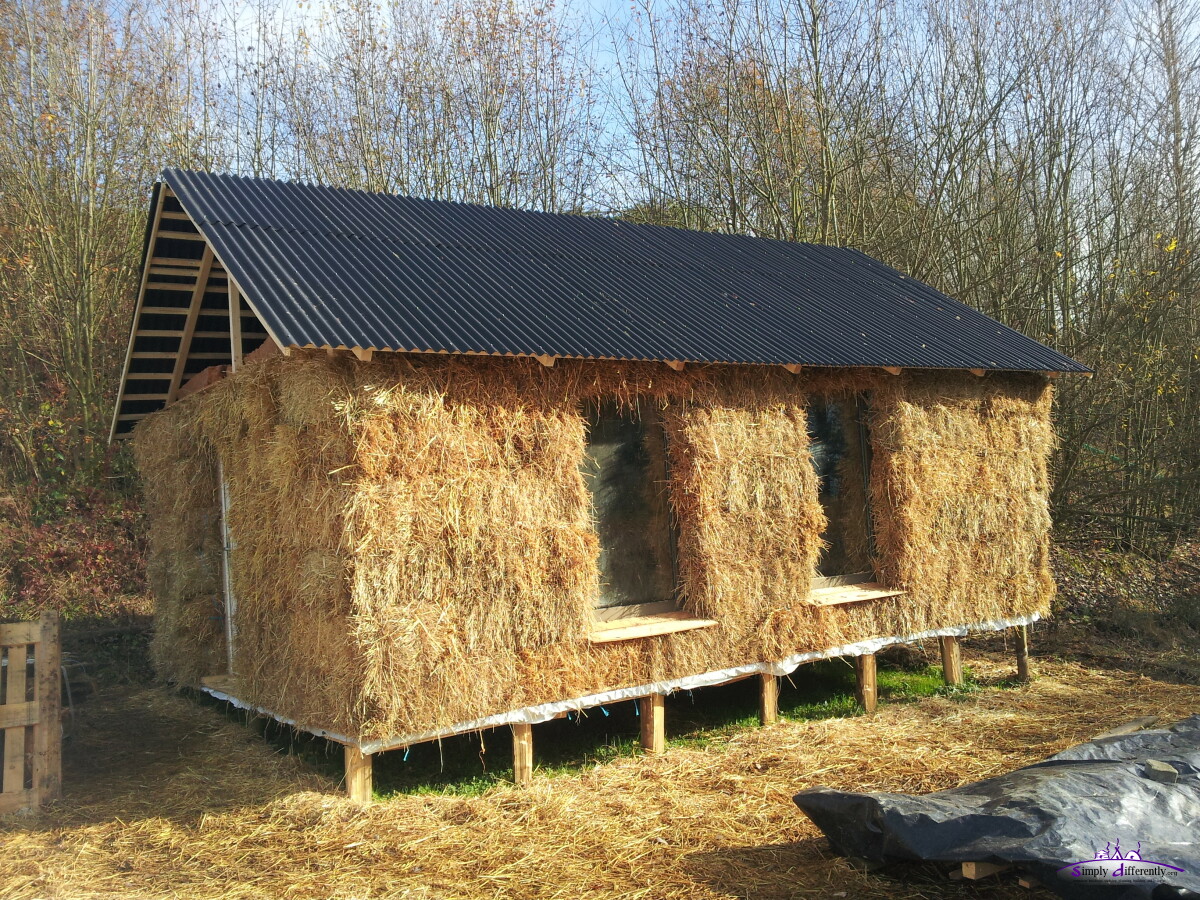
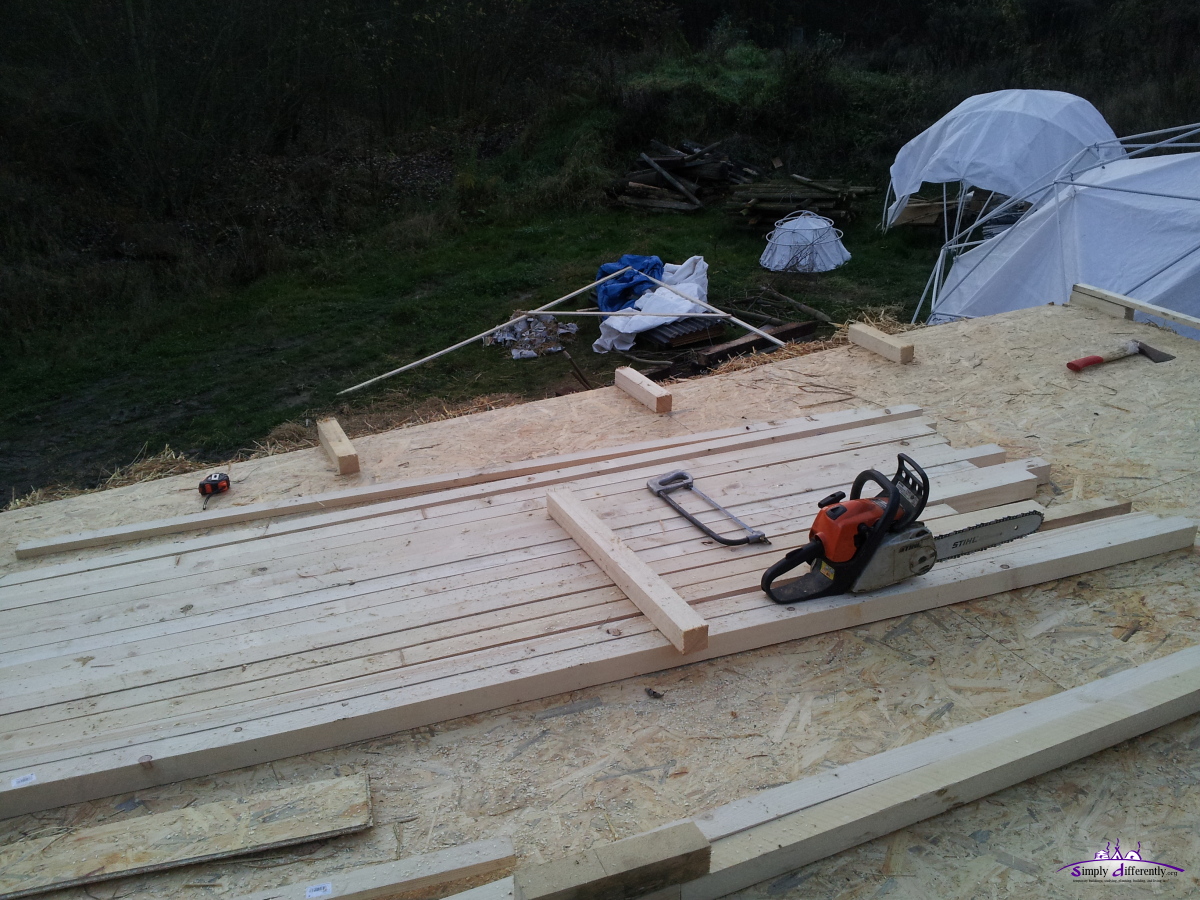
2014/11/22: Ceiling DoneToday we finished the compression wood on top, fixated the door and added the supporting beams which hold the OSB composed ceiling, 18 x 2.05m x 0.675m. The walls were slightly twisted, which meant the corners aren't prefect right angle anymore - with a proper supporting structure this would have happened, but the walls were off about 3-5cm with 210cm height. Also, the threaded rods didn't go up straight, as we often moved the strawbale a bit to fit best and so misaligned the rods a bit. The vertical support for the back and front wall helped a lot, perhaps next time also proper edges would have to maintain the right angles consistently. While building, Cyprian changed his mind, and meant that the agreed plan for the supporting ceiling structure needs to be changed - which meant a slightly higher ceiling, and some spaces which required bushels of straw to fill - so I agreed with the idea, as it meant additional 5cm ceiling height, yet, some lose straw required to fill the gaps. Again, we started around 13:00 and finished 17:15, and covered all with a big PVC cover again. All day long we had fog, just after 17:30 I could briefly see dark blue sky the fog barely vanishing.
 2014/11/22 13:05 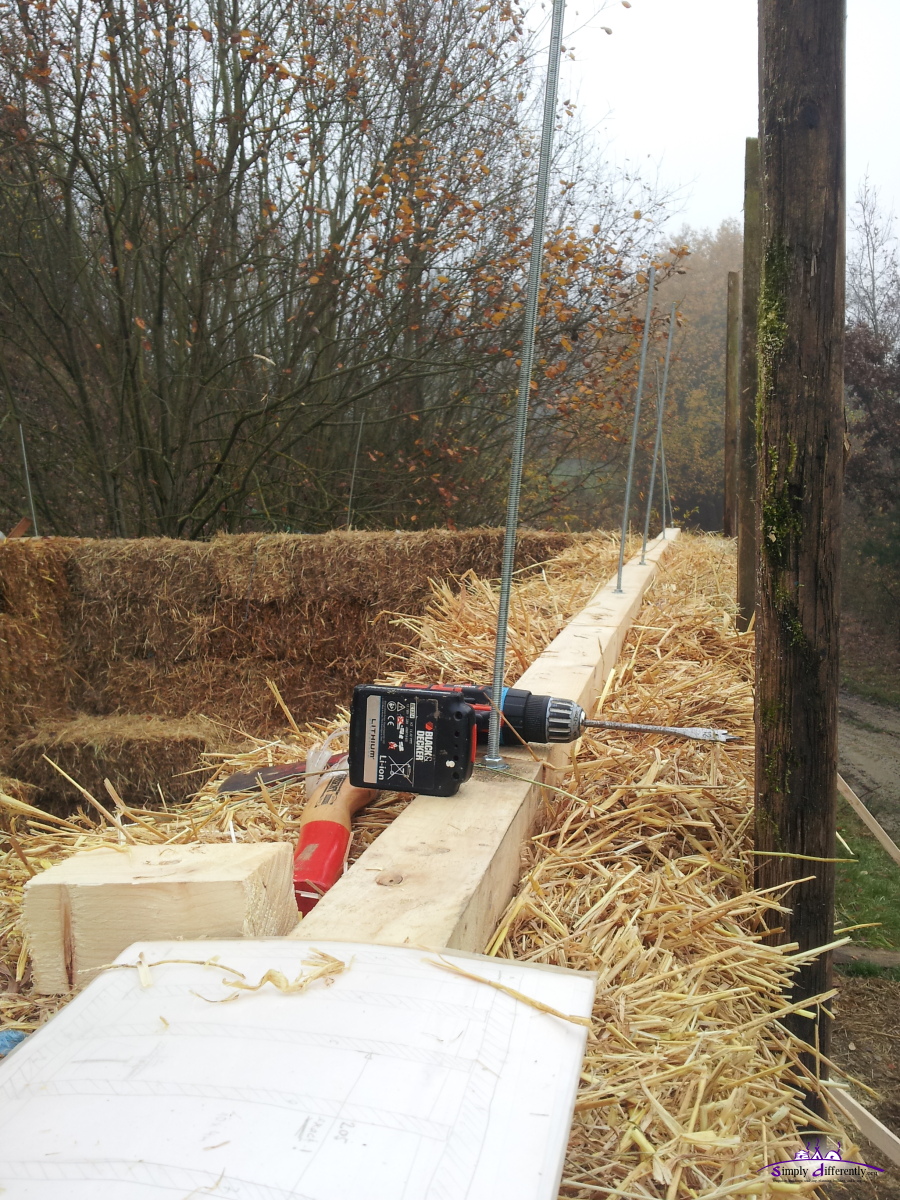 Realign the compression beam, realign the windows properly 2014/11/22 13:54 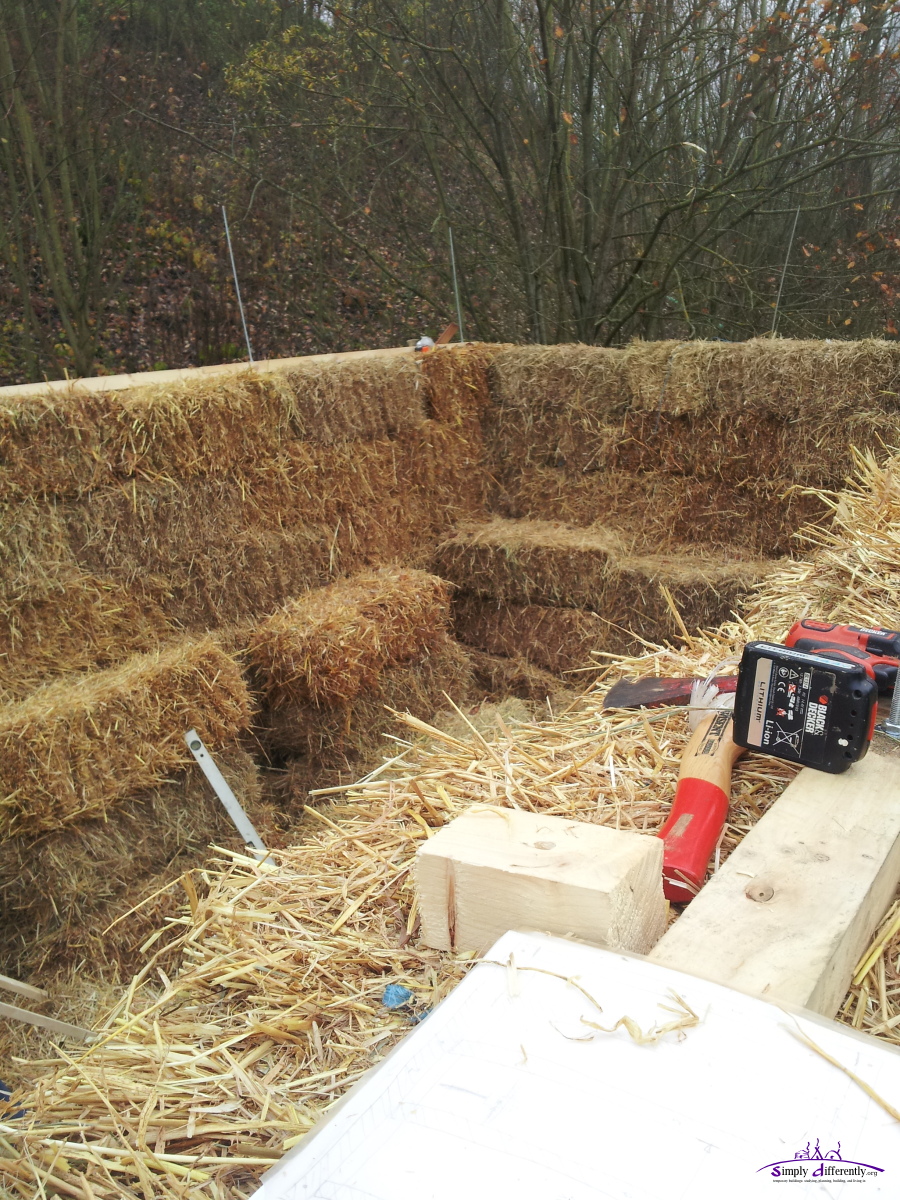 2014/11/22 13:55 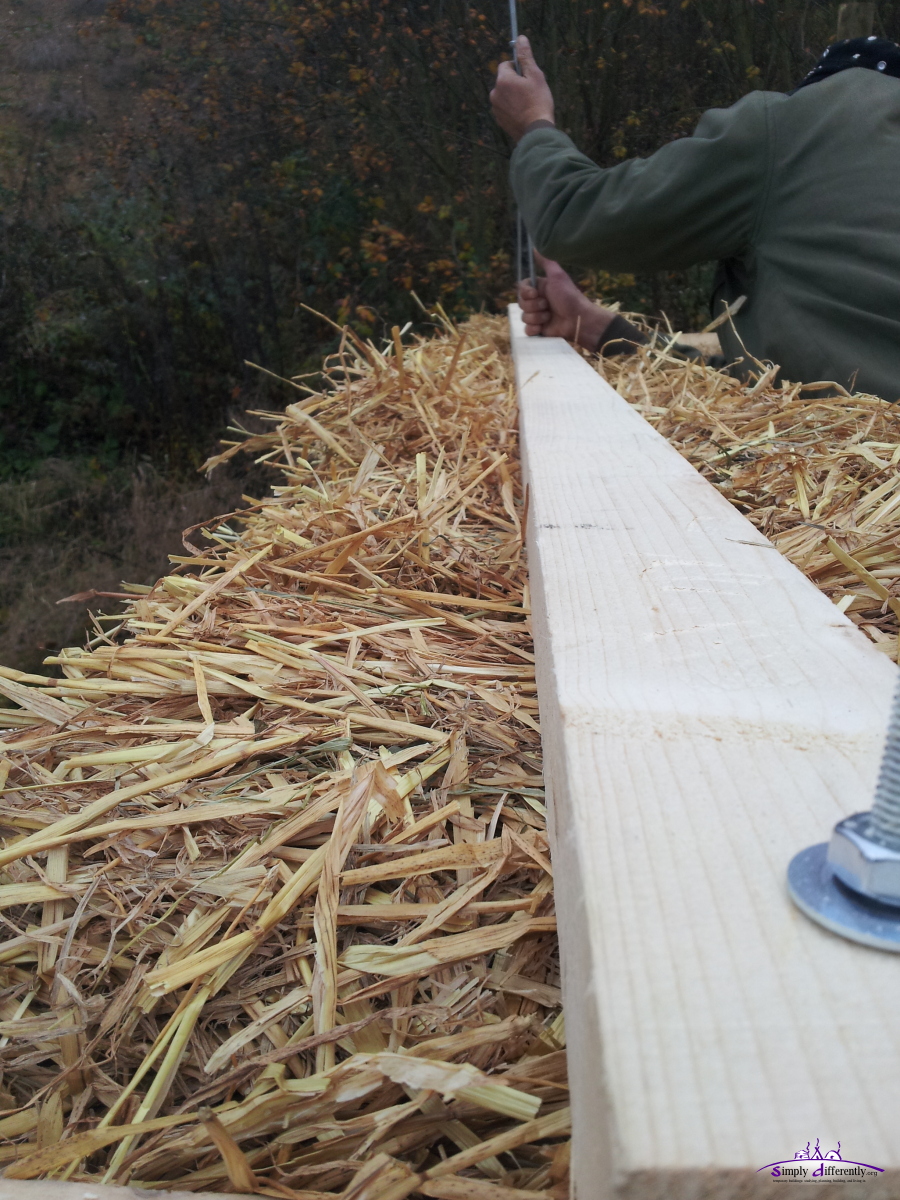 2014/11/22 13:55  Line up the supporting beams for the ceiling 2014/11/22 14:59 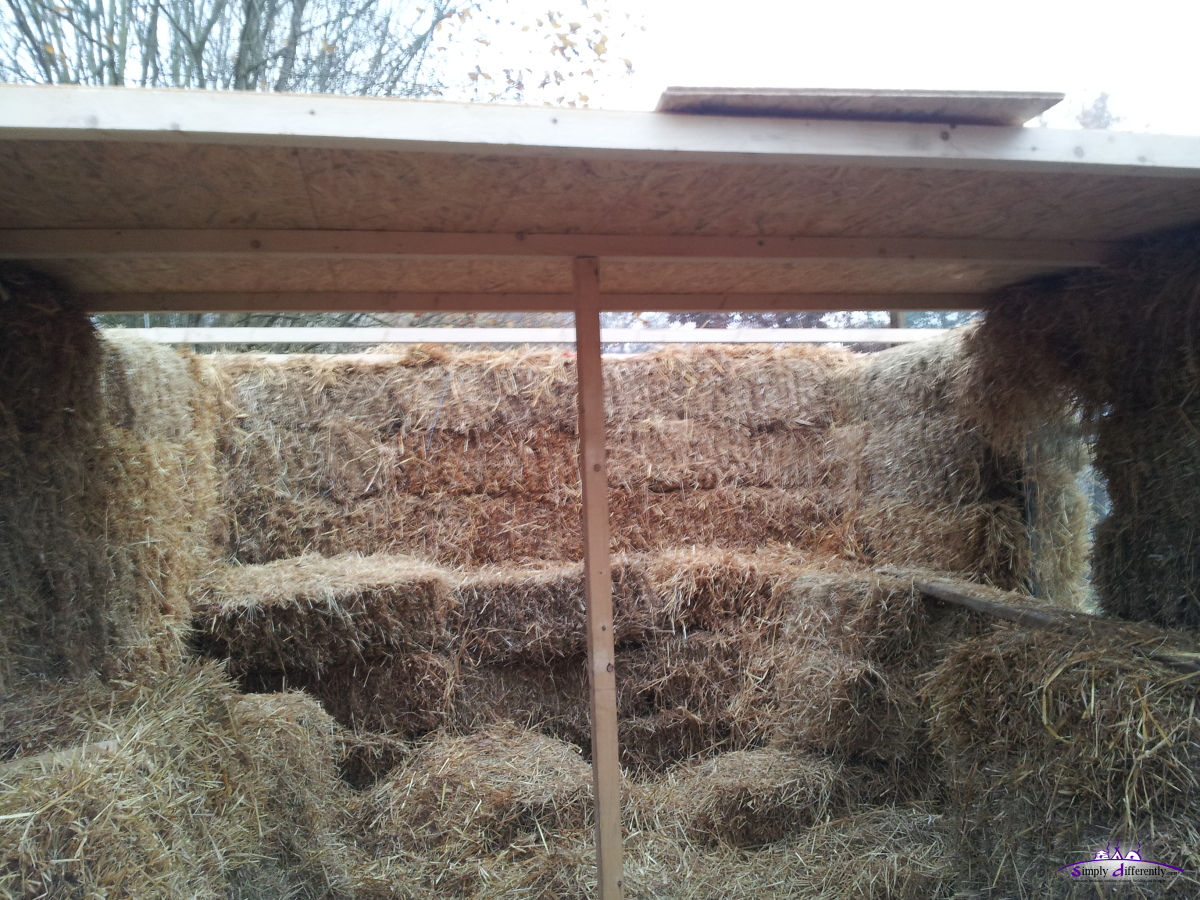 Composing the ceiling with 18 x 2.05m x 0.675m x 12mm OSBs 2014/11/22 16:19 Tomorrow I work alone again, and likely prepare things so Monday the external part of the cabin is finished - it took much longer than anticipated, mainly because small details which show up during the construction needed to be addressed and good solution to be developed. I definitely benefit from the expertise of the two helpers in regards raising the walls. 2014/11/21: Finishing the Walls
My helpers are only available in the afternoon, and there was a bit rain in the afternoon, which slowed down the work today, but we succeeded to finish the wall, and put the final wood at the back and front to compress the 2 long walls.
I didn't photograph the final state of today as it was already dark - so far the insulation above the windows are done as well.
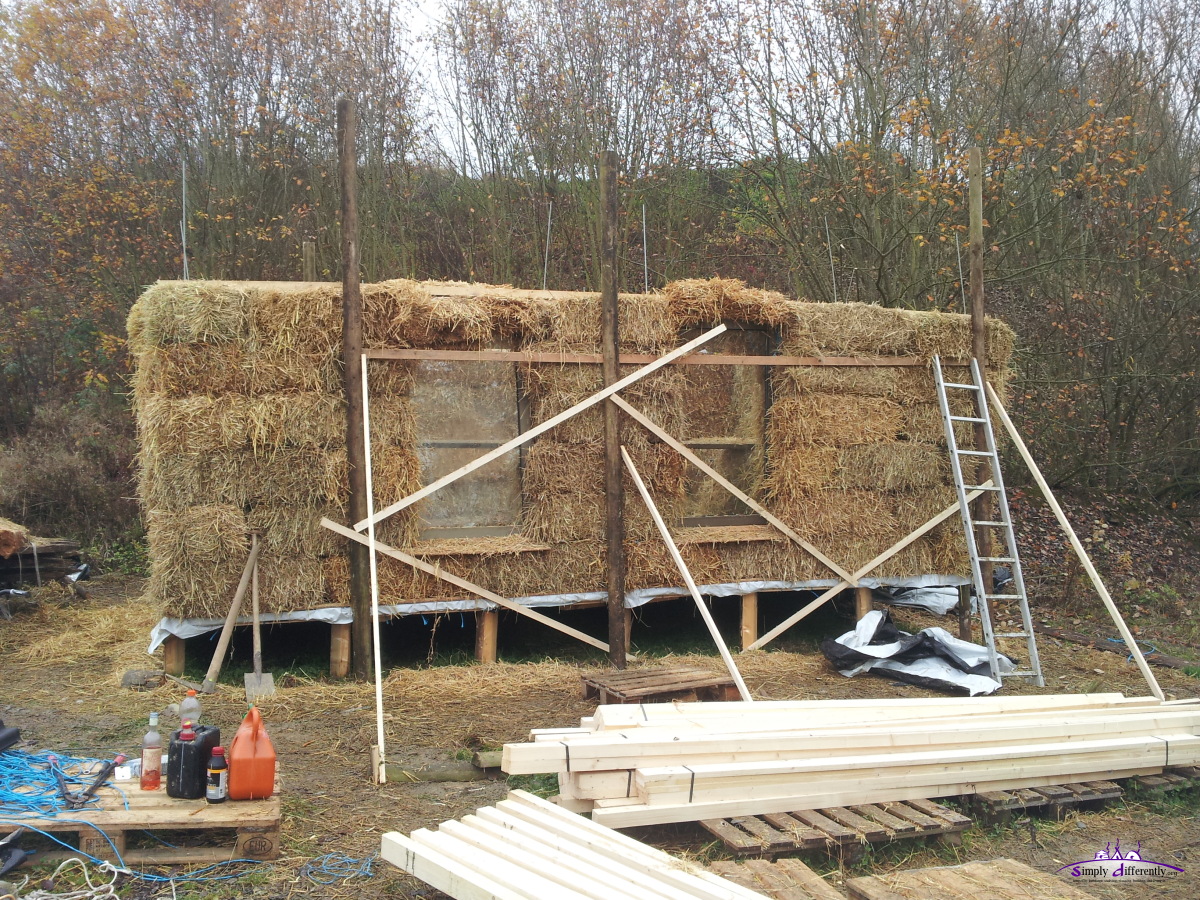
 6 layers of the back-side done 2014/11/21 14:30 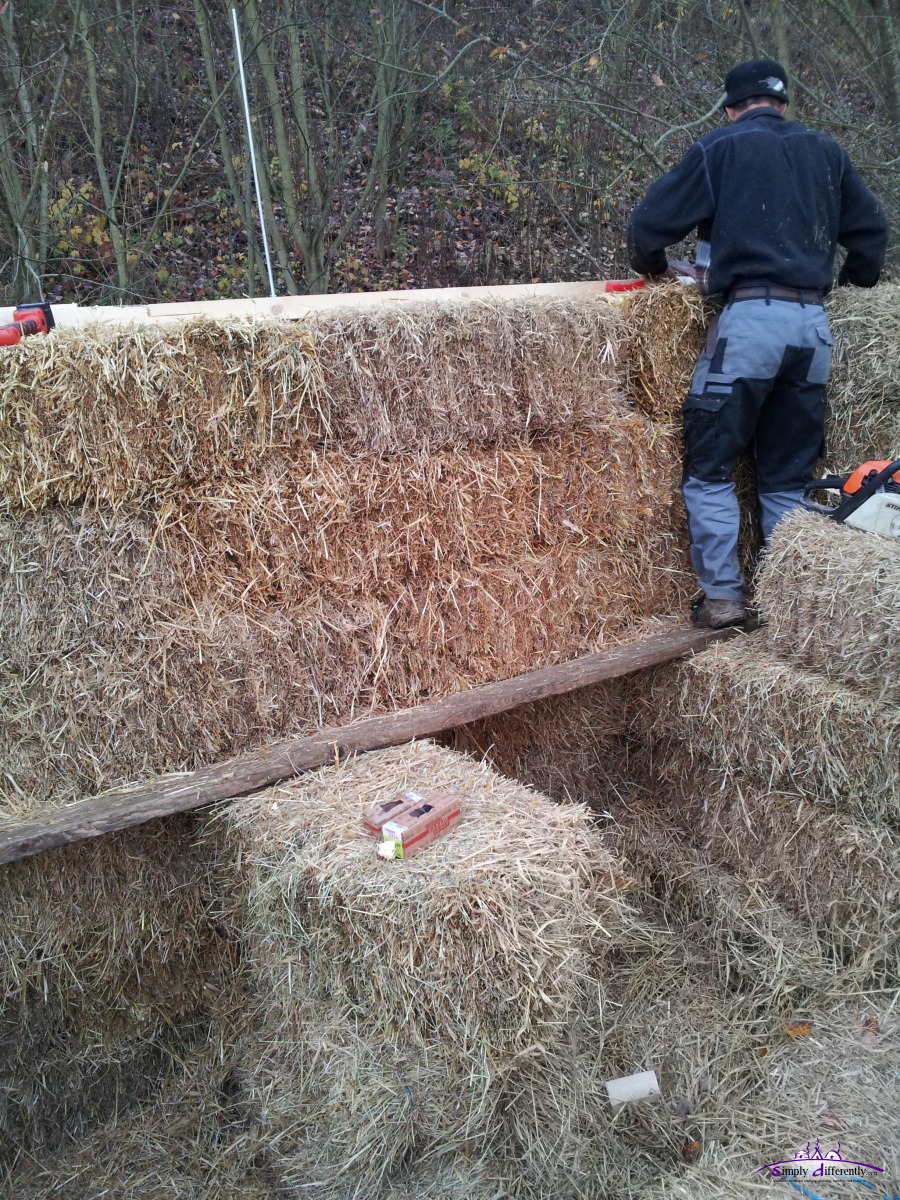 4m + 2.20m wood (7.8cm x 4.8cm) compressing the 6m long back-side wall 2014/11/21 15:50 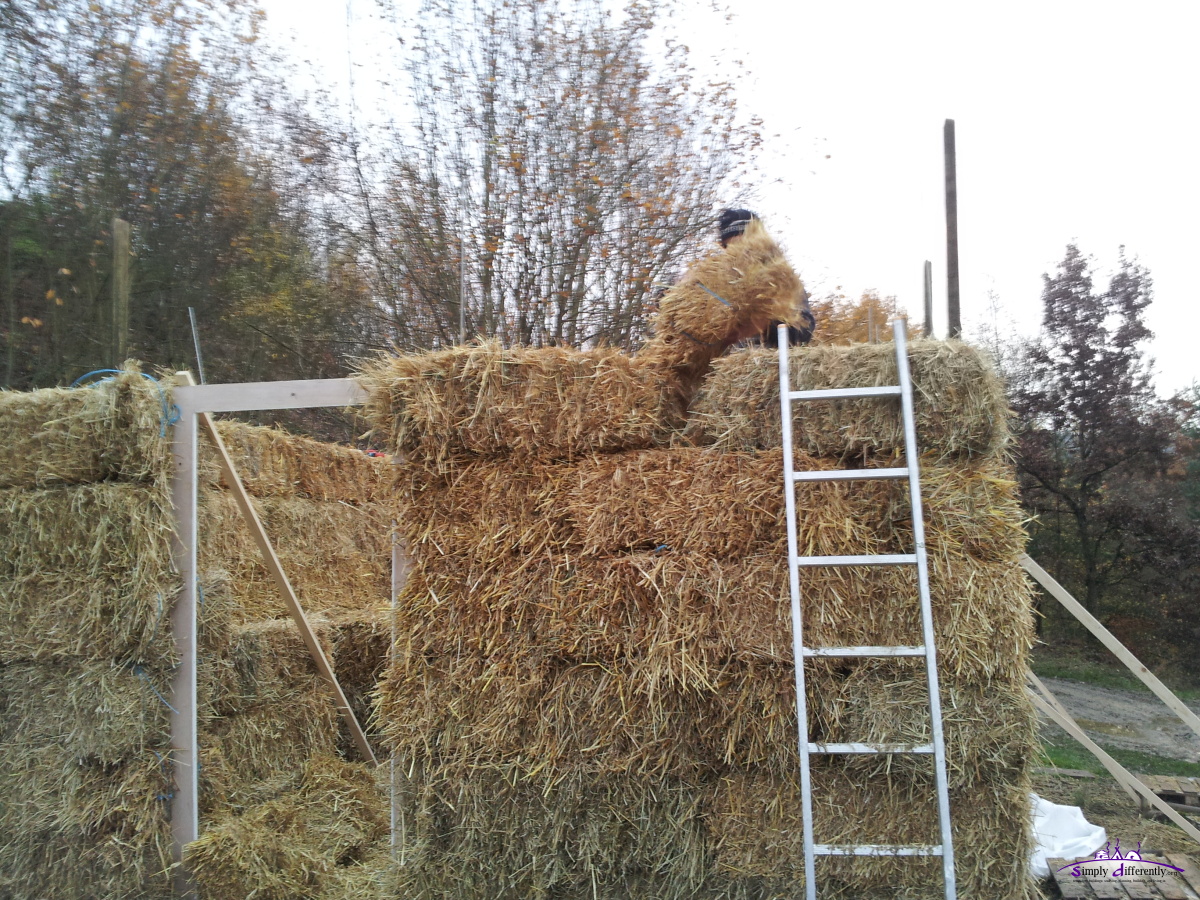 Last partial bale inserted (1) 2014/11/21 16:30 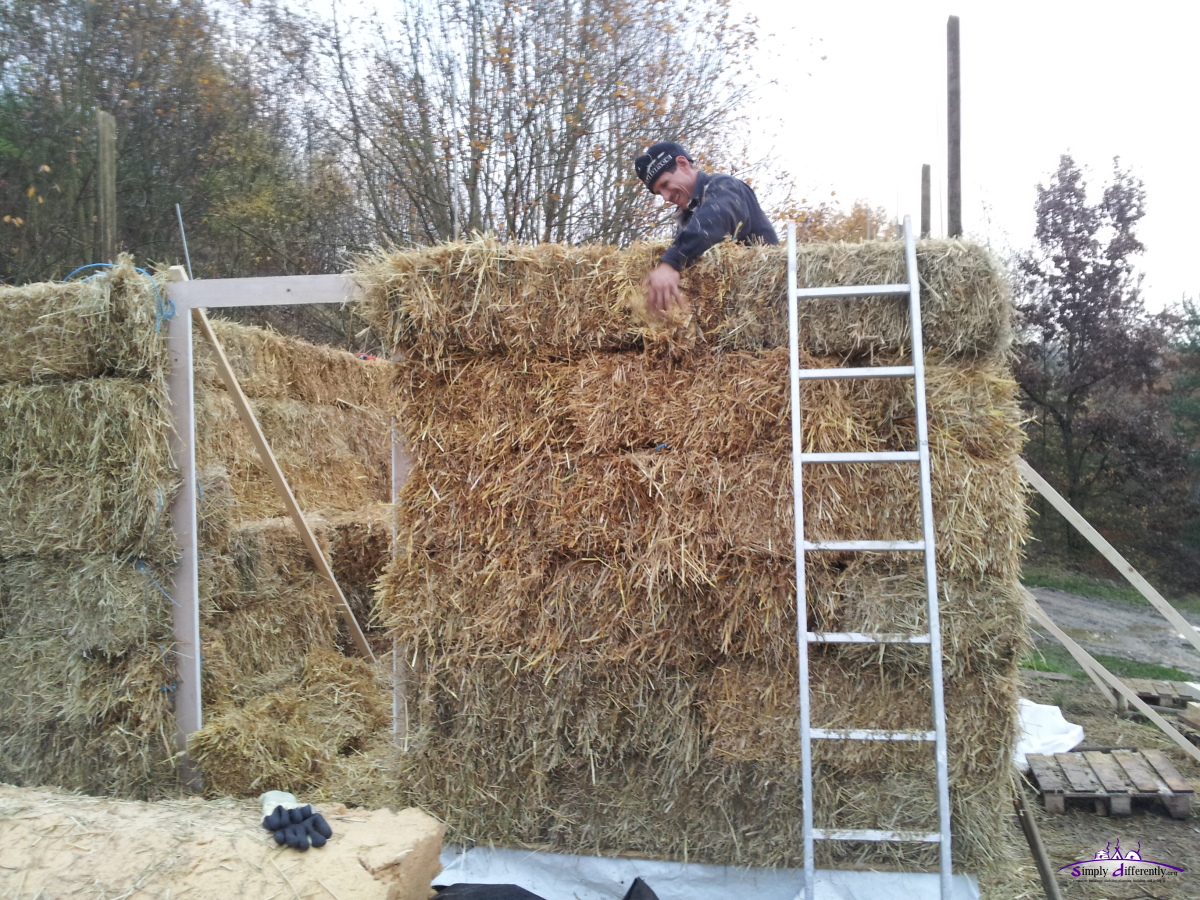 Last partial bale inserted (2) 2014/11/21 16:30 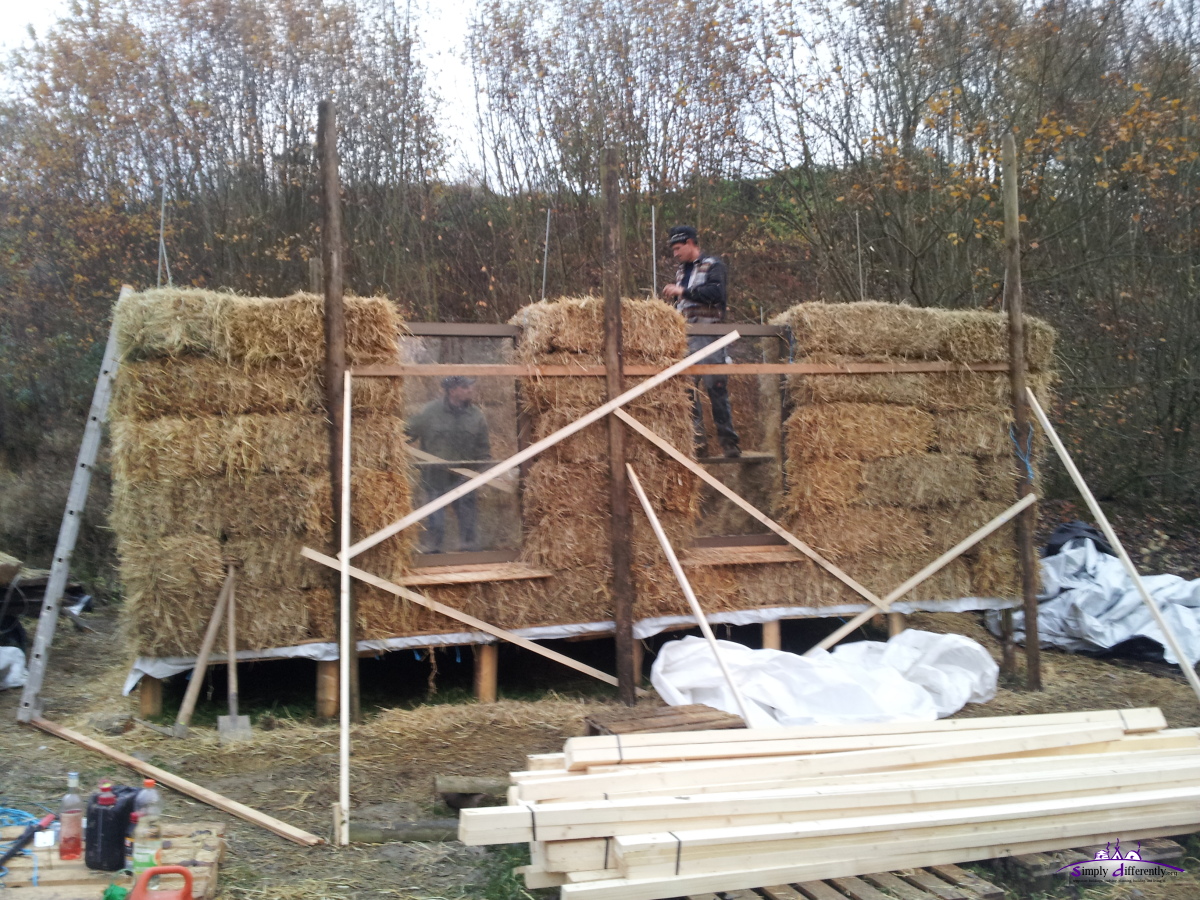 Working on front-side wall, finishing insulation above the windows 2014/11/21 16:31 Tonight some possibility of brief rain exist, so I covered the entire structure with several PVC canvas. I expect the ceiling to be done by tomorrow evening, and Sunday I likely work alone for the roof. By Monday evening I expect the cabin to be finished externally. 2014/11/20: Continue Building the WallsToday we did continue raising the walls, finishing the first bottom 4 layers and compress them with 4.8cm x 2.4cm laths. Cutting a small ridge so the laths sink well into the bales, so the 5th layer lays properly on the 4th and the lath is well embedded - without the ridge the lath would introduce instability for the next layer. In other to continue layer 5, Cyprian decided to mount vertical support laths, so the next layers properly align vertically - they will be taken away once the wall is finished and the ceiling is mounted. Also, the two heavy windows we mounted, rather jammed between the bales with threaded rods near by, and I used two wodden pins and hammered them into the bales, which worked quite well.
 Tighten first 4 layers of the wall (1) 2014/11/20 14:07  Tighten first 4 layers of the wall (2) 2014/11/20 14:08 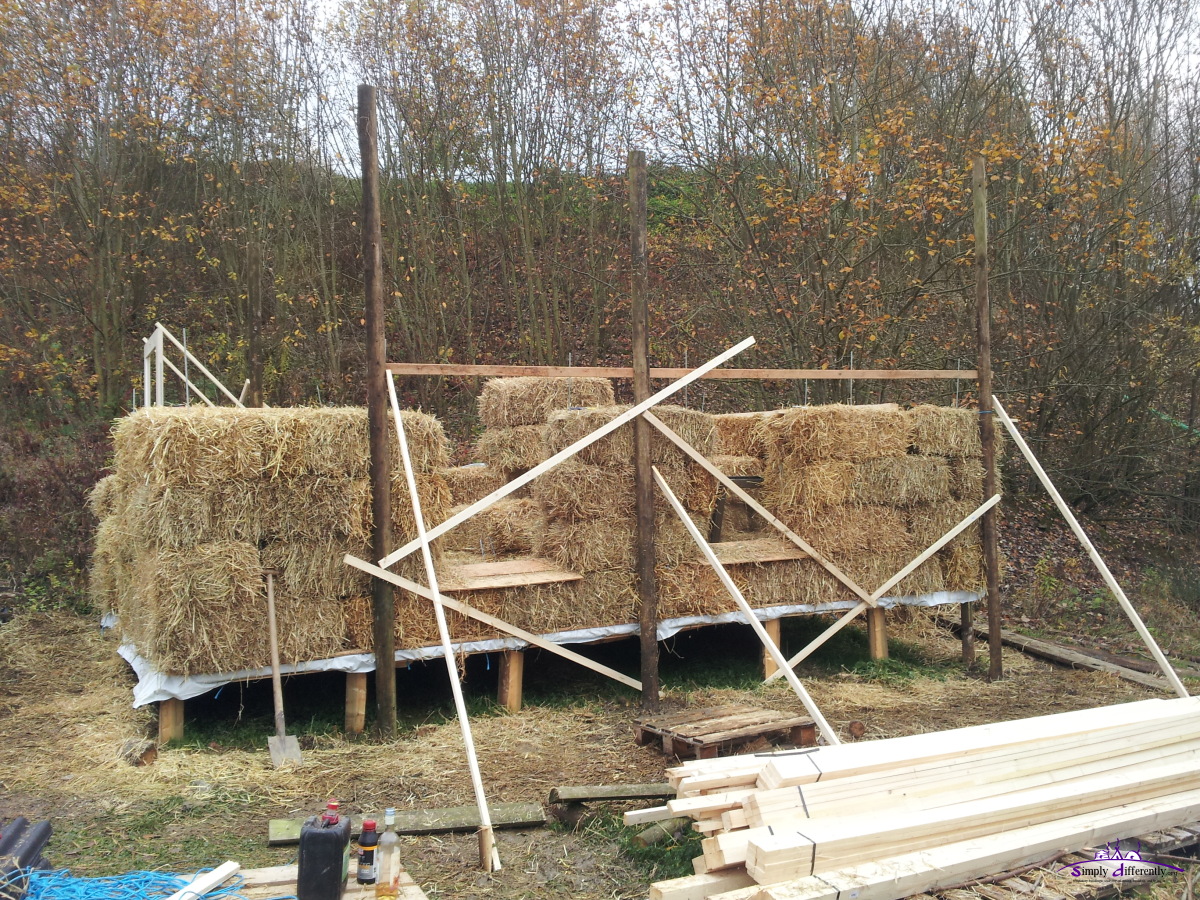 Vertical support (front & back) 2014/11/20 15:07 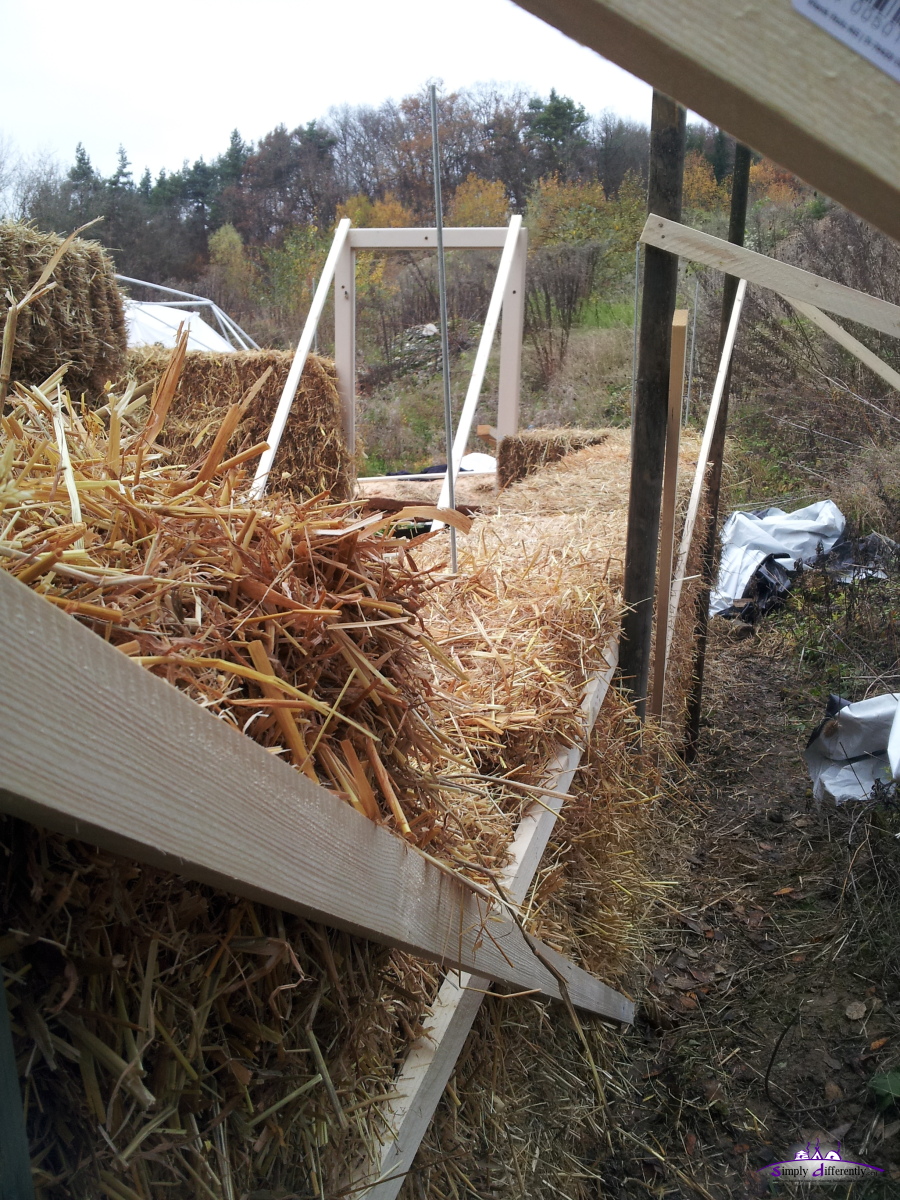 2014/11/20 15:22 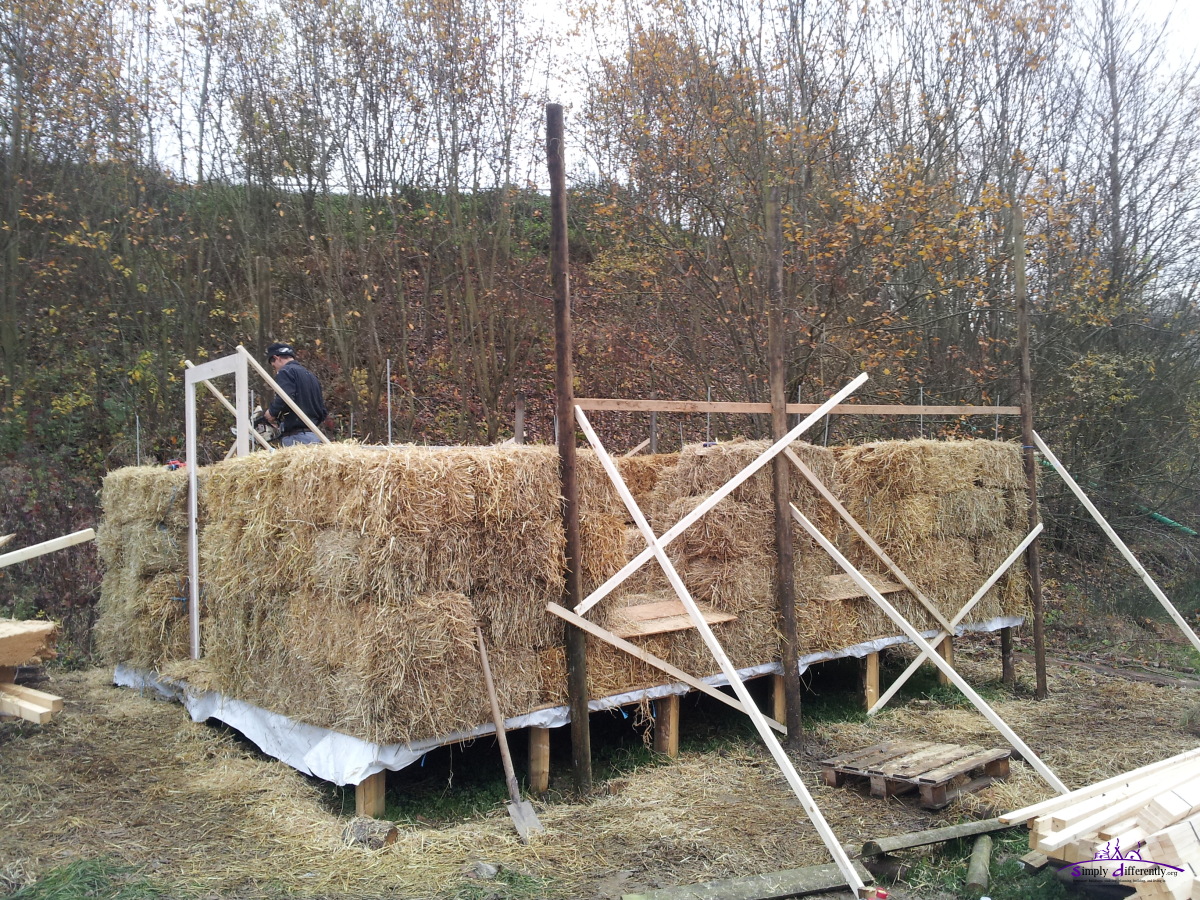 2014/11/20 15:44  Cut a ridge with the motorsaw into the bales, for the strut which compress the 4 layers 2014/11/20 15:46 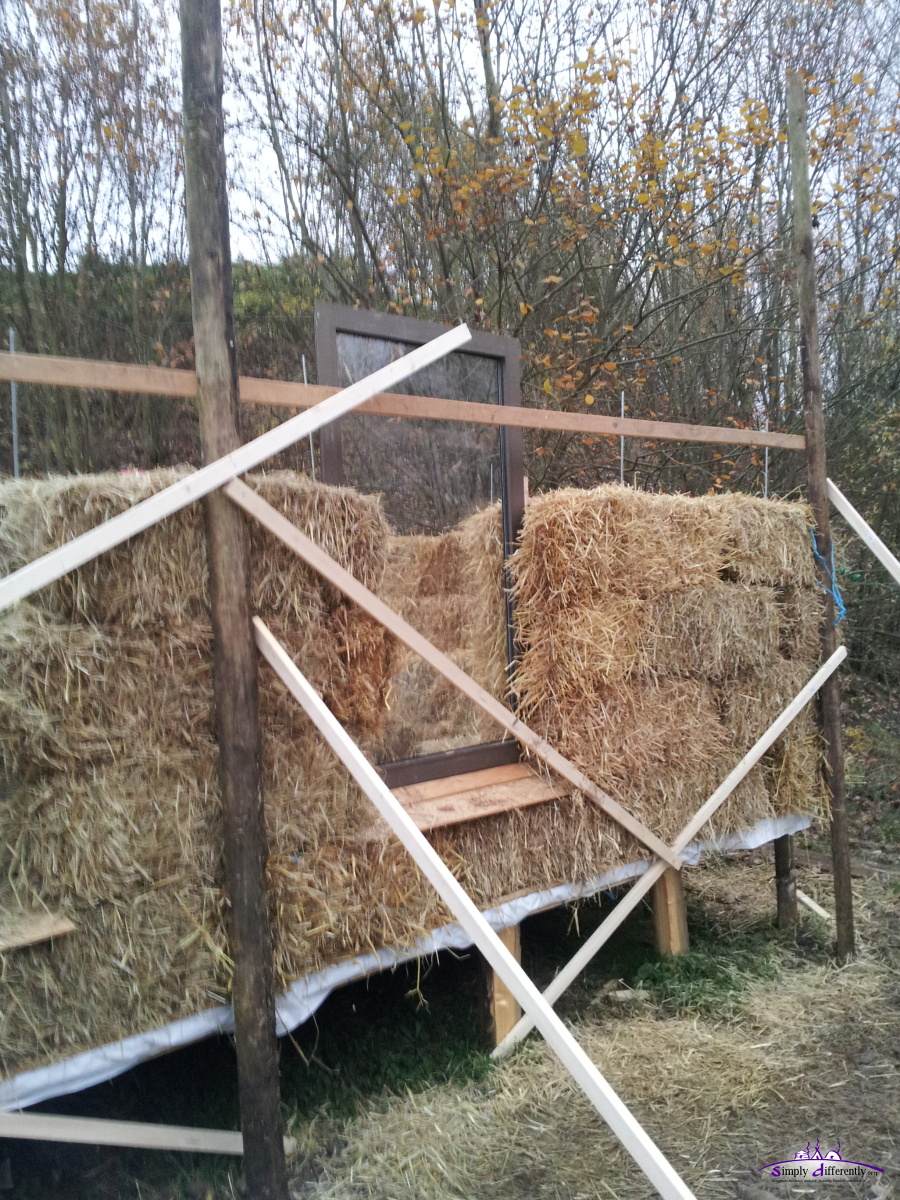 Putting in the window (not openable) 2014/11/20 16:40 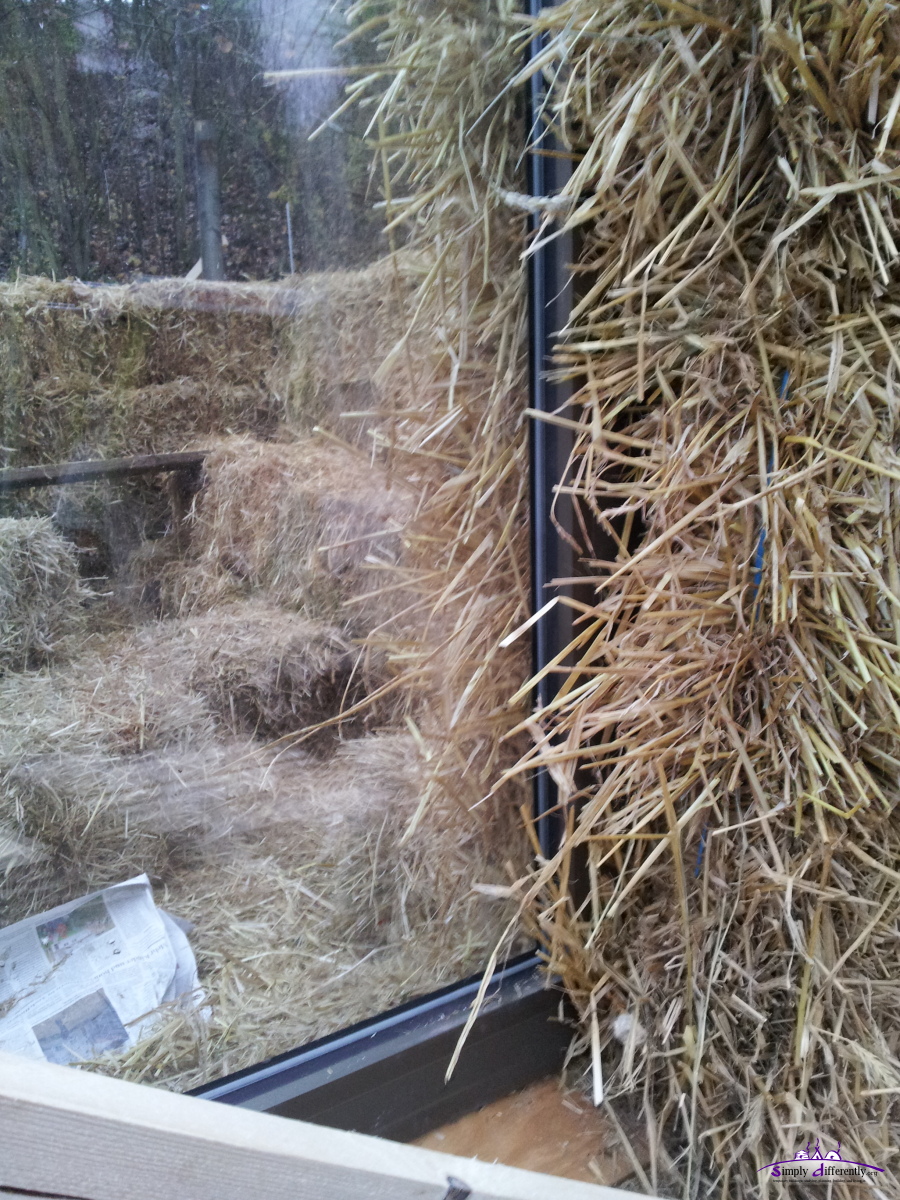 Using wooden pin (25-30cm long) to fixate window near the bottom 2014/11/20 16:40 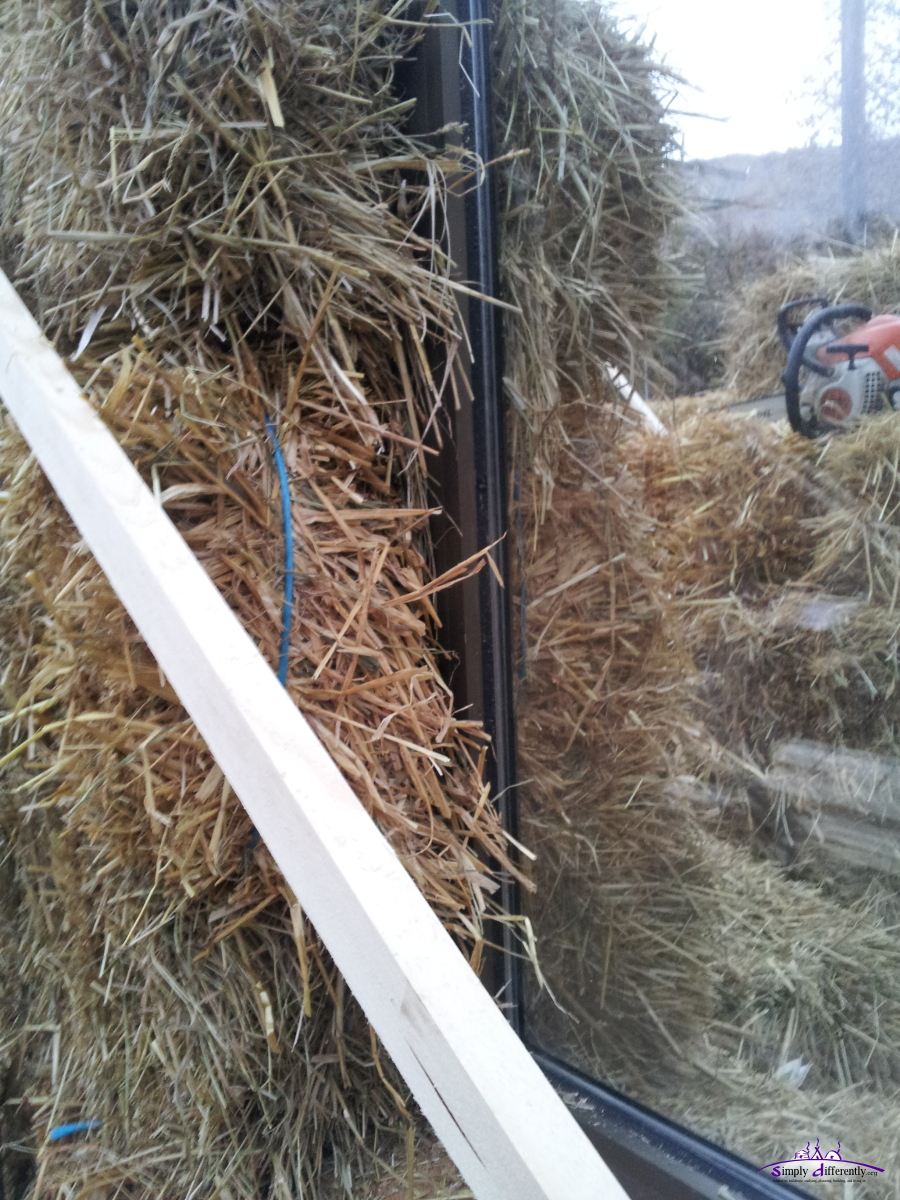 2014/11/20 16:40 Compressing the 4 layers together took quite some, as the bottom layers needed to be align quite well so the overall walls remain stable. Once the 4 layers were compressed, it took just 30mins to mount the 5th layers (no photos as it was already too dark). In other words, once you have a good start of the wall, actually positioning the bales goes rather quickly. The door and windows yet demand 1/2 or 1/3 or custom sized bales, which take some time. Since the bales aren't precise, one has to bind the custom bales on site and on demand. Also, a small note, the corners are very stable, they won't tilt even an centimeter when pushing them any way, whereas the wall between the windows is quite wobbly, as well the 6m long wall at the back. The expectation that once the ceiling is mounted, the stiff structure which allows to mount the ceiling, gives the overall cabin more stability, in particular the parts which are still a bit wobbly - we will see. Tomorrow overcast with brief rain is possible, which poses some risk while raising the wall and have the bales exposed. I have to quickly respond cover the entire structure with a cover. 2014/11/19: After Rainy Days, Starting Strawbale Walls
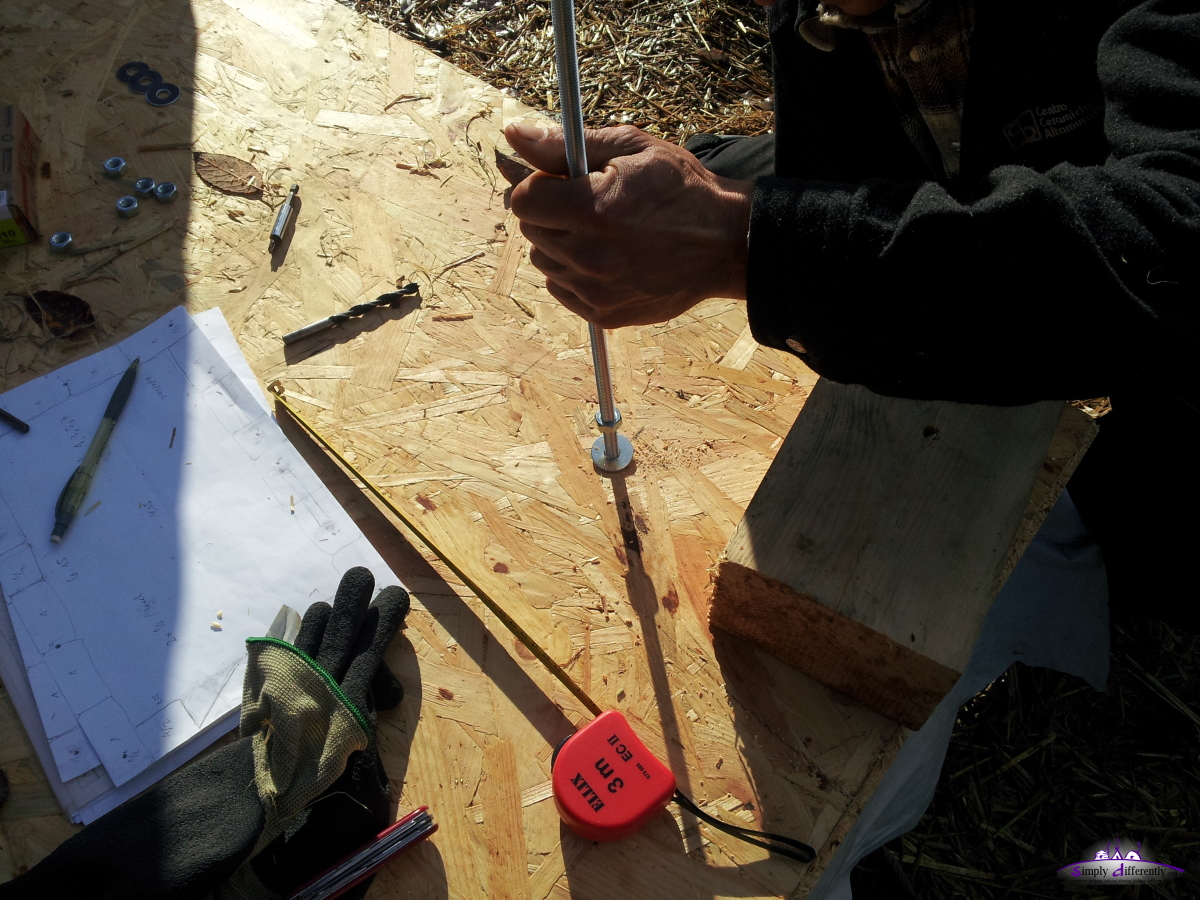 First corner M10 threaded rod (25cm / 25cm from the edge) 2014/11/19 13:15 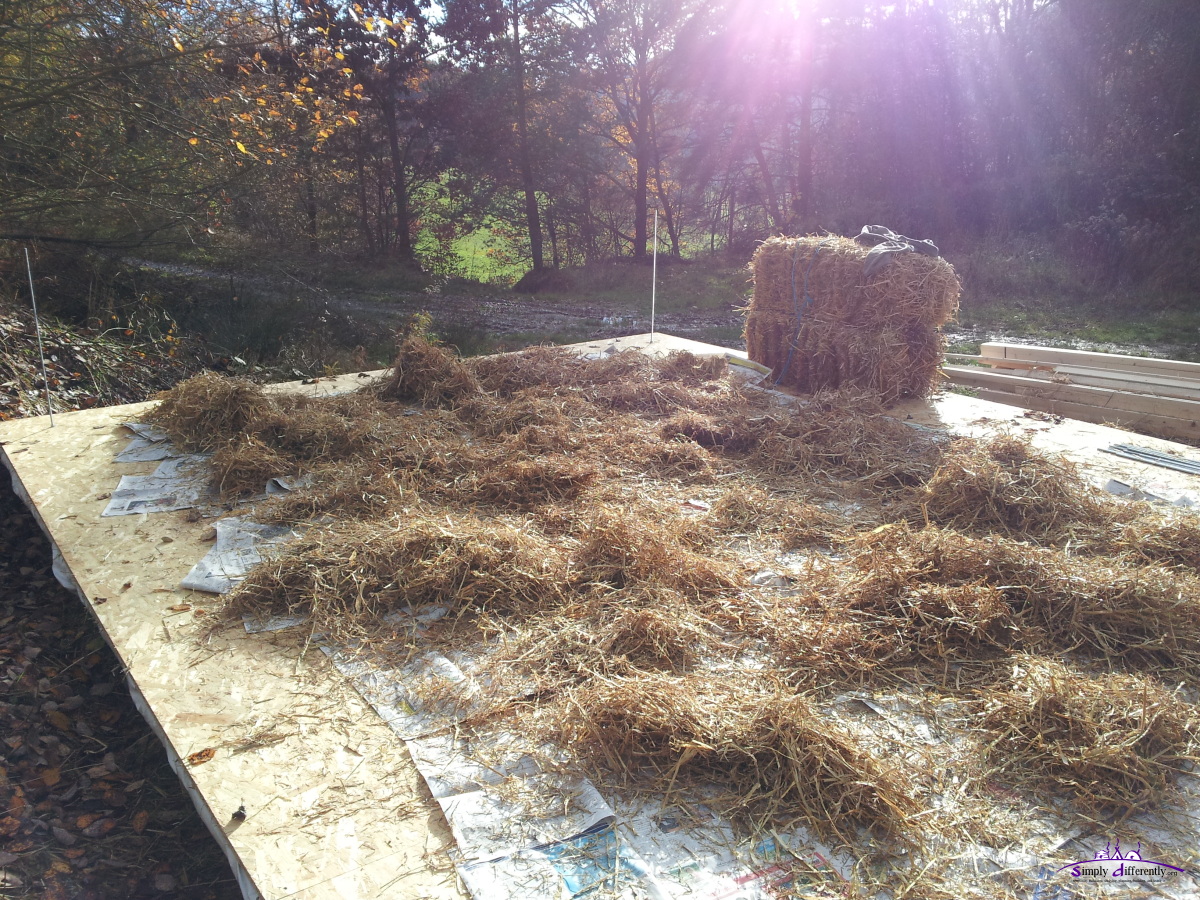 Covering the inside with newspaper and straw on the floor, to protect the floor while construction 2014/11/19 13:53 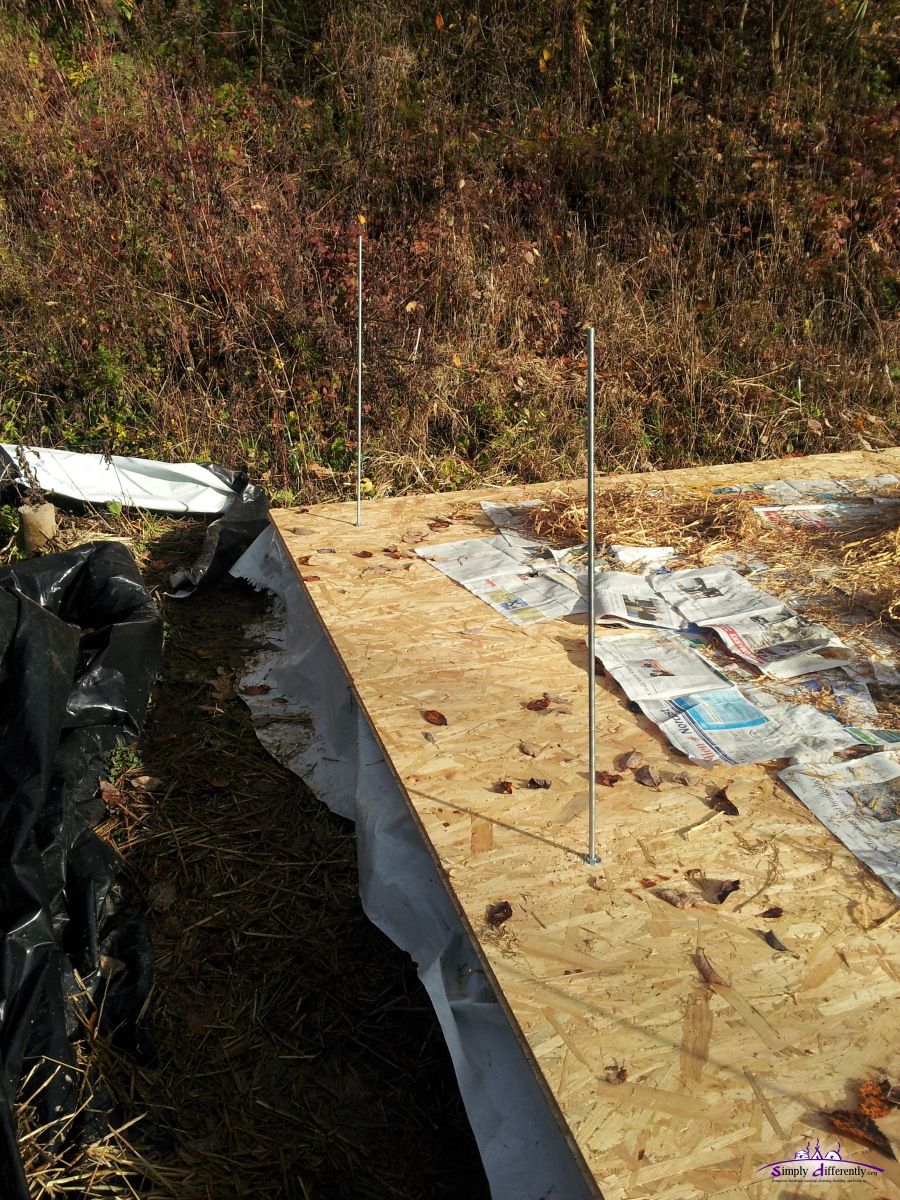 Preparing first strawbale 2014/11/19 14:02  First corner strawbale 2014/11/19 14:29 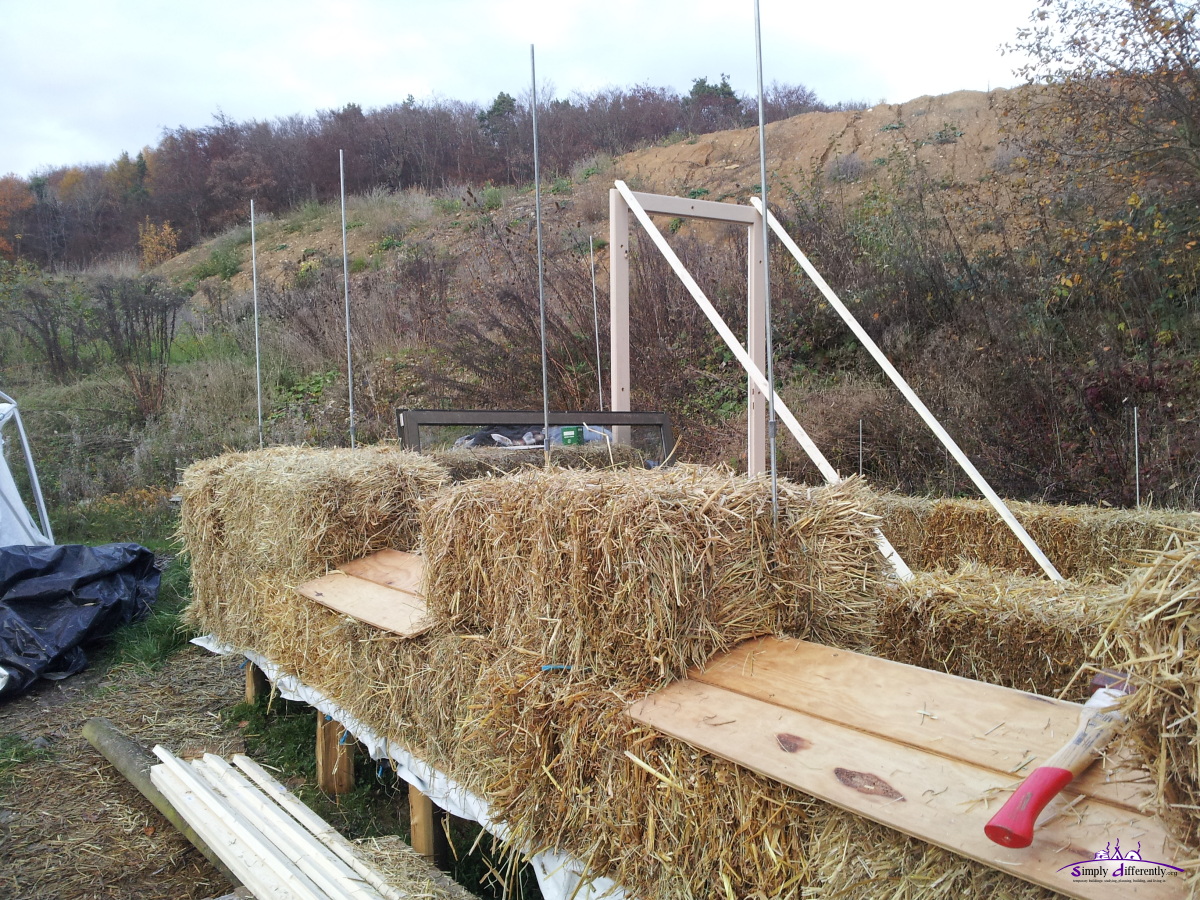 Proceeding quickly, two layers done, preparing window water slide away 2014/11/19 16:03 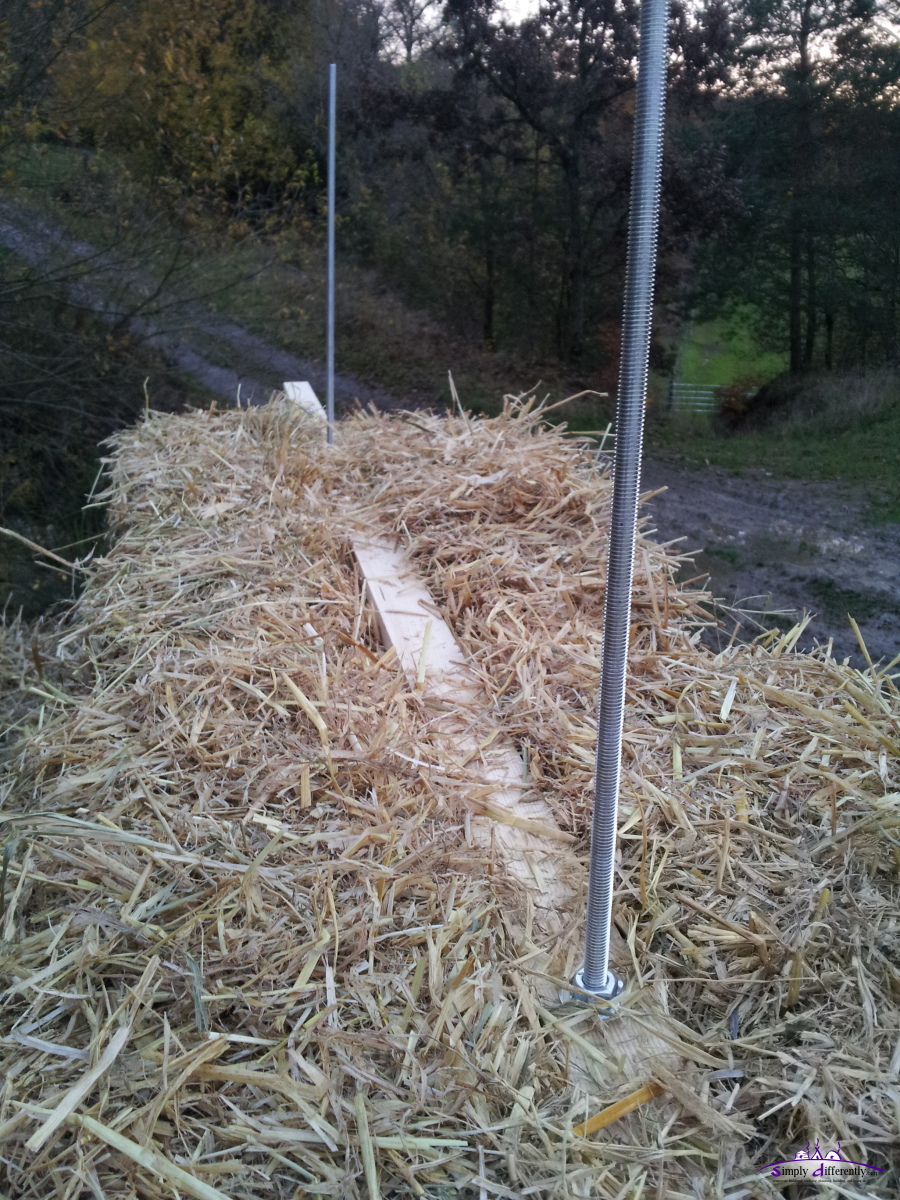 Threaded rods to use with 4.8cm x 2.4cm lath and with M10 nut compress the first 4 layers at the window section 2014/11/19 16:46 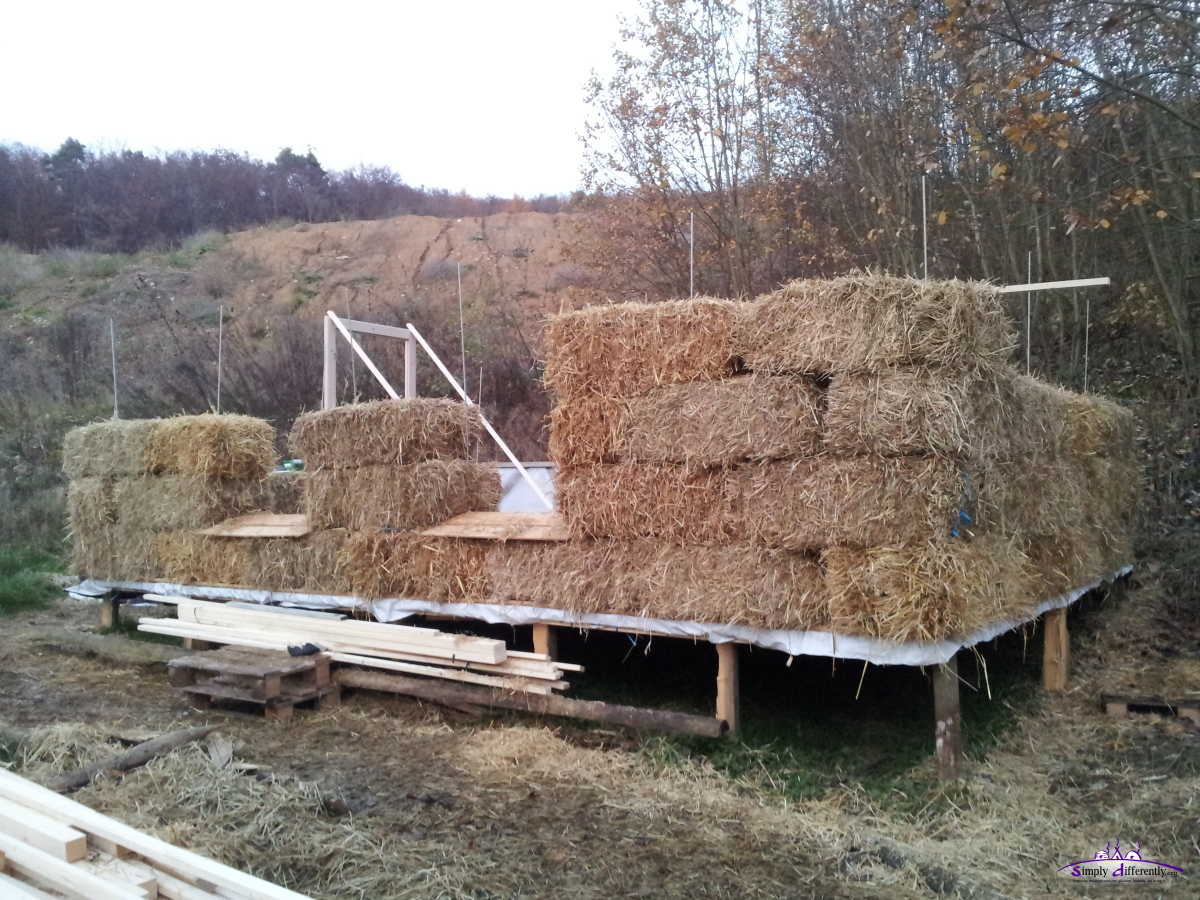 Done for today, 4 hours work 2014/11/19 16:55  2014/11/19 16:55 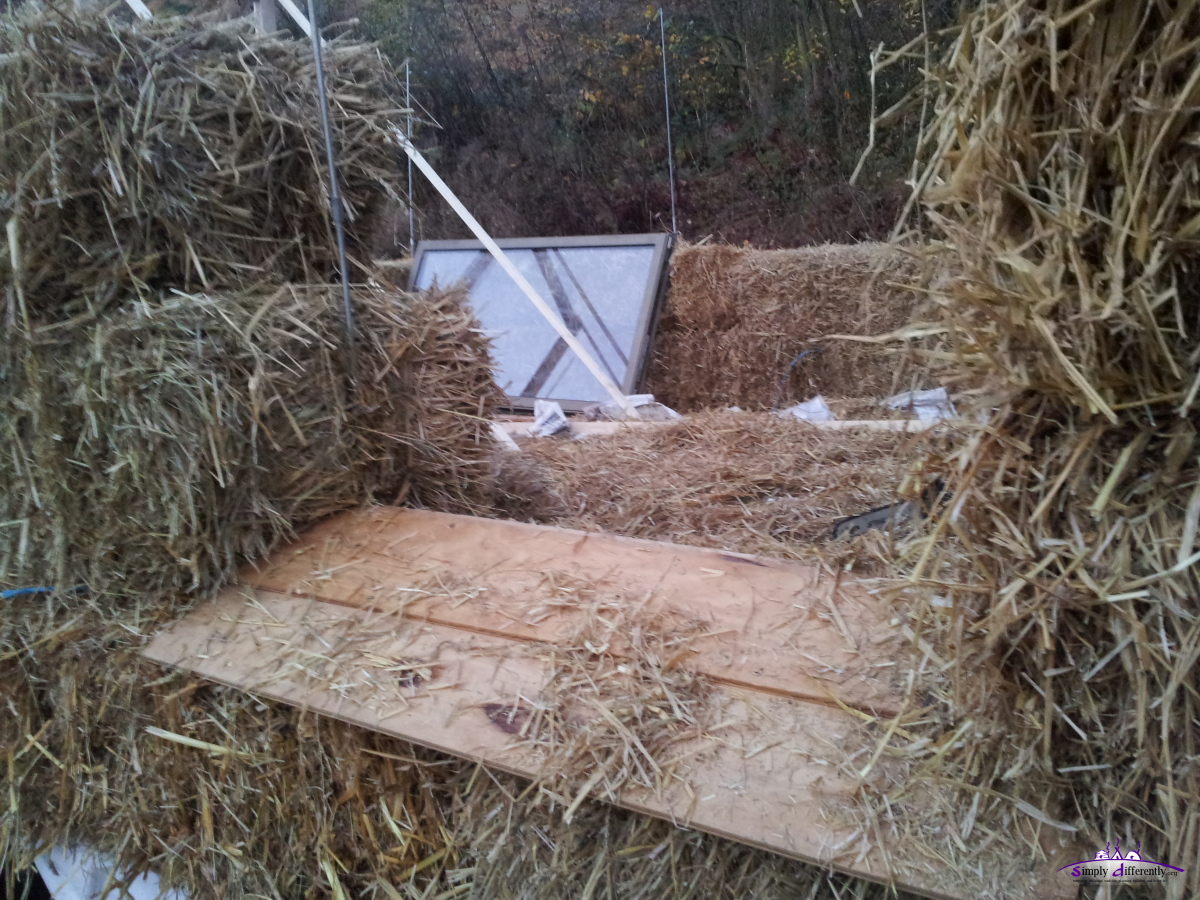 Detail of water slide away 2014/11/19 16:55 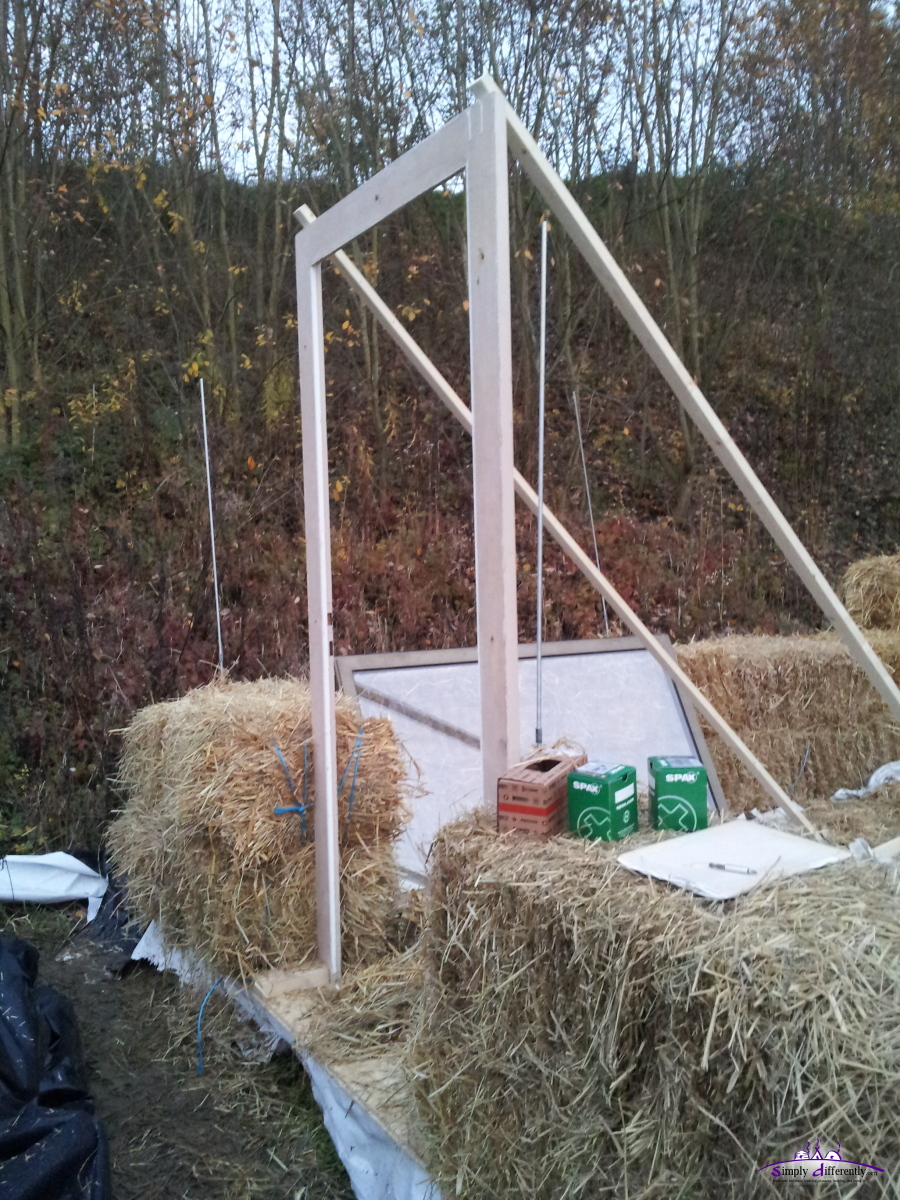 Door frame 2014/11/19 16:56 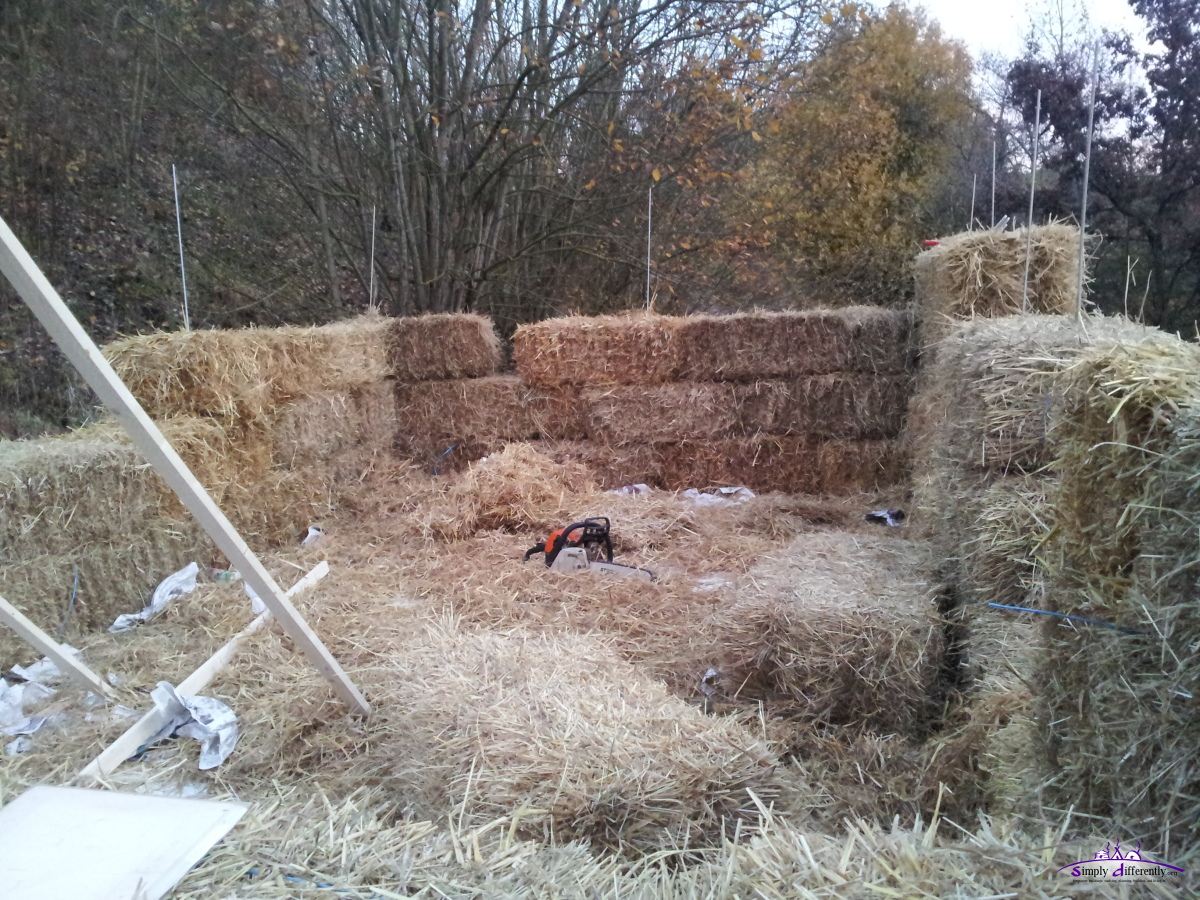 2014/11/19 16:56 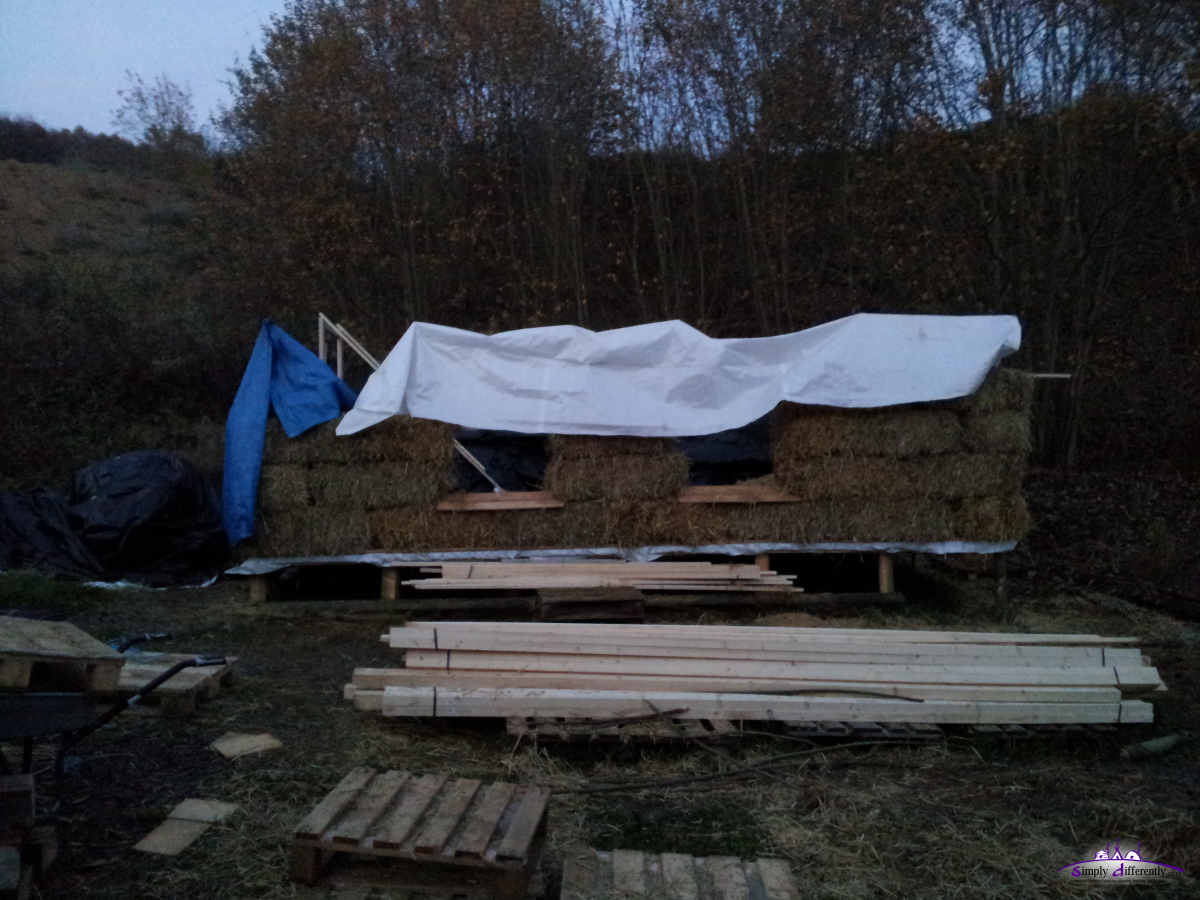 Covering work for the night, humidity falls and tomorrow fog expected all day 2014/11/19 17:06 Sunny afternoon was pleasant, it warmed up and I started to work in the t-shirt only - around 16:00 the sun set behind the small mountain ridge and it began to cool off quickly. Around 17:00 we stopped as it quickly darkened. The next days are expected with no rain but fog, and likely no direct sunlight reaching the ground. Content:
|


| Home | · | About | · |  Tipi | · |  Yurt | · |  Dome | · | Features | · | Gallery |


Creative Commons (CC) BY-SA-NC 2005-2017, developed, designed and written by René K. Müller
Graphics & illustrations made with Inkscape, Tgif, Gimp, PovRay, GD.pm
Web-Site powered by FreeBSD & Debian/Linux - 100% Open Source