
|
Yurt Notes & Calculatorwritten by Rene K. Mueller, Copyright (c) 2005, 2006, 2008, last updated Sun, September 22, 2013 Erect the YurtHere a brief description how to erect a yurt: Preparing the Ground
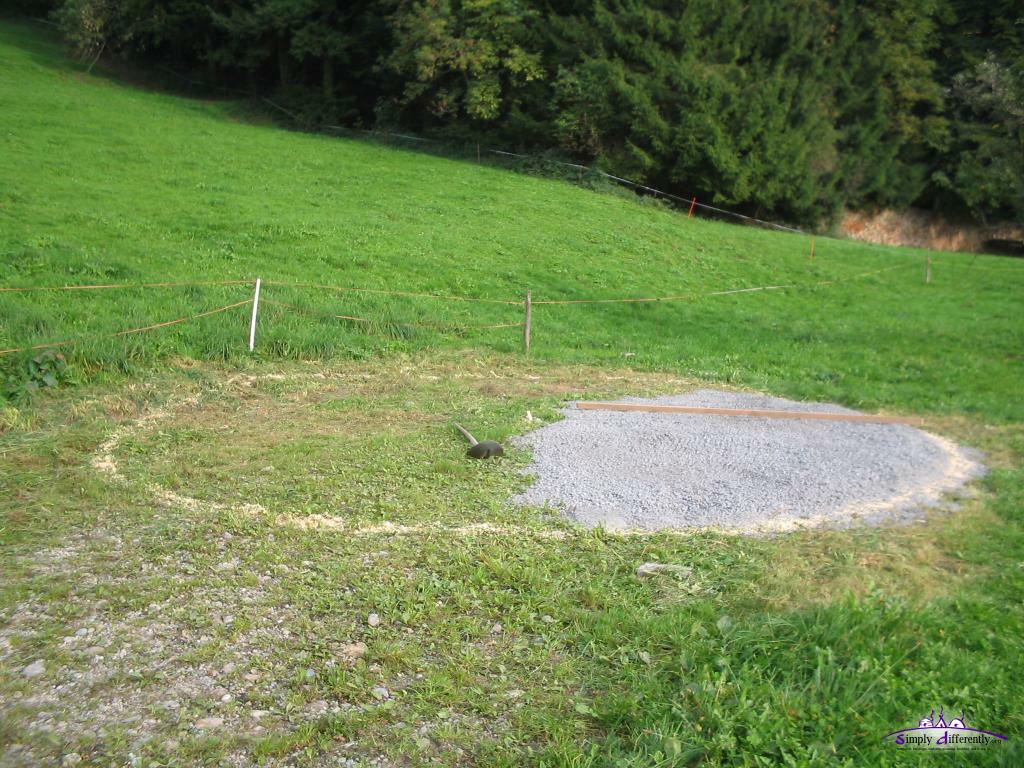
As next use a small stick to define the center of yurt, use d/2 as radius for a cord which at the end you have a marker, and then walk around the circle to mark the circle to the ground.
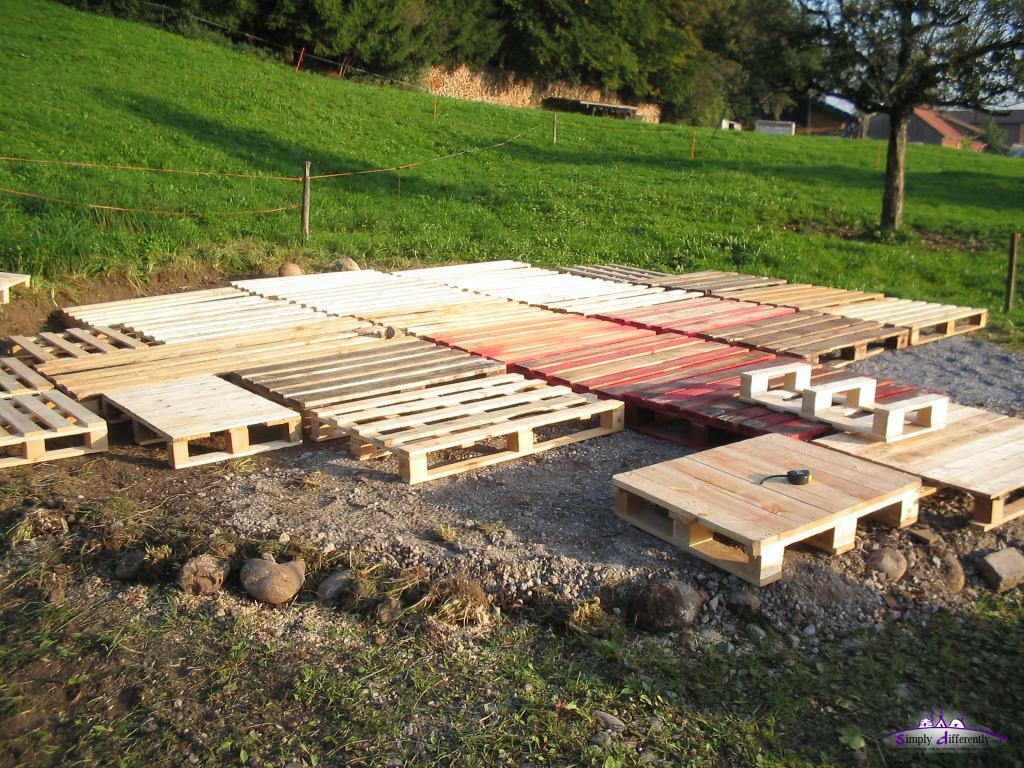
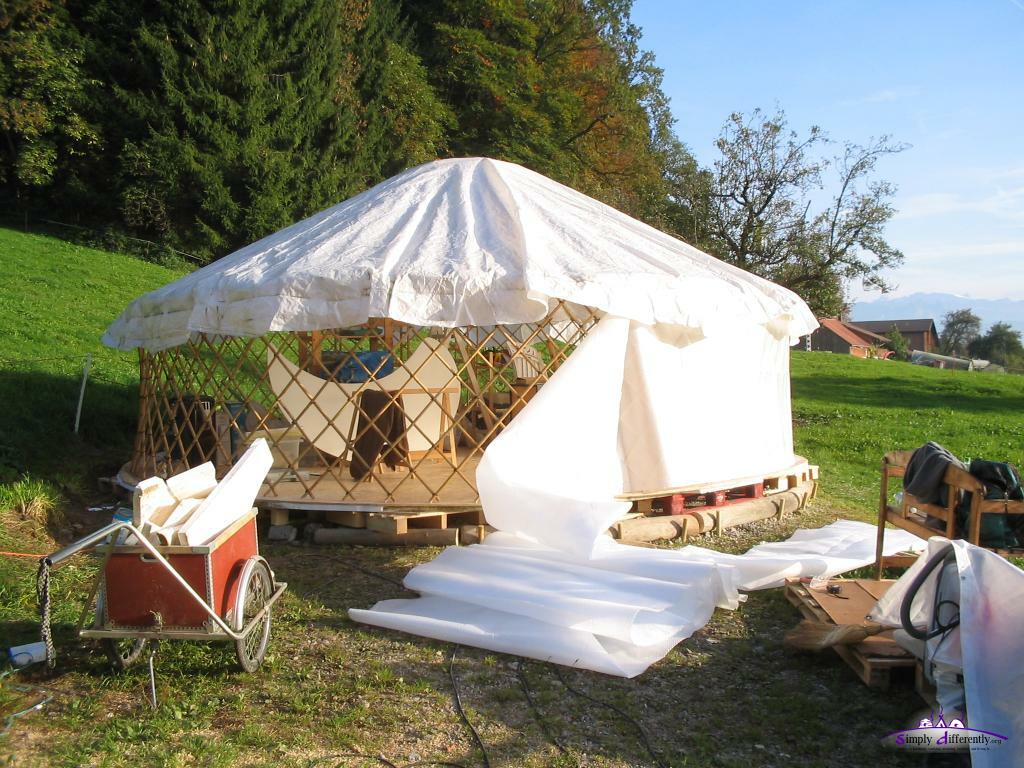
FloorPut up the floor, have it 10-15cm larger than the marked circle, but not more, the reasons:
 2006/10/12 17:25 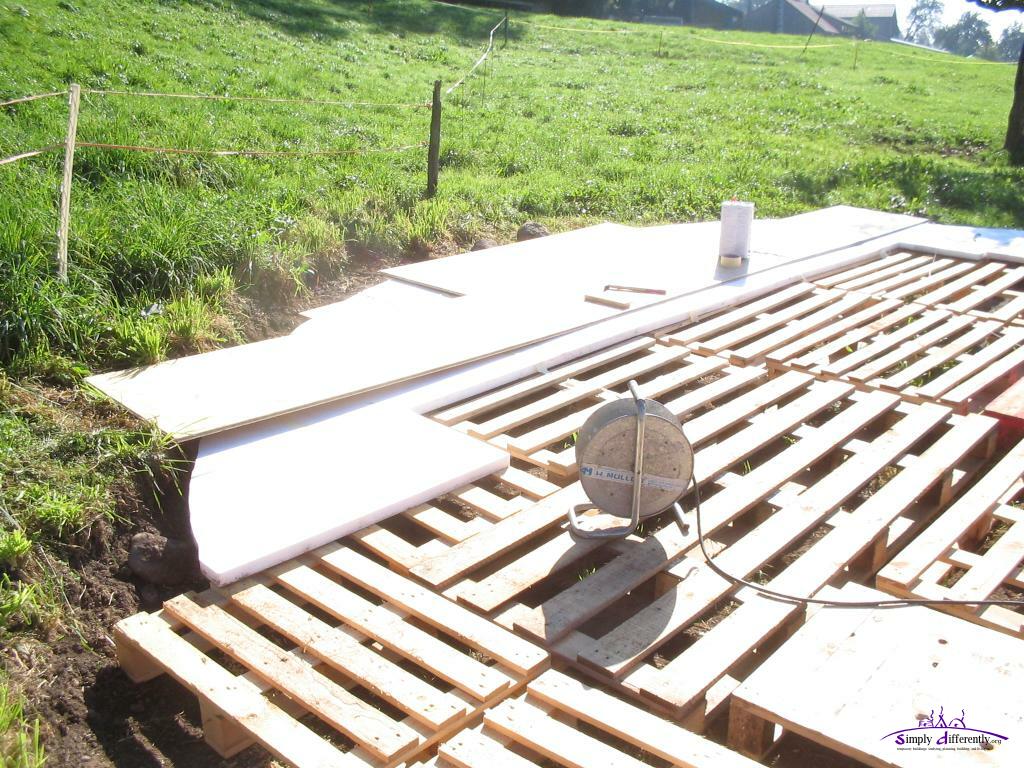 Adding OSB planks on top of styrofoam 2006/10/17 11:53 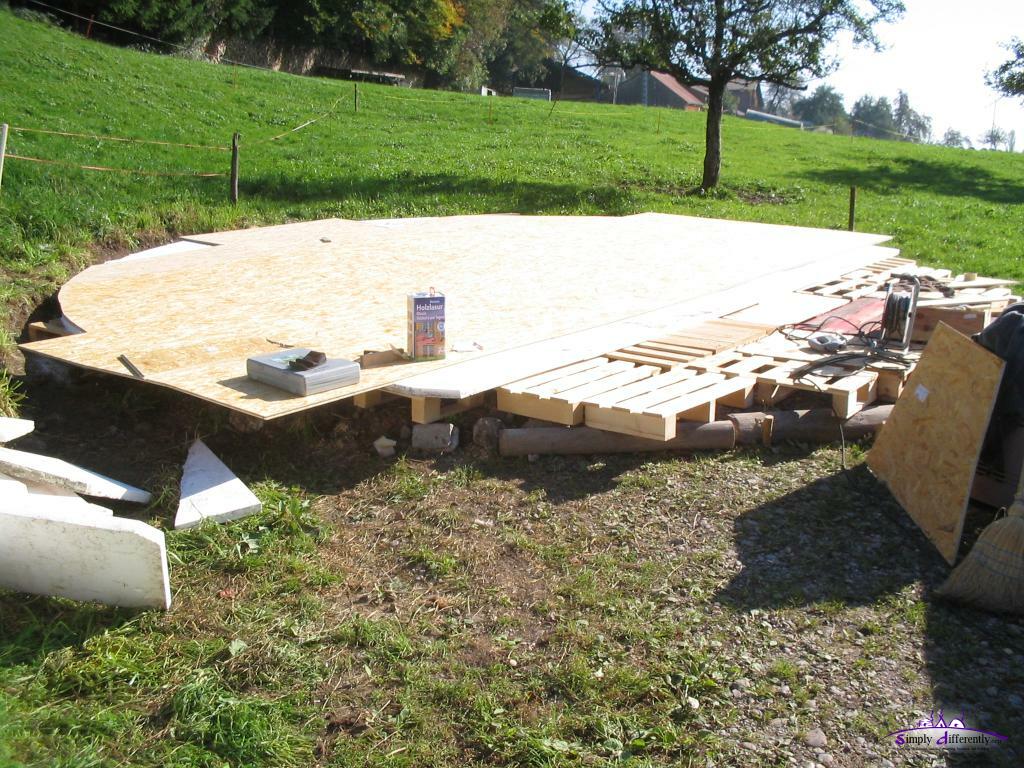 And so on ... 2006/10/17 14:47
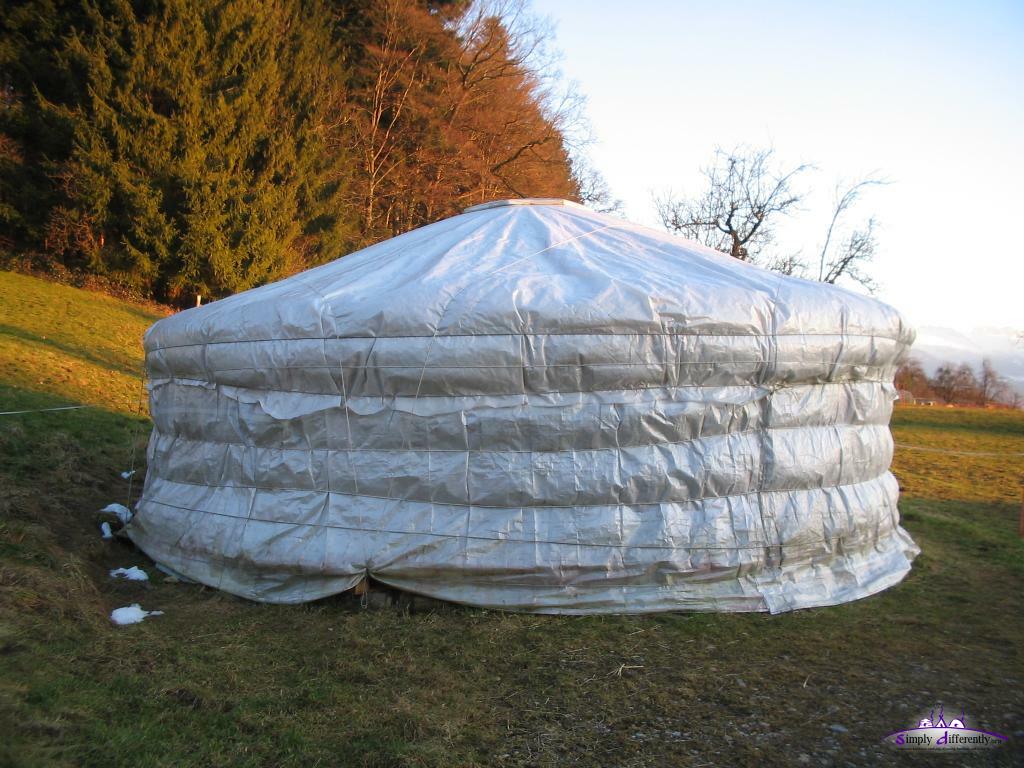
Depending whether the base level of the floor is elevated or not, consider to extend the rain cover on the ground for another 10-15cm to keep that area dry in case of raining.
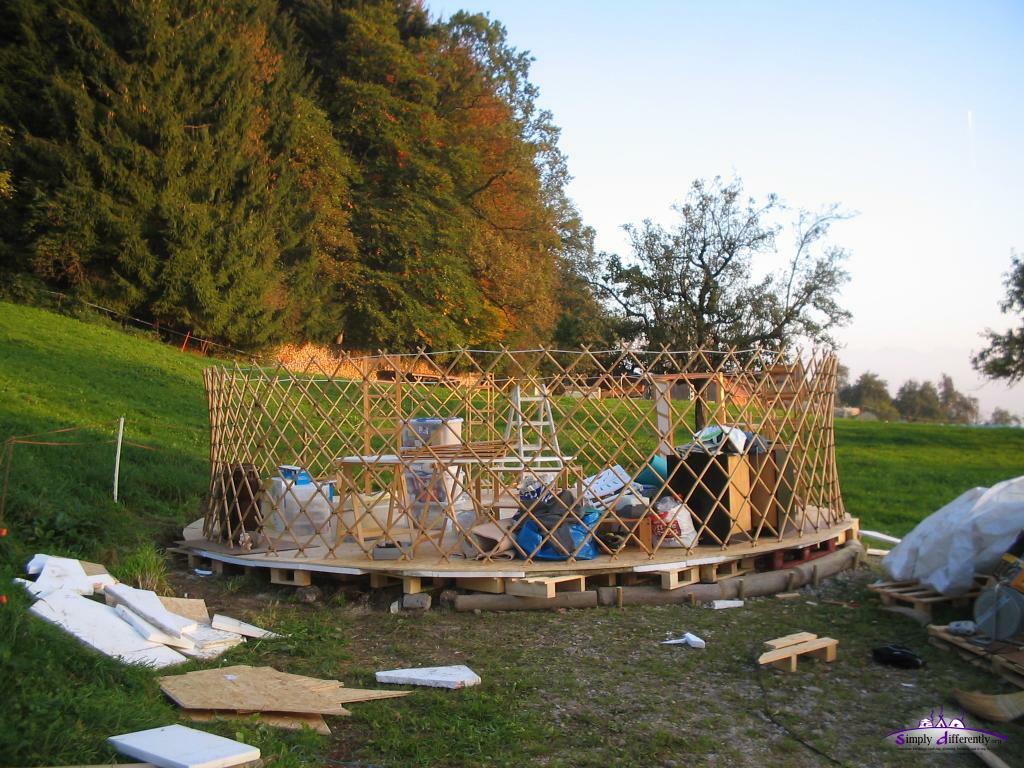
Lattice Wall
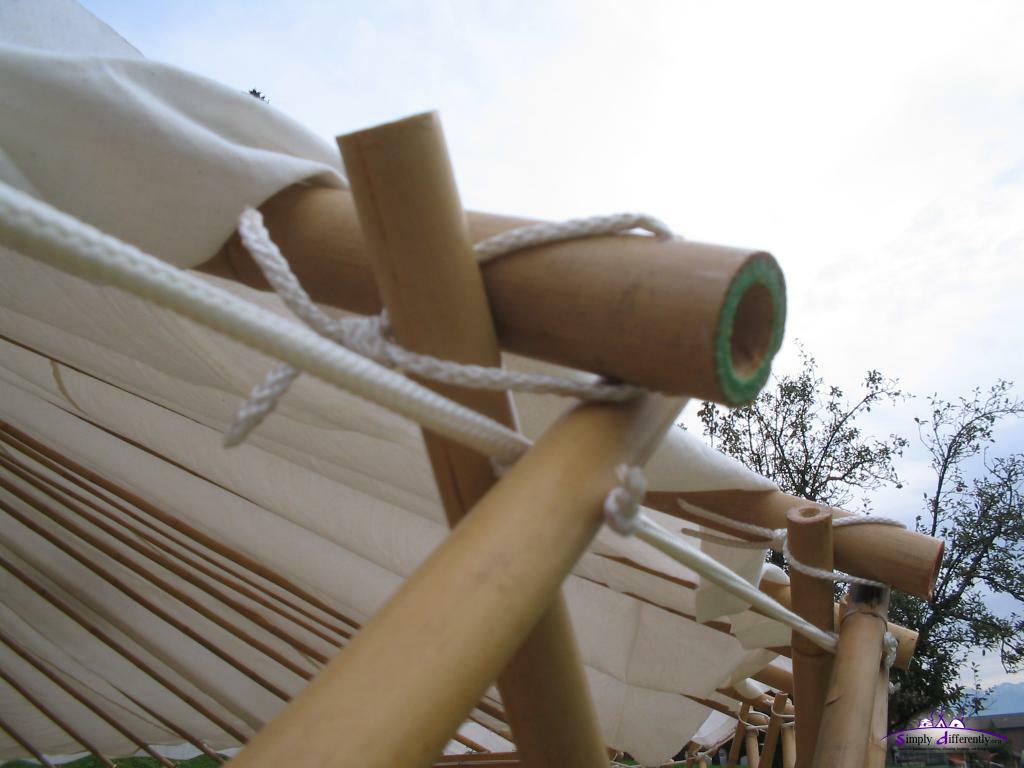
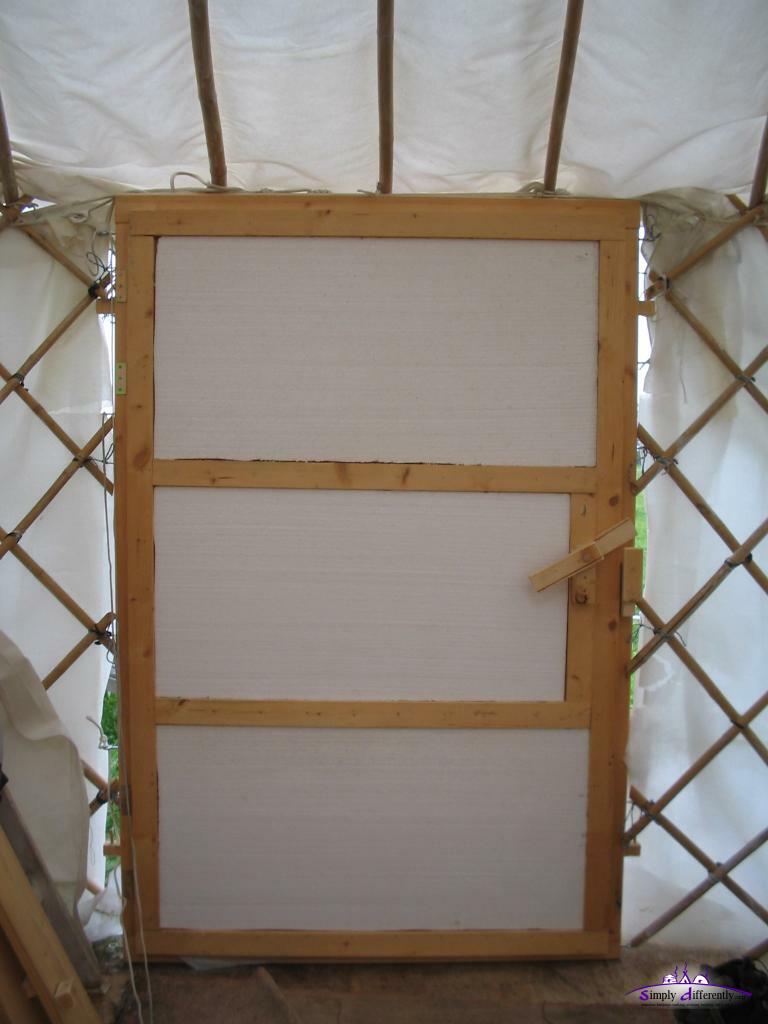
Keep in mind where you want the door positioned, for cold and humid regions avoid to expose the door side to common wind directions; for hot areas it might be wanted. Take your door frame, and insert it between the open lattice wall, bind and fixate it. Then use the main rope and put it above and under each top junction of the lattice wall, that rope requires to keep the max weight of the roof (incl. possible snow), so use either a PP rope with 750kg minimum, or a steel rope with 1000kg strength, more the better.
Once you waved it over and under each lattice wall top junctions, make a loose knot end to end - you might like to attach each end one of the sides of the doorframe, yet I won't recommend that unlike other yurt-builders and books recommend, my reasons (pointed out already in the Yurt Notes) but here again: attaching the main rope ends to the door frame poses stress unto the frame, unless you are really certain it can handle expected stress (incl. winds unto the roof) then do it, otherwise tie the ends of the main rope together as I recommend. A detailed knot description follows.
Crown-Wheel
Then insert more roof poles, evenly distribute them, and insert the next one either the opposite side as 180° or 90° and so on.
At that point you have the skeleton of the yurt put up.
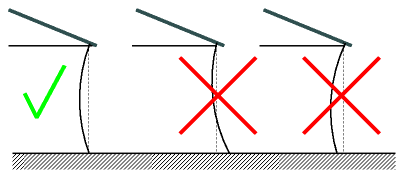
Why is this part important? When your lattice wall is not vertical, but leans inside or outside at the ground, or the main rope on the lattice wall is loose - the next wind or storm or heavy snow will crush your yurt. I have seen people not paying attention and have their yurt just not work. The yurt is very stable, but only when the stability is able to work, means, when the lattice wall is vertical, and the diameter on which you built the yurt based-on is applied. You can extend the diameter (flatter roof, lower wall) or narrow the diameter (steeper roof, higher wall) - just be aware to pay close attention the lattice wall being vertical and not lean to inside or outside after you adjusted the yurt diameter.
You may also consider for that reason a 1-2cm high and full diameter large ring on the floor, in which you attach the lattice wall and prevent from moving; this is recommended in case you have a high floor from the actual ground to provide the lattice wall on the ground some stability.
Layers
Note: the wall layers you hang either on the lattice wall junction themselves, or the main rope on the lattice wall, a hinge or sewed cord (interior cotton layer), or tape (bubble wrap layer) will do it depended how heavy a wall layer is.
Then bind the wall with 3-4 ropes, and maybe 2-3 ropes over the roof reaching the ground, and tie it like an anchor to the ground - recommended at places with heavy winds or expected storms.
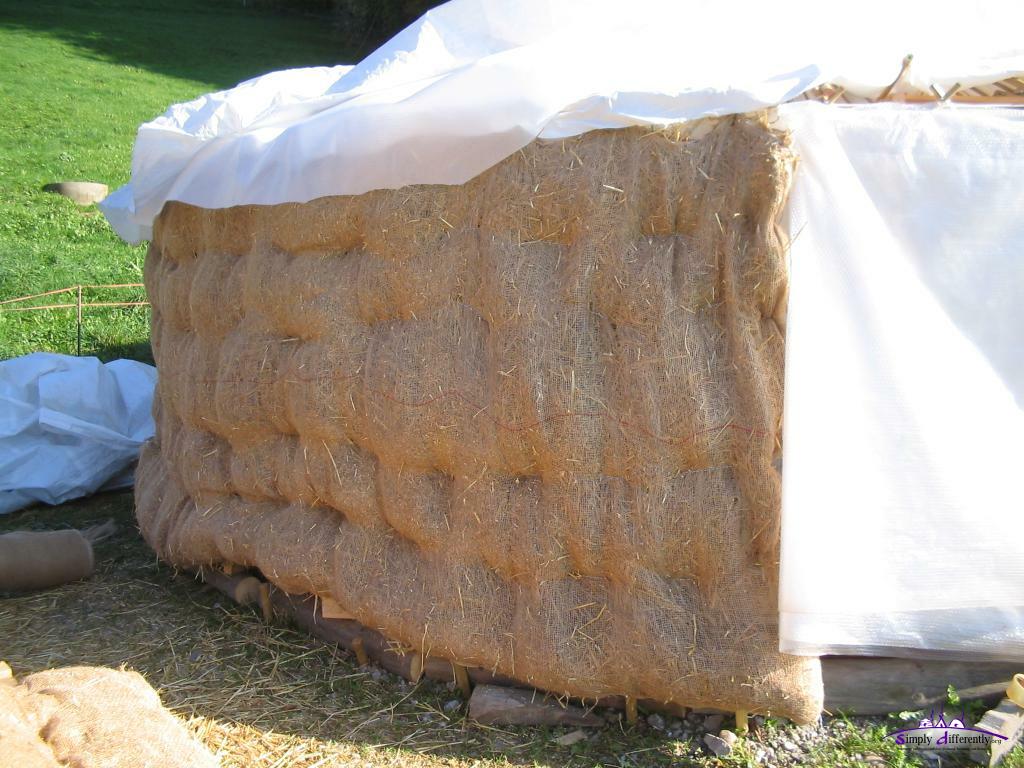 First straw filled jute blanket 2006/11/04 12:42 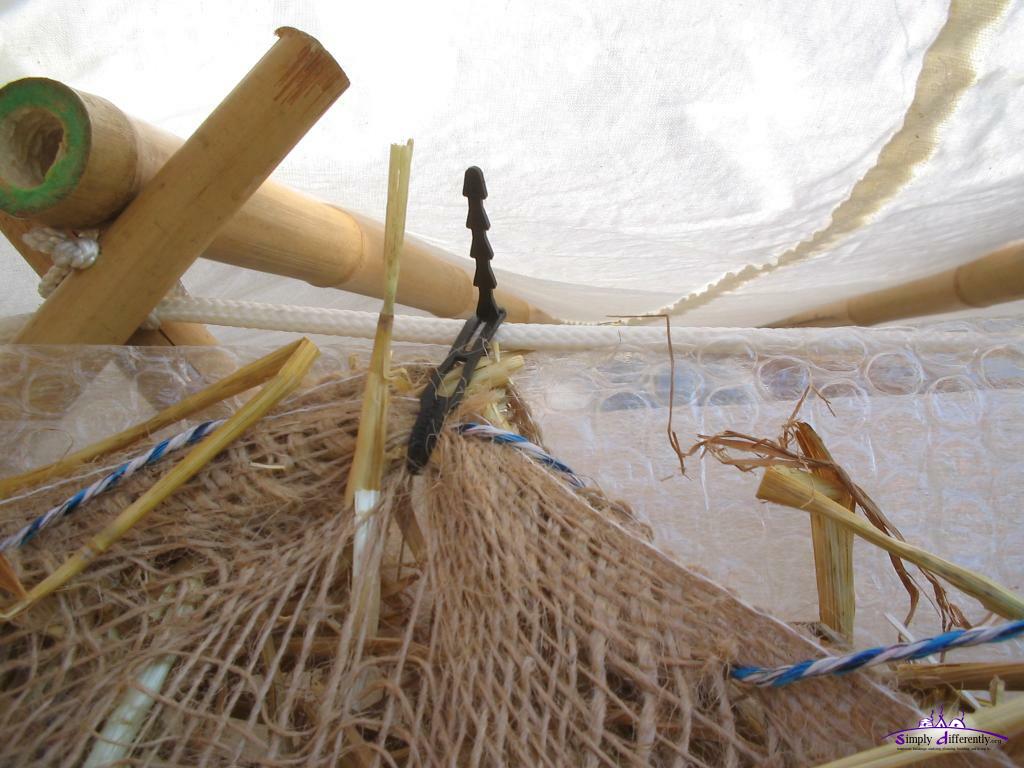 Fixation binder, very useful (Closeup) 2006/11/04 12:42 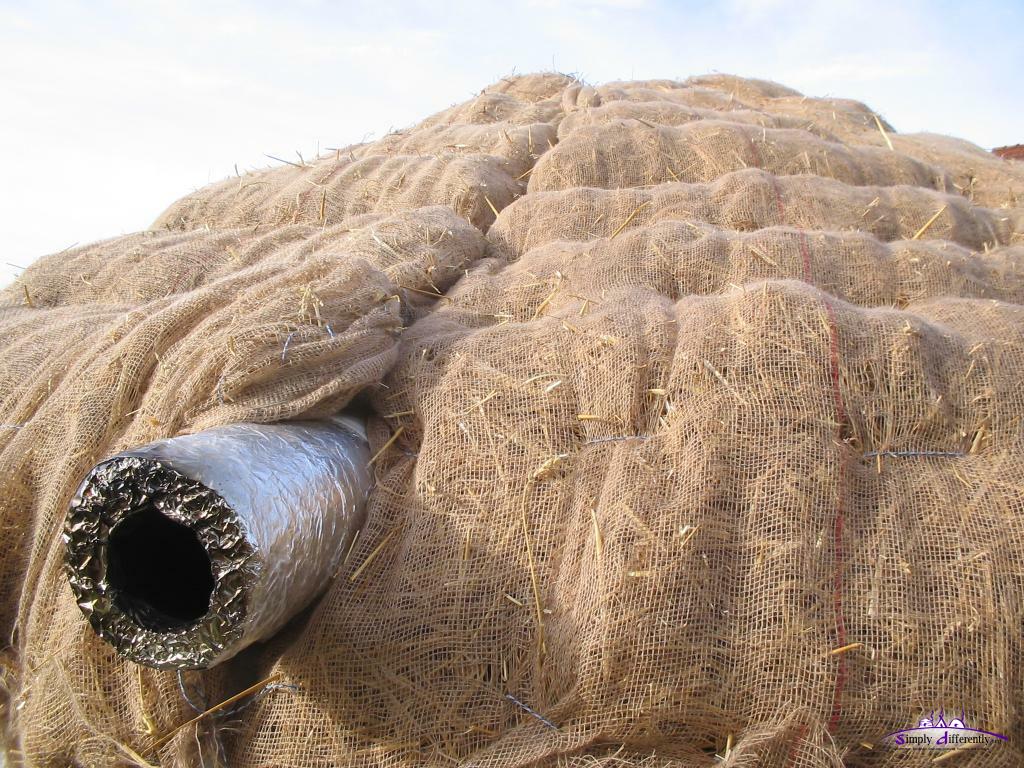 Starting around the stove pipe, wrap it around 2006/11/25 11:16  All 13 segments put up ... 2006/11/25 12:59  Finished straw insulation with new PE rain cover 2006/11/26 13:59 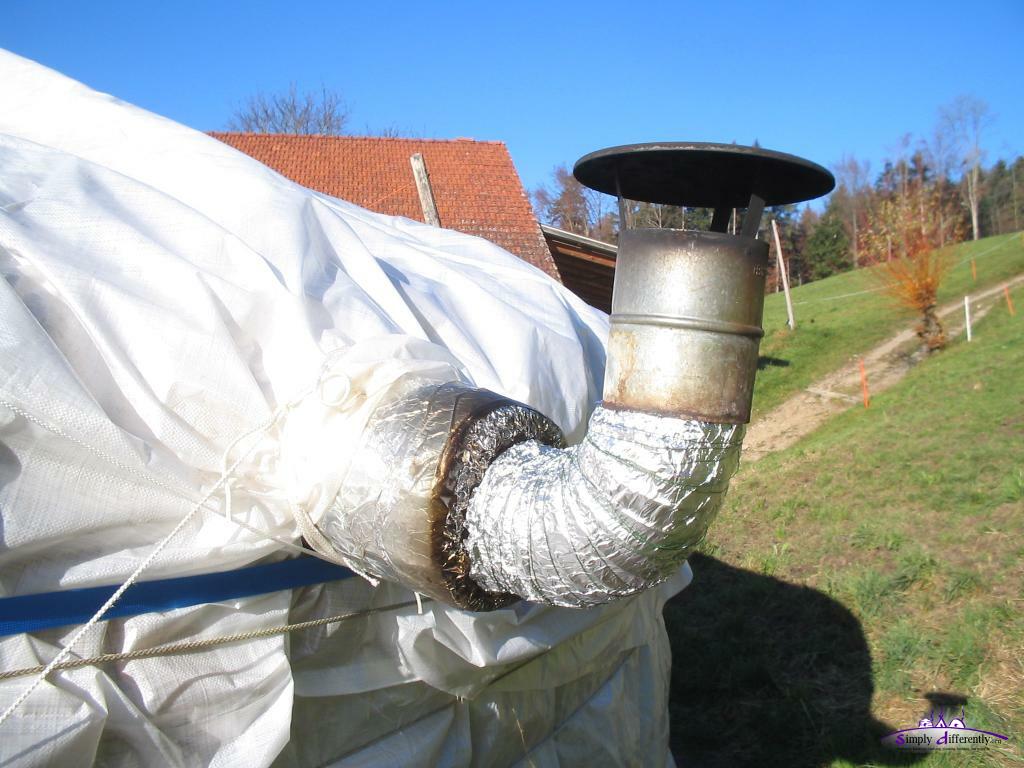 Pipe ending 2006/12/03 12:16 Ropes & Tension Ribbons
For a more detailed construction, not just erection, of the yurt, see my yurt diary as well.
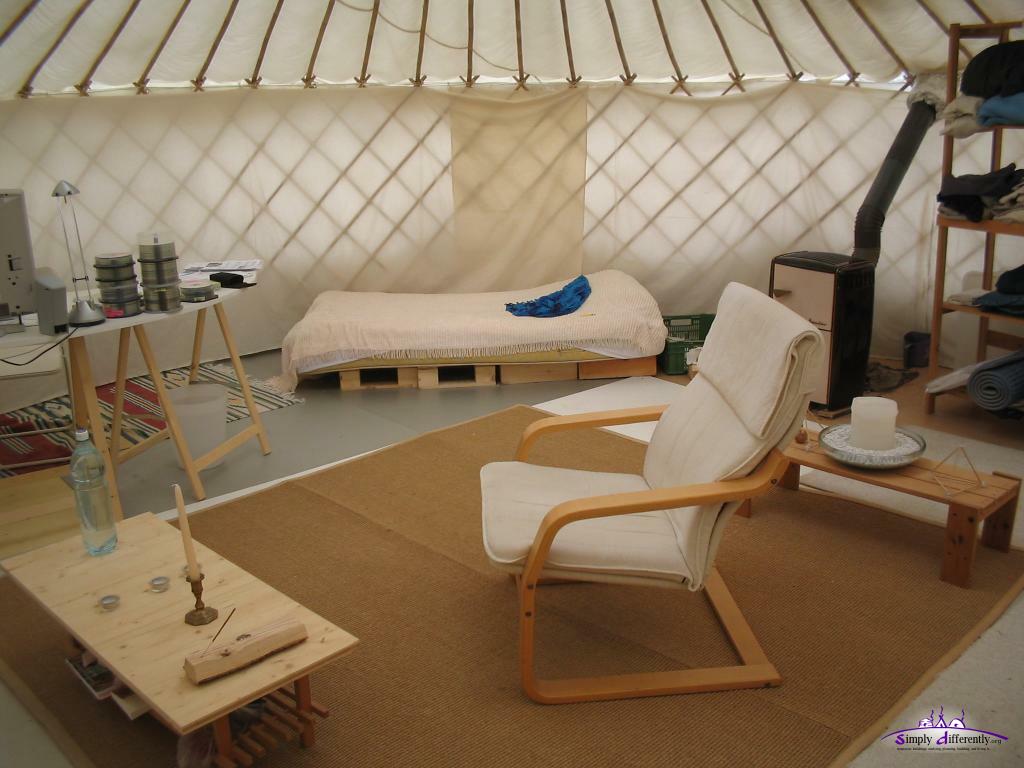
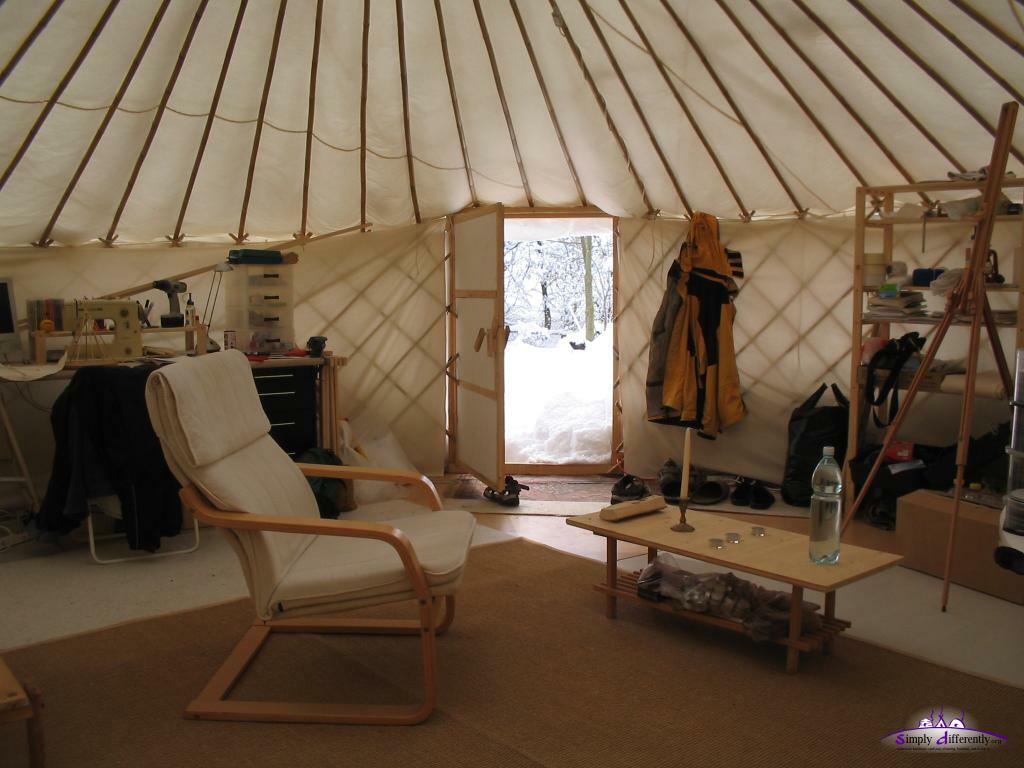
Interior
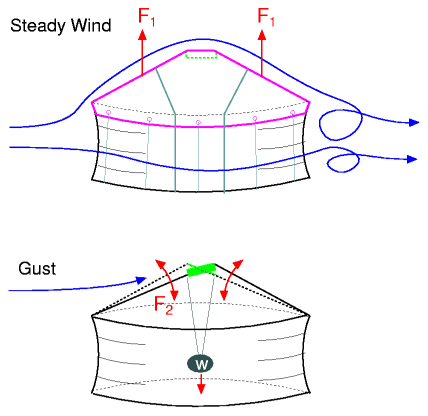
I put most of my stuff around the wall, and kept the center free. Also the stove I put aside and used a fan to distribute the heat which was usually 30-40cm above the ground and not mixing with the much colder air on the ground. It is of course personal taste to either do it alike the Mongolians and put the stove in the center, and have the heat radiation be optimized this way, or put the stove aside. I noticed to keep the center free makes the yurt appear grander. Storm PreparationWhile living in the yurt experienced 2-3 strong storms, at my site up to 120km/h I would estimate. I'm kind of a slow learner at first as I had to fix and fasten the yurt while the storm was underway as I often hoped the ropes I used were sufficient, and experienced they were not.It's worth noticing, the storms affects the roof mostly, no impact to the wall as I noticed, me using 90° lattice angle and bamboo, with stretching the rain wall cover below the floor and use one rope on that height, almost on the ground, all around to fasten it (as seen on a photo above already). Some people put some small laths on the floor to fixate the lattice wall on the floor, or screw the door frame on the floor, both which I didn't do. Steady Wind
Usually behind the yurt some whirls occur, I have noticed it quite well at heavy winds the smoke from the stove whirling behind the yurt, and even sometimes forward against main wind direction, but it's also because I'm close on a slope of a mountain, where the winds create a whirl on the entire slope along with the nearby forest. In a way, it showed at strong winds the nearby environment can create large whirls as well. GustsThe F2 indicates a swinging force of a gust, pushing down the front roof, and then releasing it and counter balance by going up - there the risk of roof poles falling off their holes in the crown-wheel. I was told by mongolian woman that in her homeland they use a tub full of water or a heavy stone hanging from the crown-wheel, to add more stability to the roof and limit these swings - I would not recommend to fasten it with a cord direct on the ground, but rather have a floating weight able to give in.
References
Content:
|


| Home | · | About | · |  Tipi | · |  Yurt | · |  Dome | · | Features | · | Gallery |


Creative Commons (CC) BY-SA-NC 2005-2017, developed, designed and written by René K. Müller
Graphics & illustrations made with Inkscape, Tgif, Gimp, PovRay, GD.pm
Web-Site powered by FreeBSD & Debian/Linux - 100% Open Source