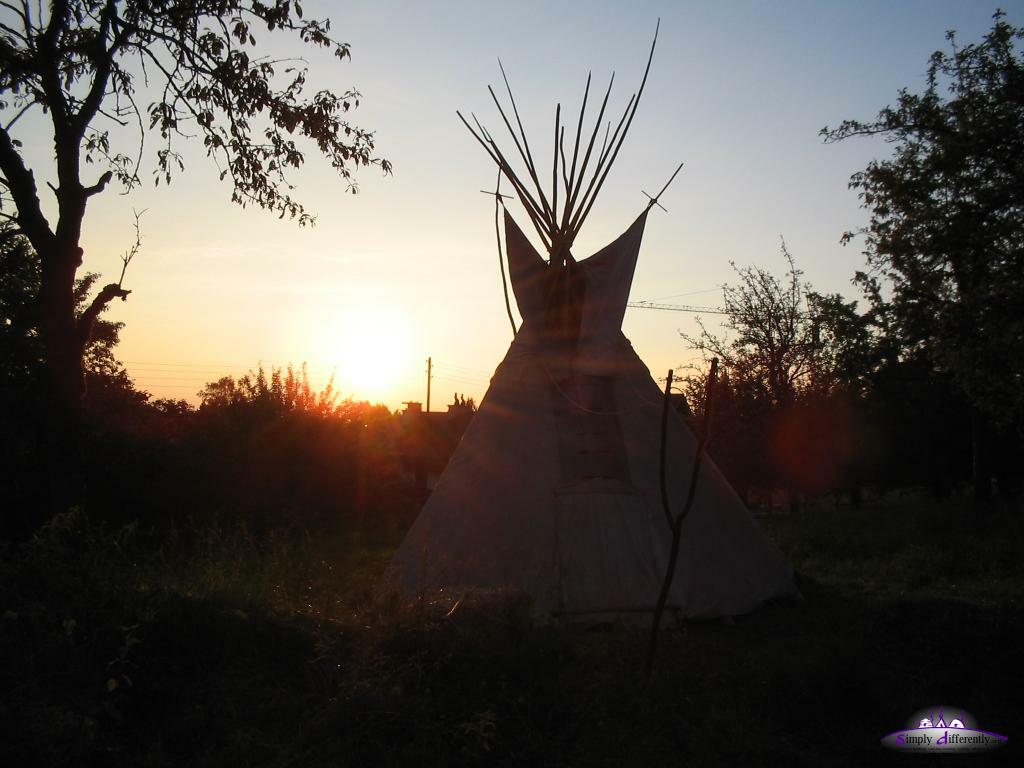
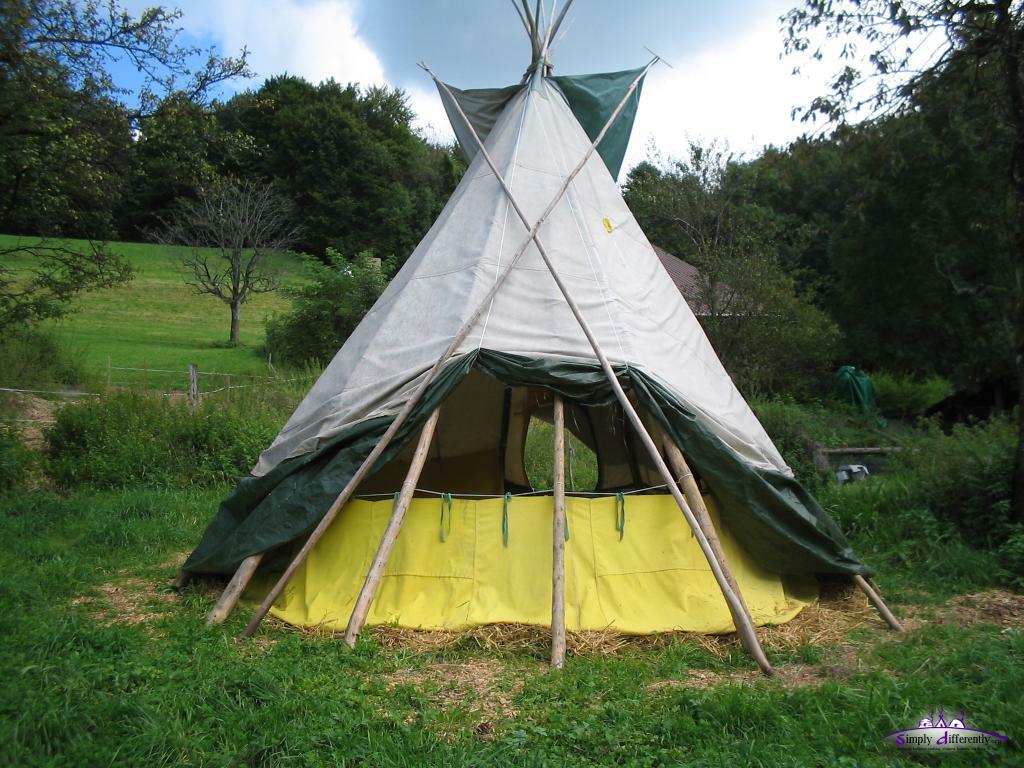
The tipi is a beautiful shaped living room, like a cathedral does it rise in the center, the round circle-like floor shape, a sacred space by itself. It is also easy to transport, put up and build; base of nomadic living.
 |
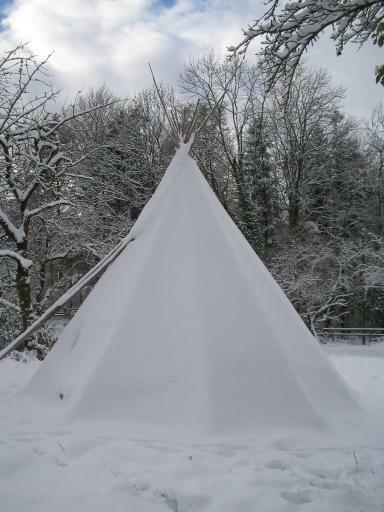
The tipi I consider as spring to fall shelter, as the thermal insulation for the winter is quite an overhead and less suitable, unless one uses furr extensively.
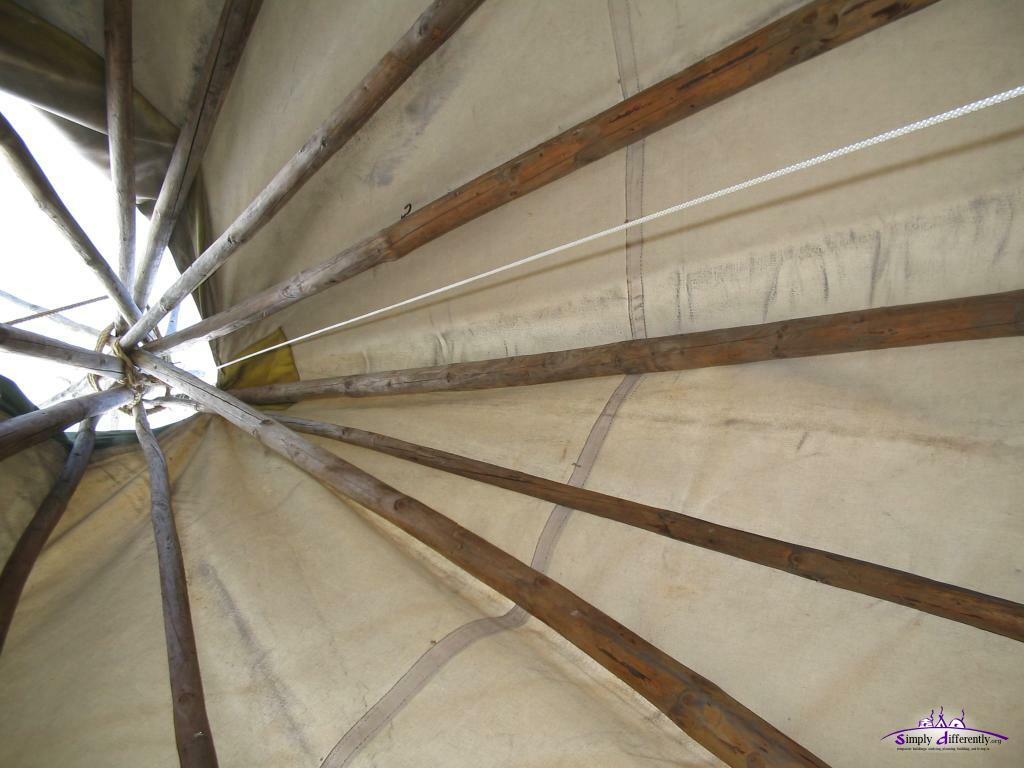
The tipi is rather simple to transport, one big one piece canvas for the cover, and the poles, which can become quite long (e.g. > 7m) and an overhead to transport. As it is suggested the poles should be 1 to 1.5m longer than the diameter of the tipi, I personally yet consider 0.50m more sufficient, then a separate cover for the pole junction can be applied so no rain water will leak anymore into the inside of the tipi.
| Simplicity |  |
| Portability |  |
| Size Flexibility | |
| Comfort | |
| Overall | (3.0) |

How To Manuals
If you are new to tipi, I recommend following articles to read and study first, before you go ahead and look at my approach below.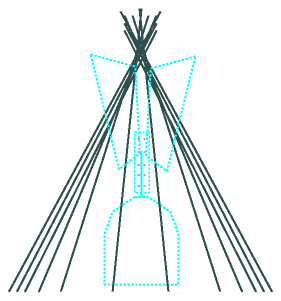 Tipi Overview |
- Instructions for Setting Up a Sioux Tipi
 (PDF), with a lot of detailed photos
- The Plains Indian Tipi from Mother Earth News, detailed construction information, article as PDF
I used to live (predominatly just sleep at night) in a large tipi (apprx. 6.5m diameter) in spring and summer of 2004, and summer 2005 I've got my own little tipi, and did a small upgrade to extend it to 5m diameter. Here I collected some of my notes and aid for calculating canvas lanes for the main cover.
Tipi Math & Plan
To build a tipi appears a rather simple undertake, but the details are not to be negleted and decide if a tipi is truly useable.
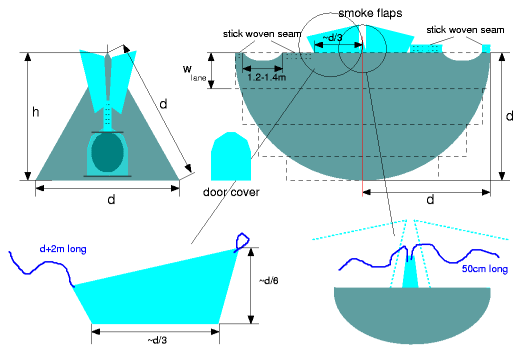 |
The smoke-flaps, as well the seam (put together with sticks) are usually separate and then attached to the main canvas.
Hint: In case you measure by yards, feet or inches, 1 yard = 91.44cm, 1' or feet = 30.48cm, 1" or inch = 2.54cm. 1cm = 0.01m, 100cm = 1m
Sewing
Either mark each lane's middle line, e.g. fold it and mark the middle line (the red line in the illustration); then lie all lanes (each one at a time) with the middle line aligned or calculate the offset of the next lanes to the previous one; and consider fix it with needles to have a straight sewing line. The order of next lane under previous lane to have rain run over the seam.
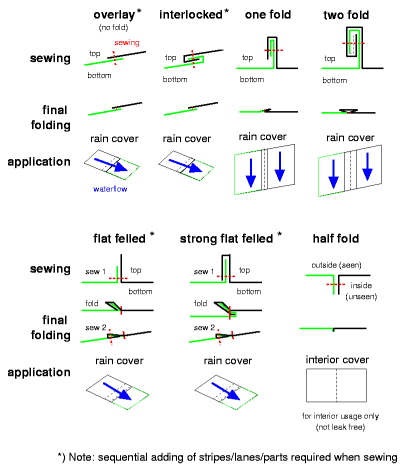 Sewing Seam Options |
For adding the lanes, the "flat felled" option is recommended, a slight variant though is featured in some tipi books which I call "strong flat felled" as it's quite similiar yet includes in the first stitch or sew already a complete fold, making it stronger.
Needless to say, for canvas you may choose 300g/m2 at least, if not more - and then an industrial sewing machine is required to stitch the lanes together.
Note: Bought canvas usually shrinks 5%-7%, so by preshrinked canvas or shrink (means wash it) before you cut. Often canvas lanes come with widths of 1m-2m, e.g. 1.60m is a very common width, enter wlane 5-10cm less as you need some extra width to sew the lanes together.
Considerations
Poles: The poles are d plus 0.5m-1.5m, so you have 6m tipi, your poles should be 6.5-7.5m long. I tend to keep them a bit shorter in order to put a cap on the end of the poles against rain; this way the tipi poles don't look as impressive anymore, but you have almost no rain anymore reaching into the tipi.
Canvas: For larger tipis (>6m) your canvas gets big and also heavy (e.g. 300-450g/m2), and lanes are sewed together in order to get the half circle as the canvas looks like. The stick woven seam holes need additional seam sewing so the canvas doesn't tear there. Add extra length for general end-seam. The fabric should be water- and fire-resistant, and mildew resistant as well; and preferable preshrinked so you have no surprises.
The listed "How To Manuals" above cover more details, also the inlining which is essential for living in a tipi, without it a tipi is almost useless.
Extensions
I further like to add some extension and upgrades to traditional tipis:
Sealing 100% Rain
Once you dwelled in a tipi you likely experienced rain as well, and realized a native tipi isn't 100% rain sealed. Through the opening where the poles are tied together, is a small 20-30cm large hole, depending on the radius of the poles at the junction, and you can't avoid this, there rain falls direct into the tipi, not much, but when it rains for hours or even days it will be noteable. Theoretically the rain catched by the poles above the junction and in the air is supposed to run along inside the tipi - but this is not so, the rain first runs a few centimeters, then drops inside the tipi, then more rain runs a bit further and drops and so forth, it can take 1-2 hours until the rain runs all along the pole down the ground without dropping, and even so, poles aren't perfect so rain will still drop from the poles.
So, what can one do about this?
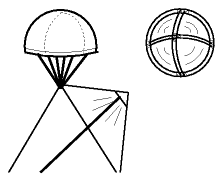 Tipi Hood / Bull Boat |
One option is to cut all poles to 0.5m to max 1m longer than the canvas, which means the tipi won't look as grand and majestic anymore, but you have a crown of maybe 0.5m to 1m in diameter, and you put over those a hood: no rain falls on the pole junction, neither any rain runs along the poles.
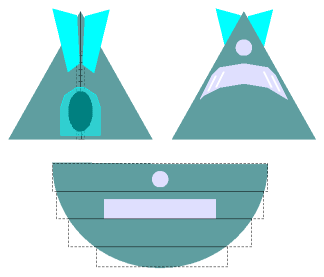
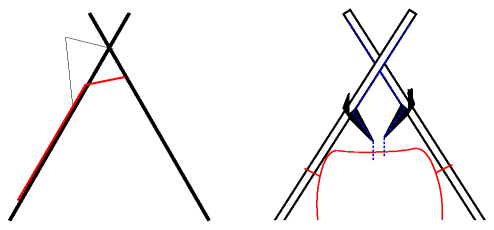  Tipi Drip Strip / Raincatcher |
This option has been brought to my attention by Lucy from SpiritsIntent.com , it's a drip strip which hangs inside the tipi, and catches all direct rain from the opening, and rubber wrapped poles: each individual pole with a tear drop shaped rubber, with a hole allowing the rubber, e.g. from car inner tube, moving on each individual pole and lead so the rain running on the poles as will on this strip.
The strip itself lays on top of the door, which means all rain catched inside runs outside in front of the door finally.
 Tipi Raincatcher / Drip Strip (courtesy by HearthWorks.co.uk) |
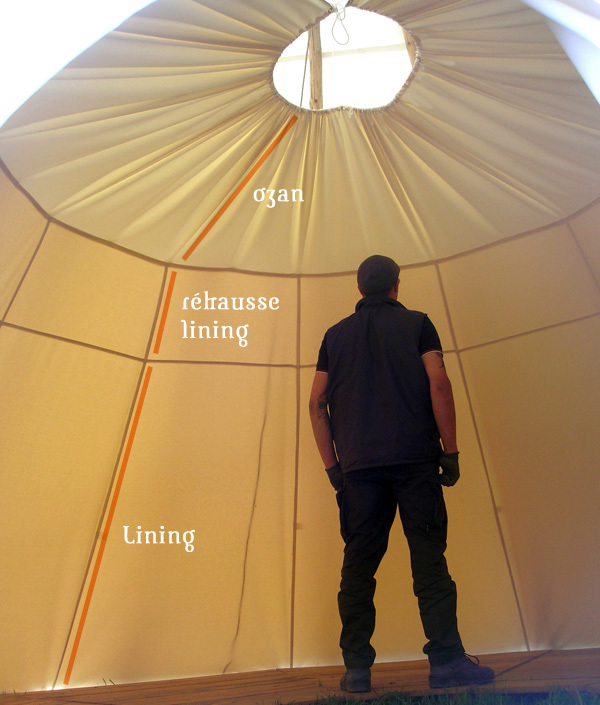  Lining & Ozan (courtesy by Le-Tipi.com) |
A canvas hanging inside of the tipi with water-resistance canvas, alike the obove mentioned rain catcher, could also function as improved rain cover; just additional strip(s) would be required to lead the water near or beyond the inlining.
Upgrade Size
 |
I extended my tipi by apprx. 1.4m, from 3.6m to 5m, which gives a new floor area of 19.6m2 instead of meager 10.1m2 I had before, a plus of 93%, almost double area with just extending canvas by 1.4m (A = r2 * π, so A scales by r2).
Best measure the length of the poles and see how much you can extend the cover using the same poles.
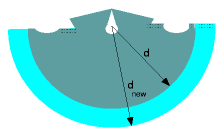
  Segments based extension for tipi upgrade |
- cut a circular ring (or parts of it), or
- cut n-amount of segments, e.g. 10 segments, where the top width is cold/10 (where c is the circumference), and the bottom width cnew/10, and sew all segments together making up the extension ring,
and sew it to the bottom of the existing cover. I used a cord to mark a half circle with a pen, then cut (give 2-3cm more), and sew it along the marked line. I had some spare Polyethylen (PE) blankets left which I used this way; I anyway recommend to add synthetic fabric at the bottom of the tipi as there rotting occurs first, and your tipi may last much longer than without it.
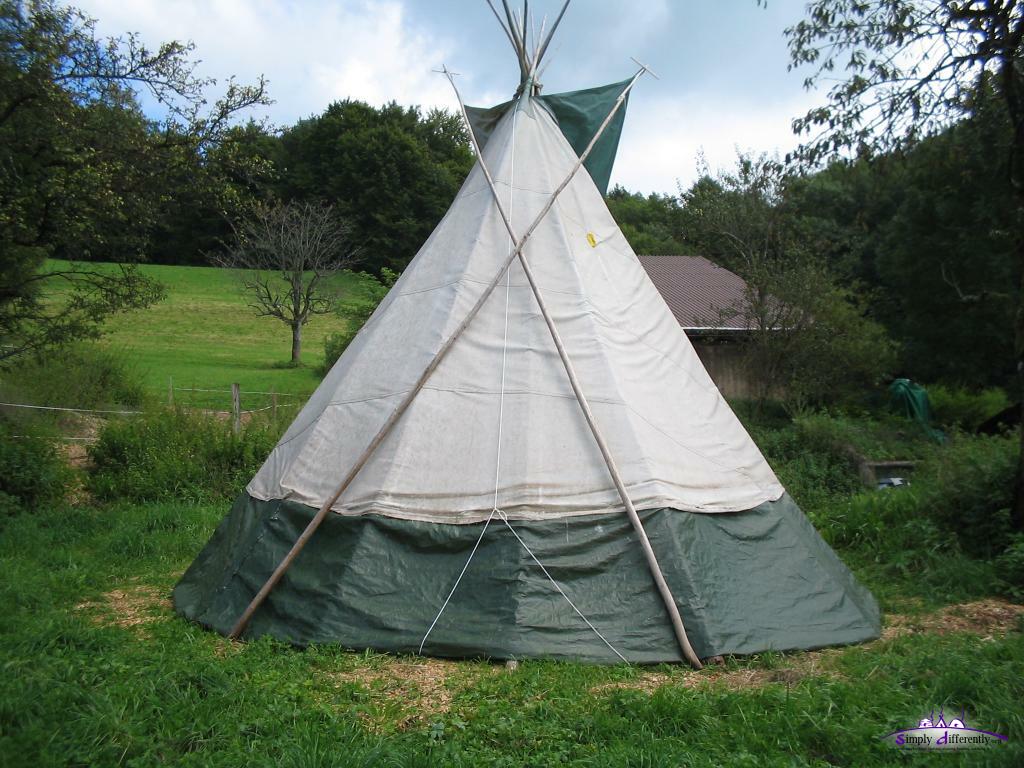
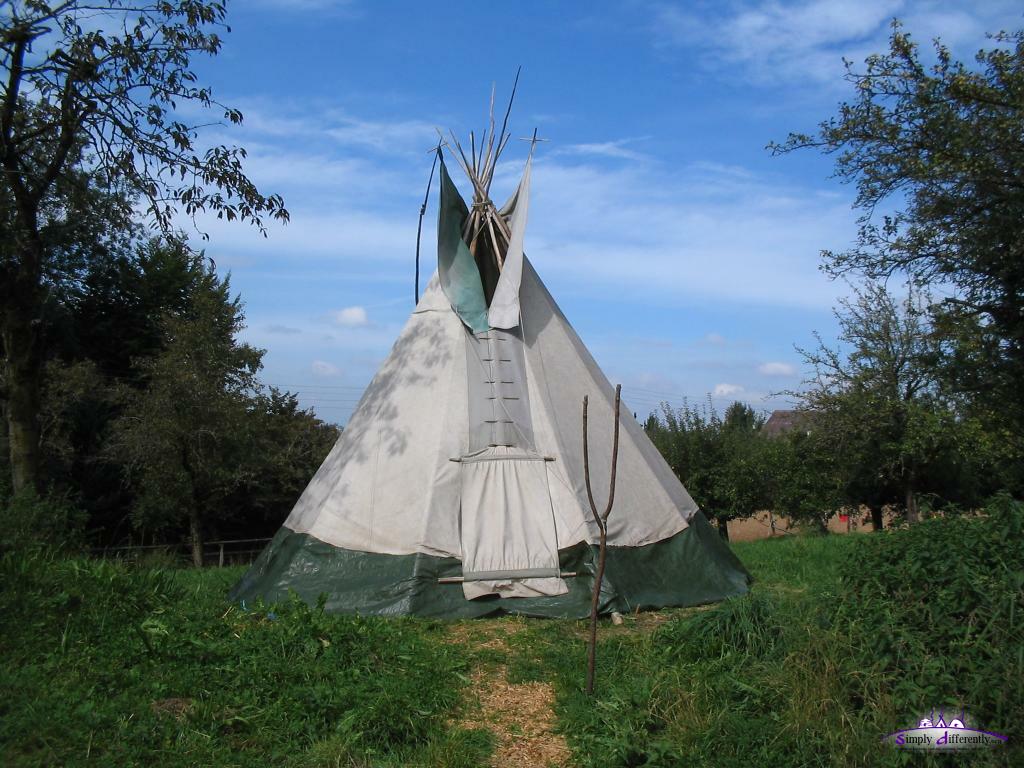  Upgraded tipi from 3.6m -> 5m |
Windows
I have been considering to do some windows; two main approaches seem suitable:
- pulling or lifting the cover from a side up with a cord
- working into the cover some plastic fabric as a window
The "lifting the cover" is easy to do, and with 2-3 cords you can lift up 1/5 of the cover up to 1.5m or 2m, more to pull up is difficult as the cover is quite heavy, e.g. in my case the 5m tipi it's well over 10kg already.
Working in plastic fabric as windows has the advantage of an opening despite of rain; but the insulation might become a problem; and the material needs to be UV resistant and flexible enough to be folded with the main cover. One of the ideas I had was to use a lane of 1.25m wide clear PVC instead of a canvas lane, e.g. one of the middle lanes - this would give a curved window lane.
 |
Stove & Winterization
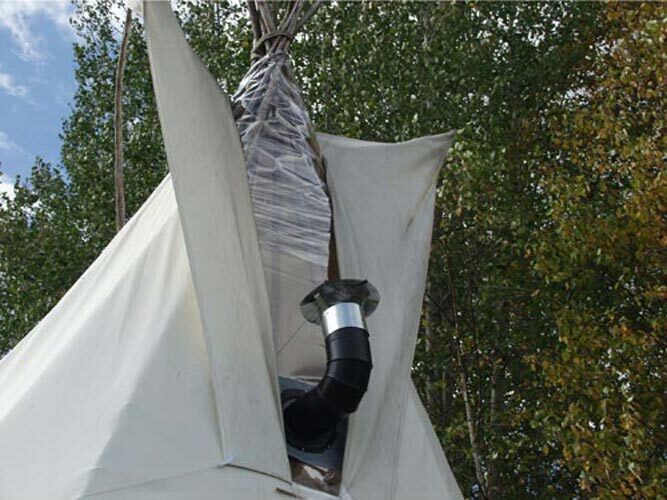  Stove with Pipe (courtesy by Nomadique.net) |
John Ryerson wrote an email to me (2013/01) about further details:
Create a 'suspended ceiling' as an extension of the tipi liner and then use extremely light weight reflective insulation (wafer thin) in the space above and around the tipi between the tipi cover and the liner. This will allow for air flow while keeping the heat in the living area. I recommend a southwestern chiminea type of stove as these ceramic fireplaces continue to radiate heat long after a wood fire may have run it's course. A simple metal flashing above this fireplace with an opening for smoke exhaust is the final suggestion. All of the tipi natural advantages are enhanced in this way.
(..) use of rocks heated and brought into a tipi for radiant heating another is the used of embers covered with earth over which a sleeping mat is placed but perhaps the most exact parallel is the use of thermal mass walls by the Mayan and Mixtec peoples for a type of sauna or just heating a room.
(..) the insulation of a tipi I would suggest that the 'furs and blankets' of the 21 st century would be inexpensive second hand sleeping bags. These make for perfect insulation placed between the tipi's two inner and outer liners plus have the benefit of being available for bedding for guests in more mild weather. I personally saw some native elders use sleeping bags adapted as traditional tipi back rest by strapping them to the tipi poles with the added advantage of pulling the rest of the bag over them like comforter as the evening became cooler.
Sleeping bags could be used to create the 'suspended ceiling' supported by a 'spider web' of cords from the tipi poles.... think of this thermal envelope as a sort of a temporary Bedouin tent inside the tipi during winter. The rest of the year the tipi would function in the traditional manner.
Excerpt from "The Plains Cree: An Ethnographic, Historical, and Comparative Study" by David Goodman Mandelbaum (Page 89):
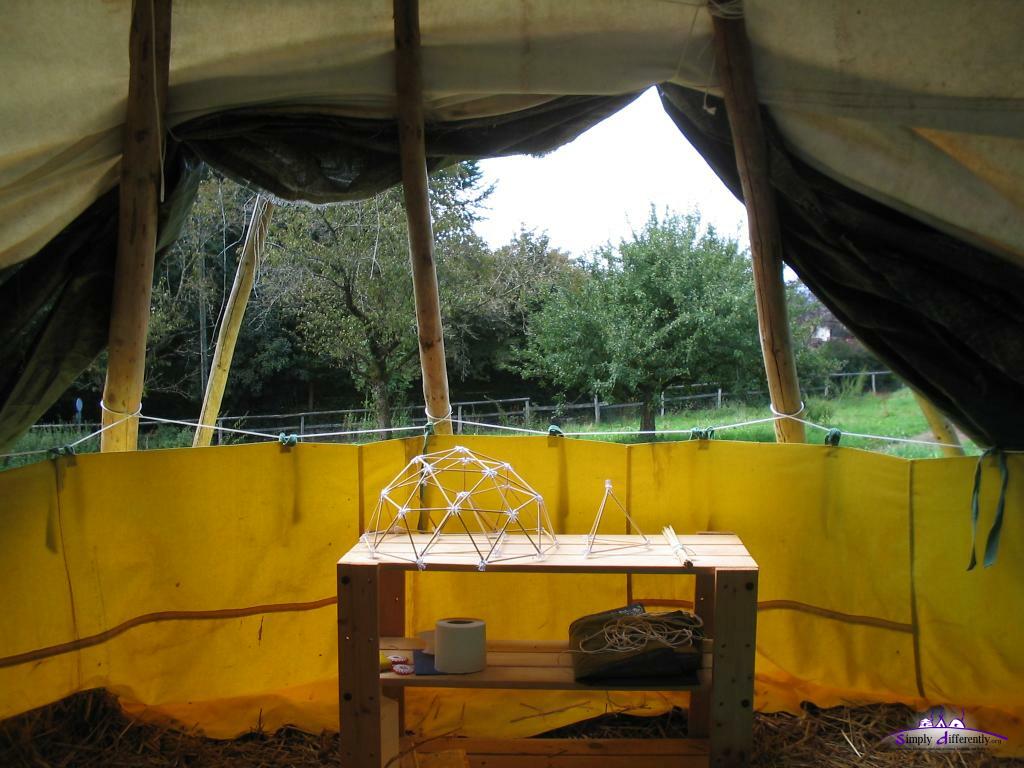
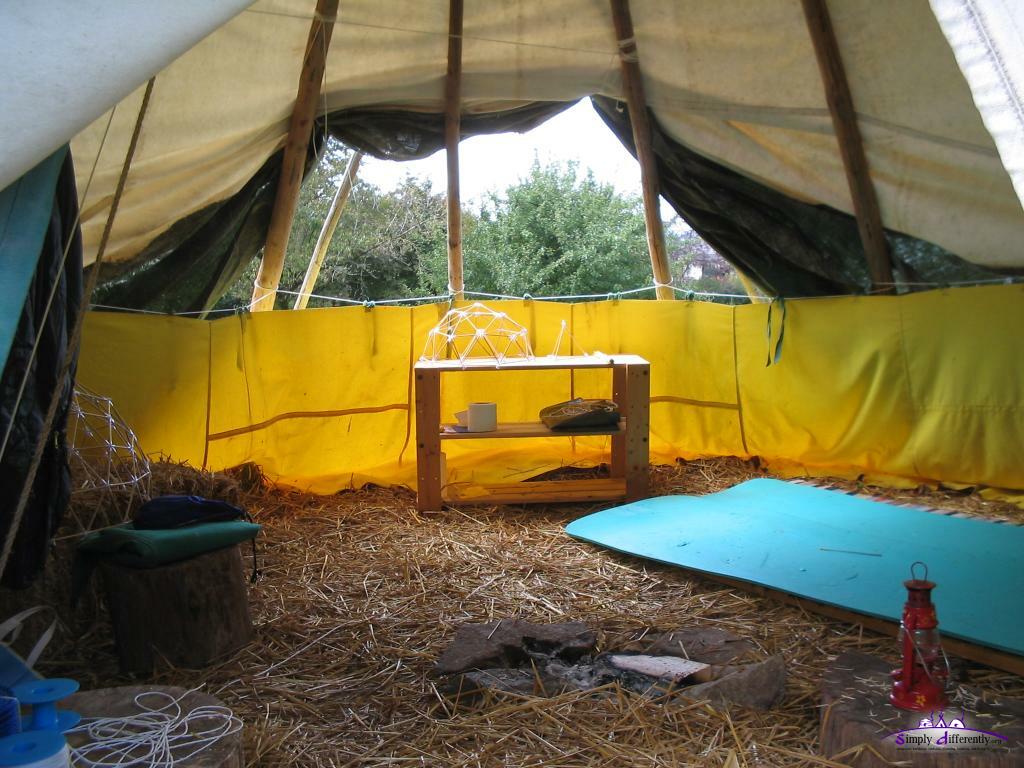
A black wall of buffalo hide, similar to that used by the Blackfoot, lined the sides of the tipi. Hay was stuffed between this screen and the tipi cover, providing insulation in winter and preventing draughts. In summer the bottom of the cover was rolled up on the poles to a height of about two feet from the ground.
As I wrote on several occasions on this web-site: use material for insulation which is on-site and plenty available, main feature should be it slowly rots and is dry, can be hay, but also paper etc.
I update these notes as I proceed with my own tipi. On the next page you find native american tipis and links to tipi manufactures.
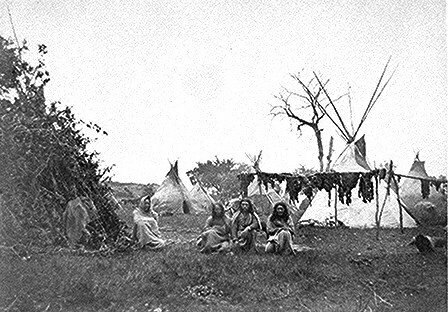
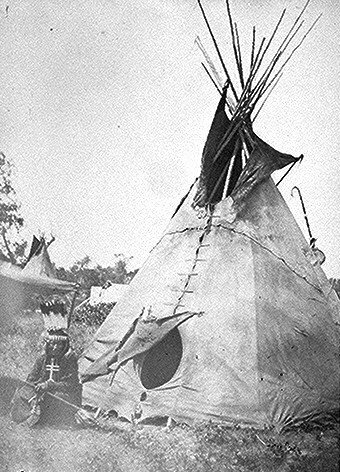
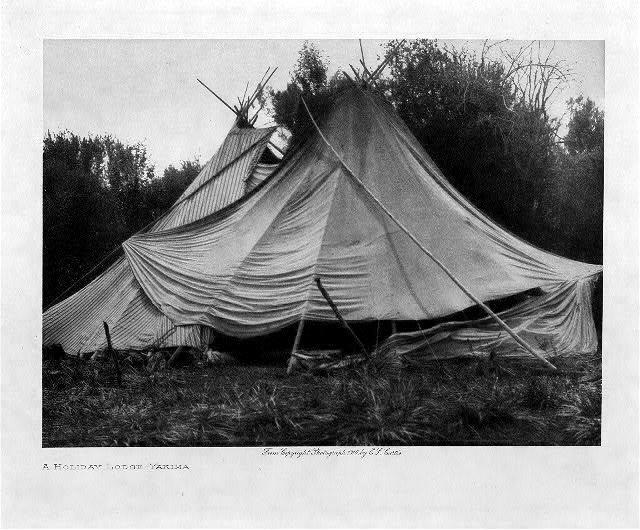
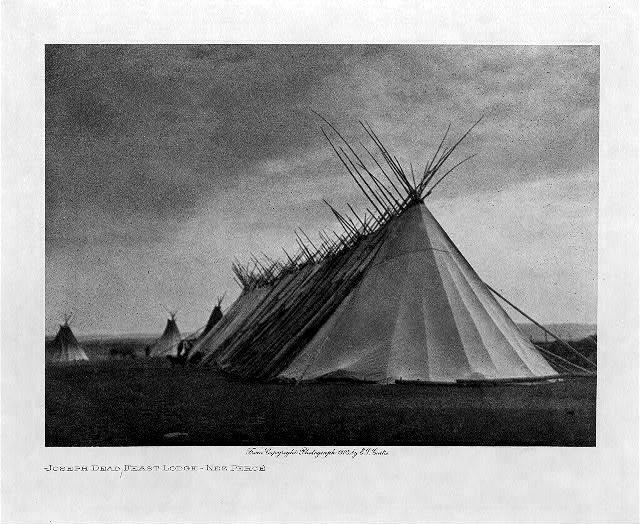
Historic Native American Tipis
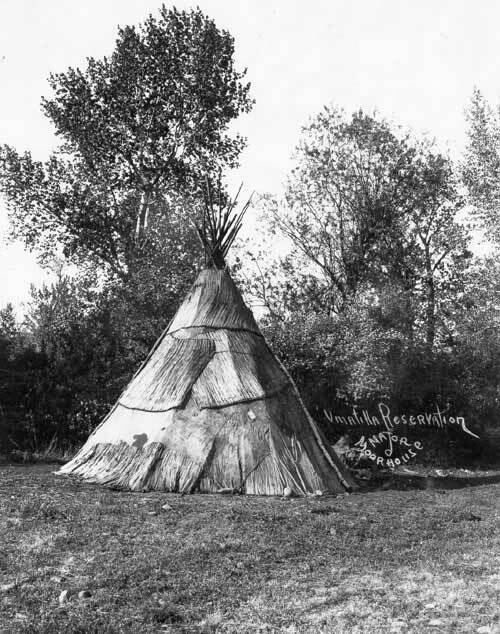
Here a couple of photos illustrating the native american setup of tipis. It would be interesting to see how the particular reed tipi was made up.
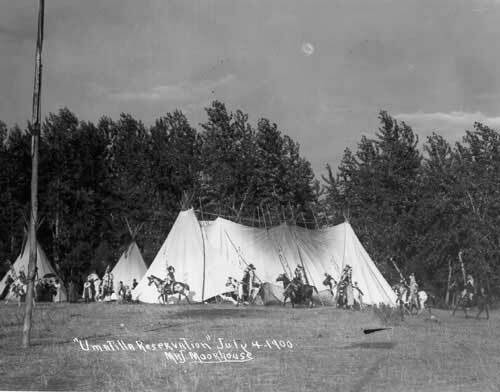


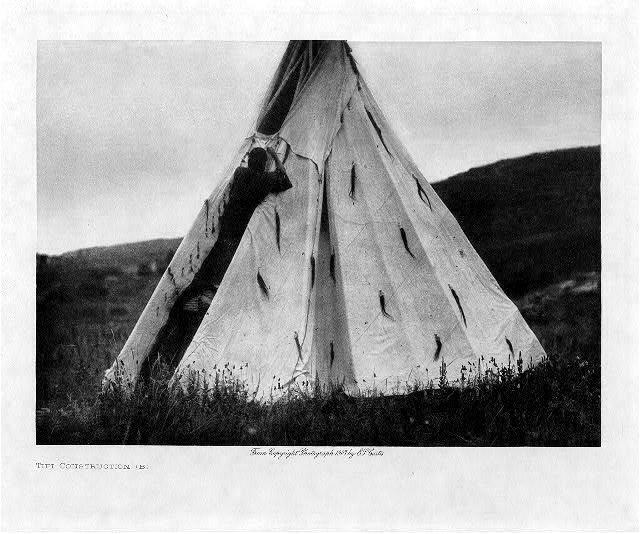

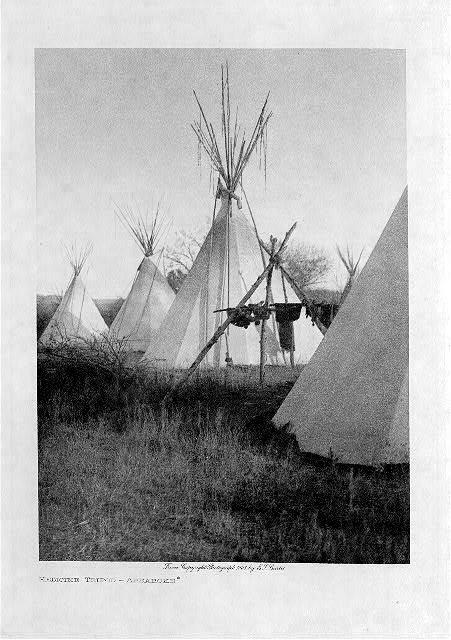
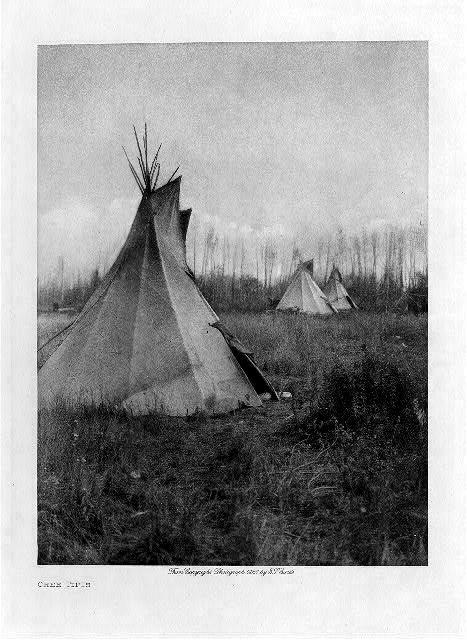
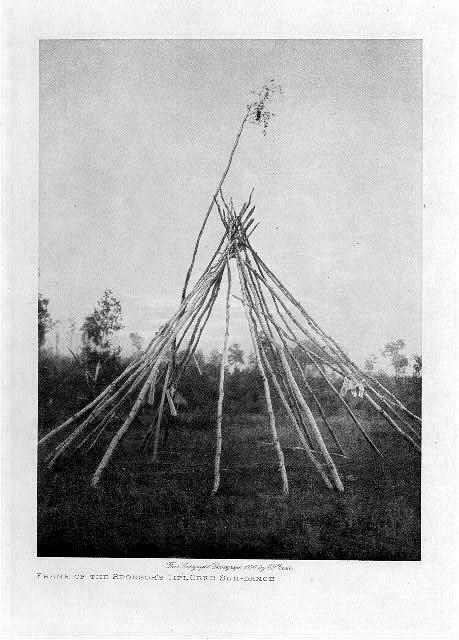
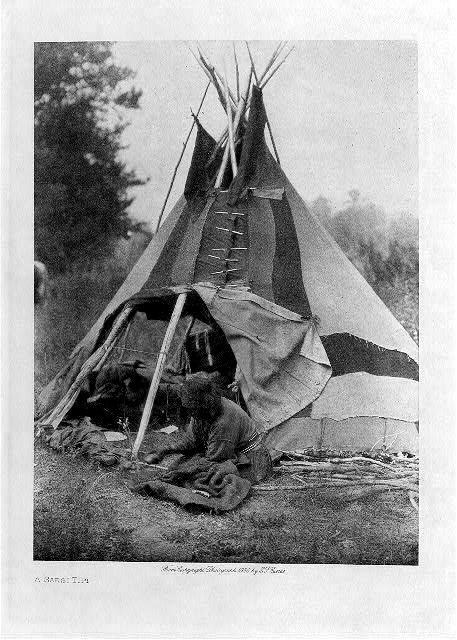
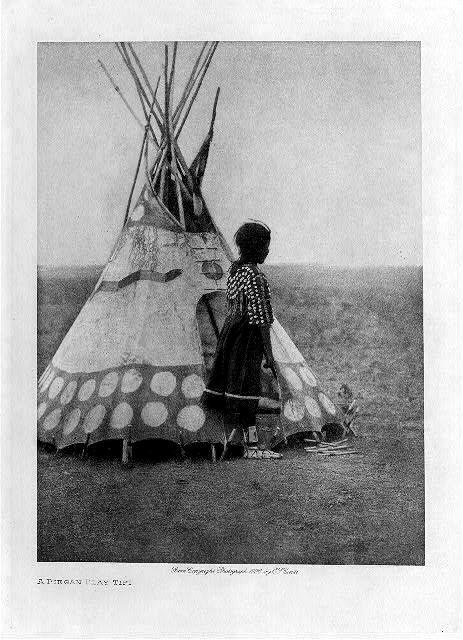
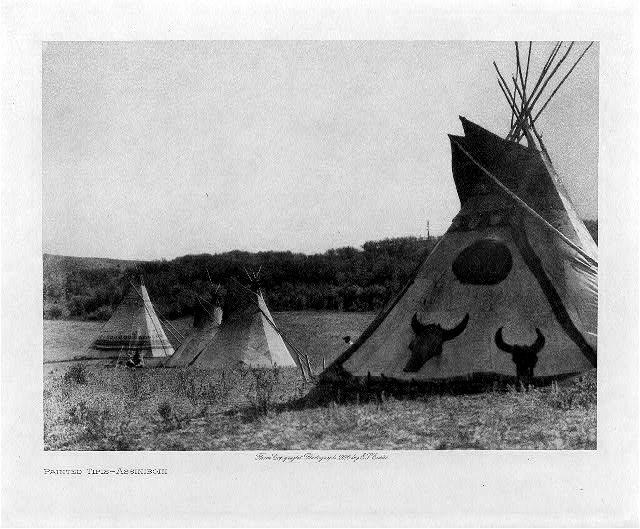
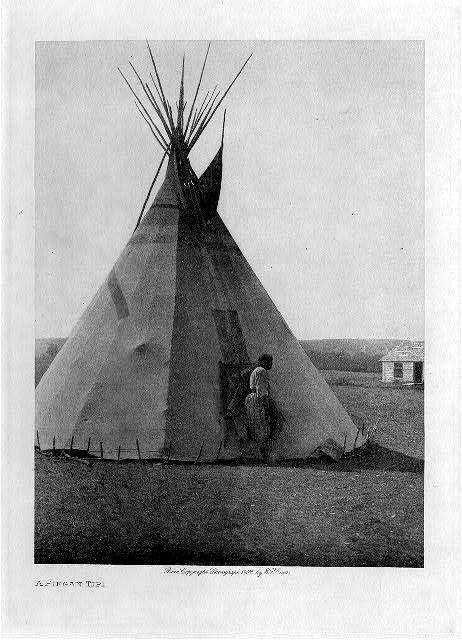
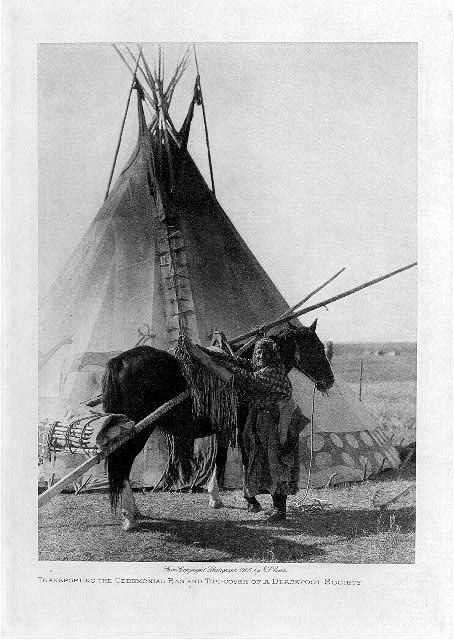
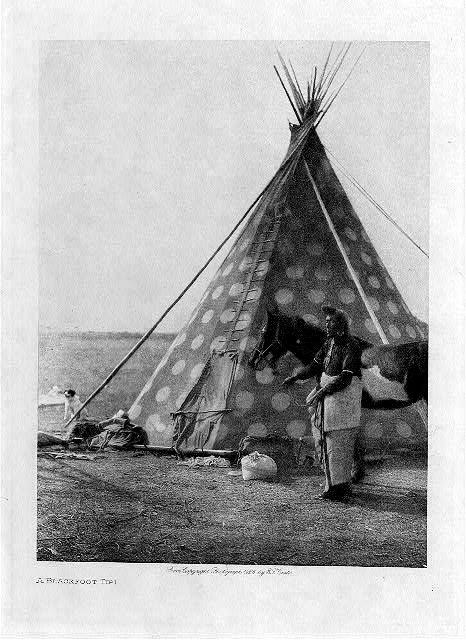
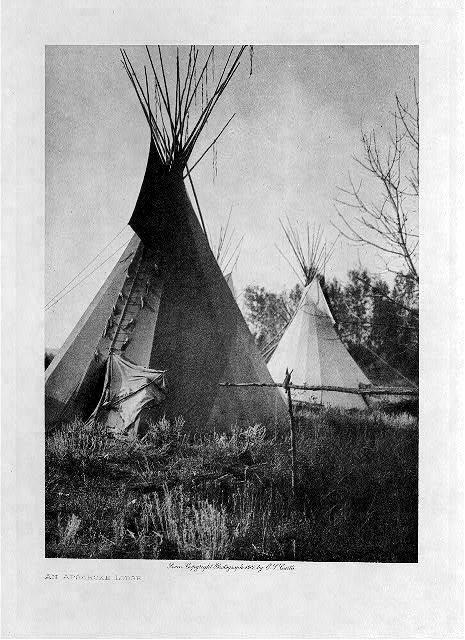
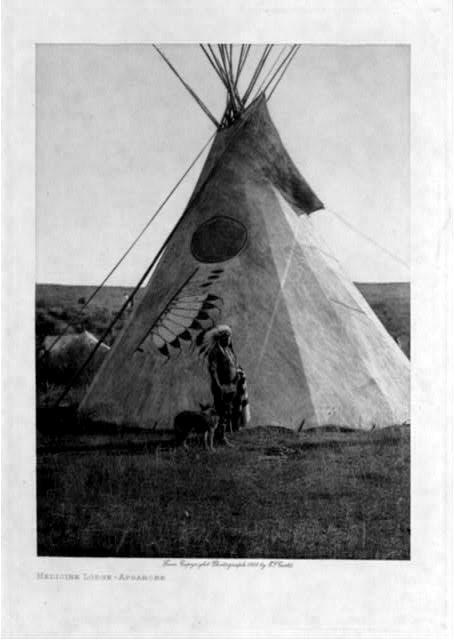

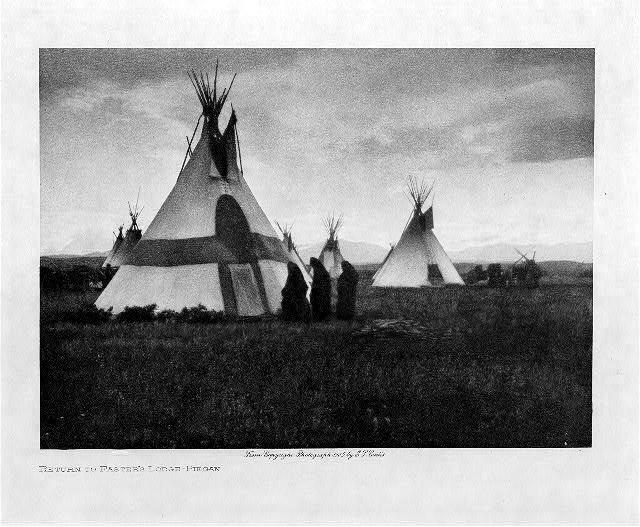
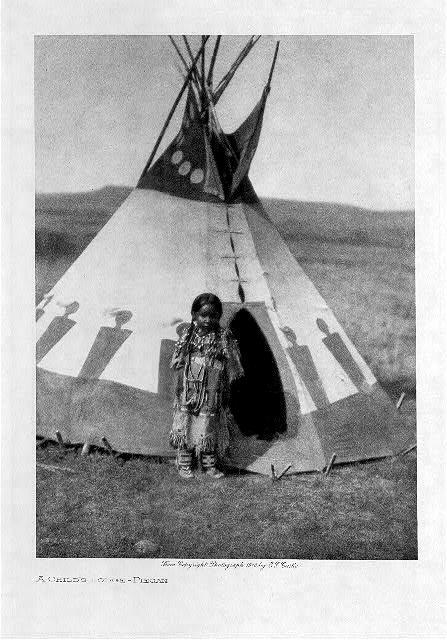
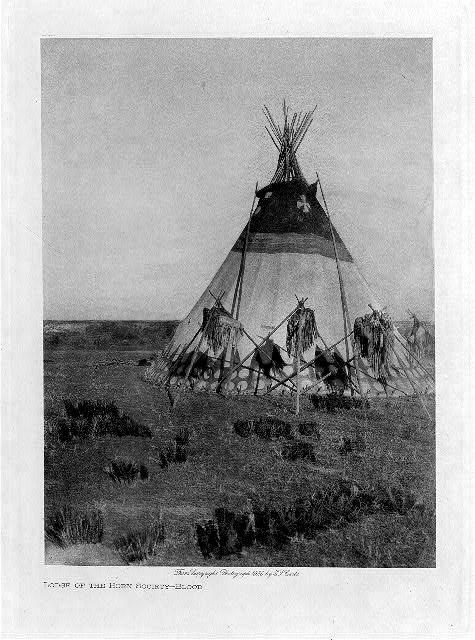
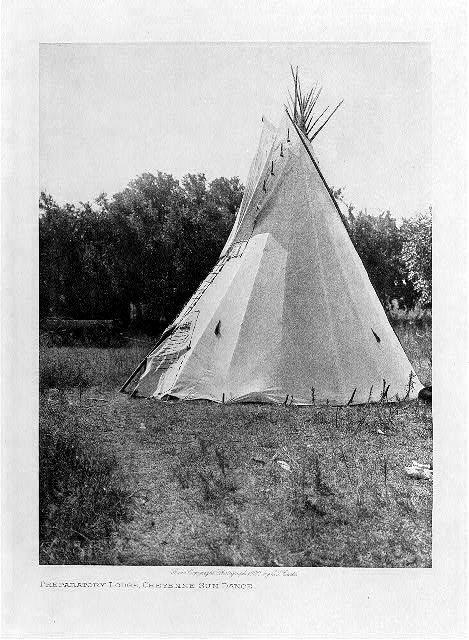
, National Park Service (USA) , Library of Congress / Northwestern University Library Detail Observation
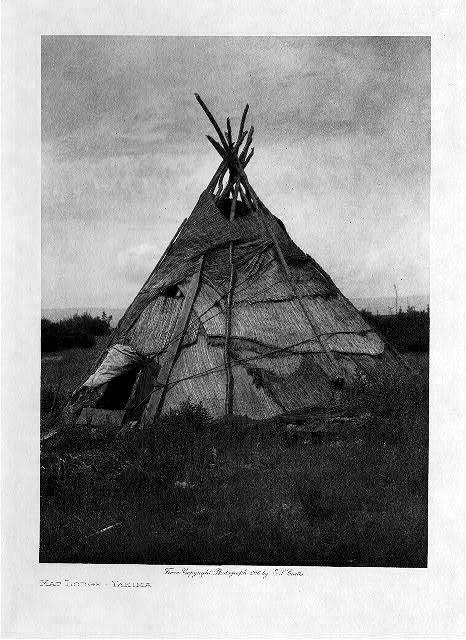
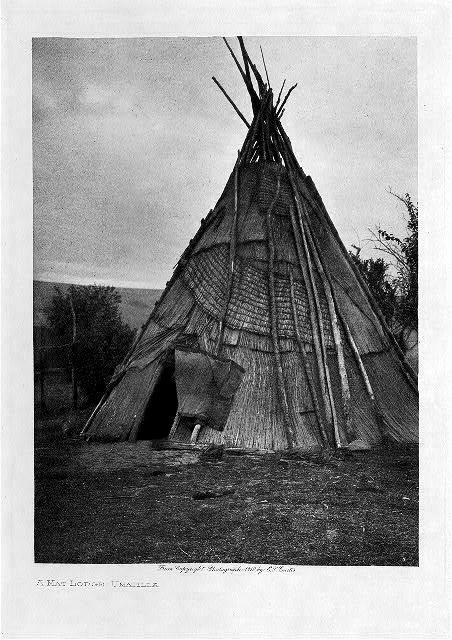
 Reed Tipi, Cayuse Tribe, Thorn Hollow, Umatilla Reservation, photographed by Thomas Leander Moorhouse, ~1900 |
Reed Mat based Tipi
Another interesting option of a tipi is the one either made of or covered with reed mats, e.g. those of Cayuse Tribe, there some poles are used from the outside to fixate the reed mats - and might have chosen to protect the canvas underneath. The question arises, whether below are buffalo or cotton-based canvas, and how the moisture after a rain behaves in between. E.g. in Europe with frequent humid climate from spring to late fall, the humidity poses a challenge in shelter construction.Grass House
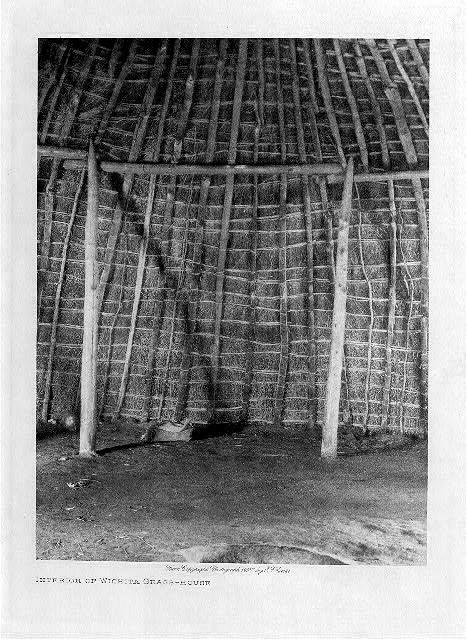
The similiarity is close, from reed mat based tipi to a grass house as seen here:
|
|


- Wikipedia: Phragmites
- Prehistoric Grass Houses at Texas Beyond History / Texas Archeological Research Laboratory
References
- "The Indian Tipi, its history, construction, and use", 2nd Edition by Reginald & Gladys Laubin ISBN 0-8061-2236-6
Native References
- NativeWeb.org: House Construction & Wigwams
- NativeTech.org , native american handcraft incl. building of shelters
- NativePeople.com , art magazine
- Native American Ethnobotany provided by University of Michigan (USA)
Links
Sources to purchase tipis, and/or more information about tipis:
- USA:
- Tipi.com , aka Nomadics Tipi Makers
- ReeseTipis.com , very informative, lots of photos in the gallery
- ArrowTipi.com , useful How-To section (winterizing, poles, etc)
- Tipi.com
- Germany: Indianertipi.de , e.g. 6m tipi incl. inlining € 650 (without poles)
- Czech: Ares.cz: Historical Tents , 6m tipi incl. inlining € 677 (without poles)
- Switzerland: Tipi.li , e.g. 6m tipi incl. inlining € 950 - 1500 (without poles)
- UK: SpiritsIntent.com , covered structures, nomadic dwellings, alternative homes, canvas tents
- UK: Hearthworks Tipis & Yurts , sale and hire of tipis and yurts, event production, kyrgyz yurts
- UK: Stunning Tents , tipi alike tents (incl. one pole tipis) with accessories